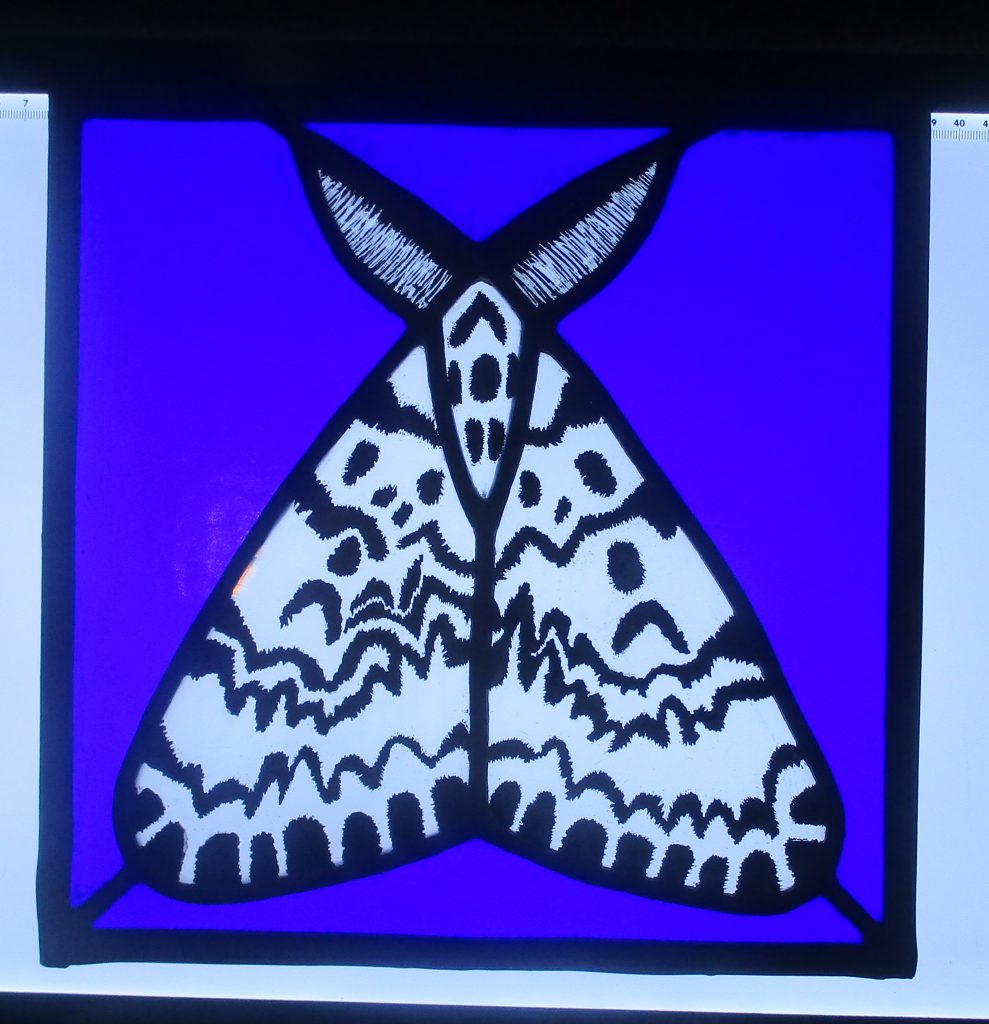
Every so often a project comes along that is a bit more challenging that you expect, and so it was with this Black arches panel. From the start of designing the panel I had a very clear idea of how I wanted it to look but getting it to look like that was a different matter! So you’ve got some basis for comparison here is what the actual moth looks like:
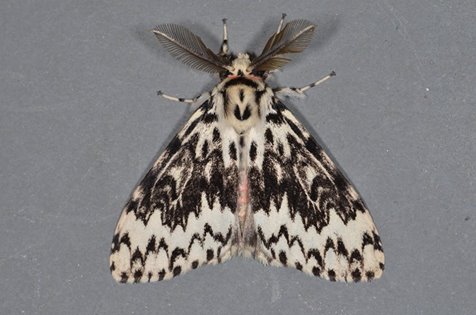
(thanks to Steve Hunt for letting me use his photo, this one has a little bit more black on than usual but the markings on every individual are slightly different).
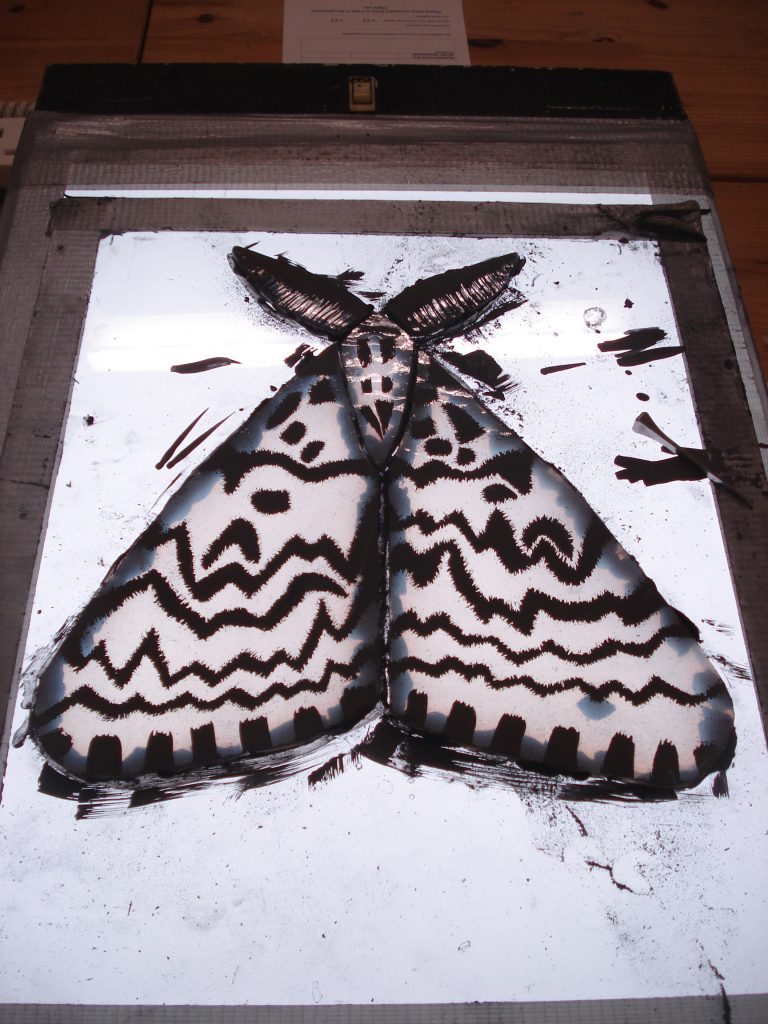
The bit that was the most time consuming was the painting:
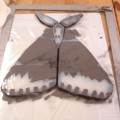
Unfortunately during the firing process the paint cracked (in my eagerness to get a consistent dark black for the markings I had applied the paint too thickly), although I tried to fix it by filling in the cracks it still wasn’t quite right, so a second attempt was needed.
Unfortunately however I didn’t have any more of the same glass. Eventually I found a closish match and redid the whole thing. This time the firing worked much better and after leading I had this:
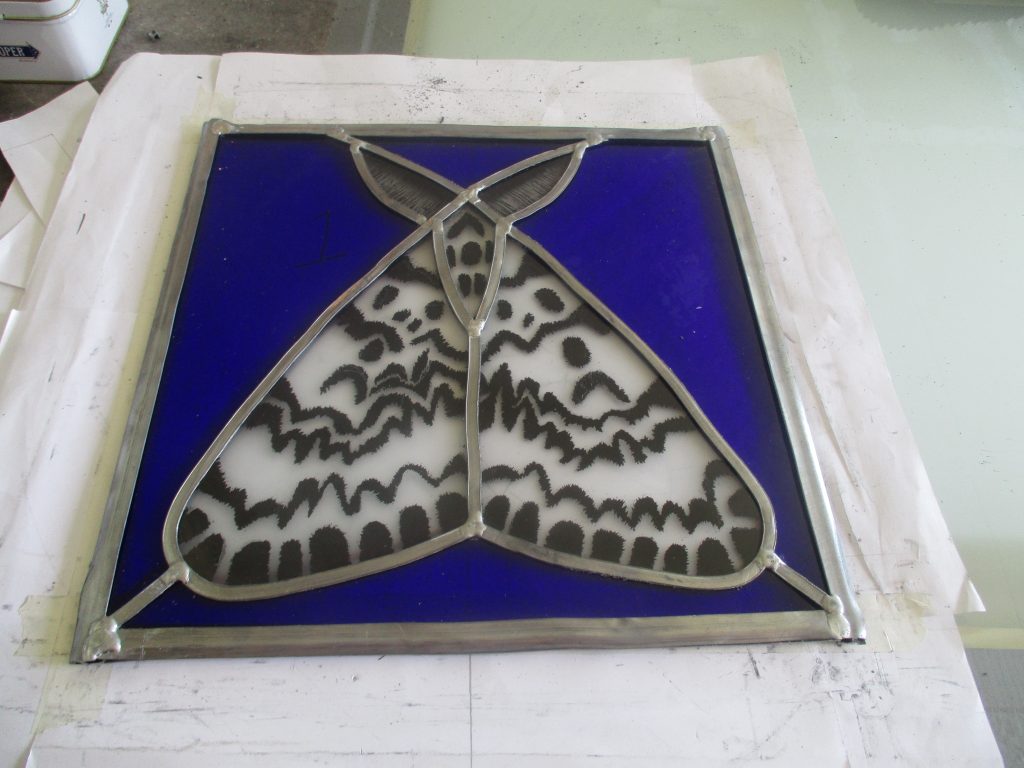
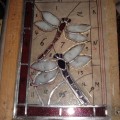
The final touch was applied at glass class this week where I applied black patina to the lead. Really pleased with the finished panel & can honestly say it was worth the effort.
Now the challenge is which moth to pick for my next panel. Decisions decisions!