 So on Thursday and Friday instead of going to work I went off to frolic in the fantastic Ardington School of Crafts for 2 days of learning from the fantastic Ray Slater. Our task was to make contemporary cloth dolls and by gosh we did. Our first task of the day (after tea and biscuits and a short introduction from Ray was putting together the head.
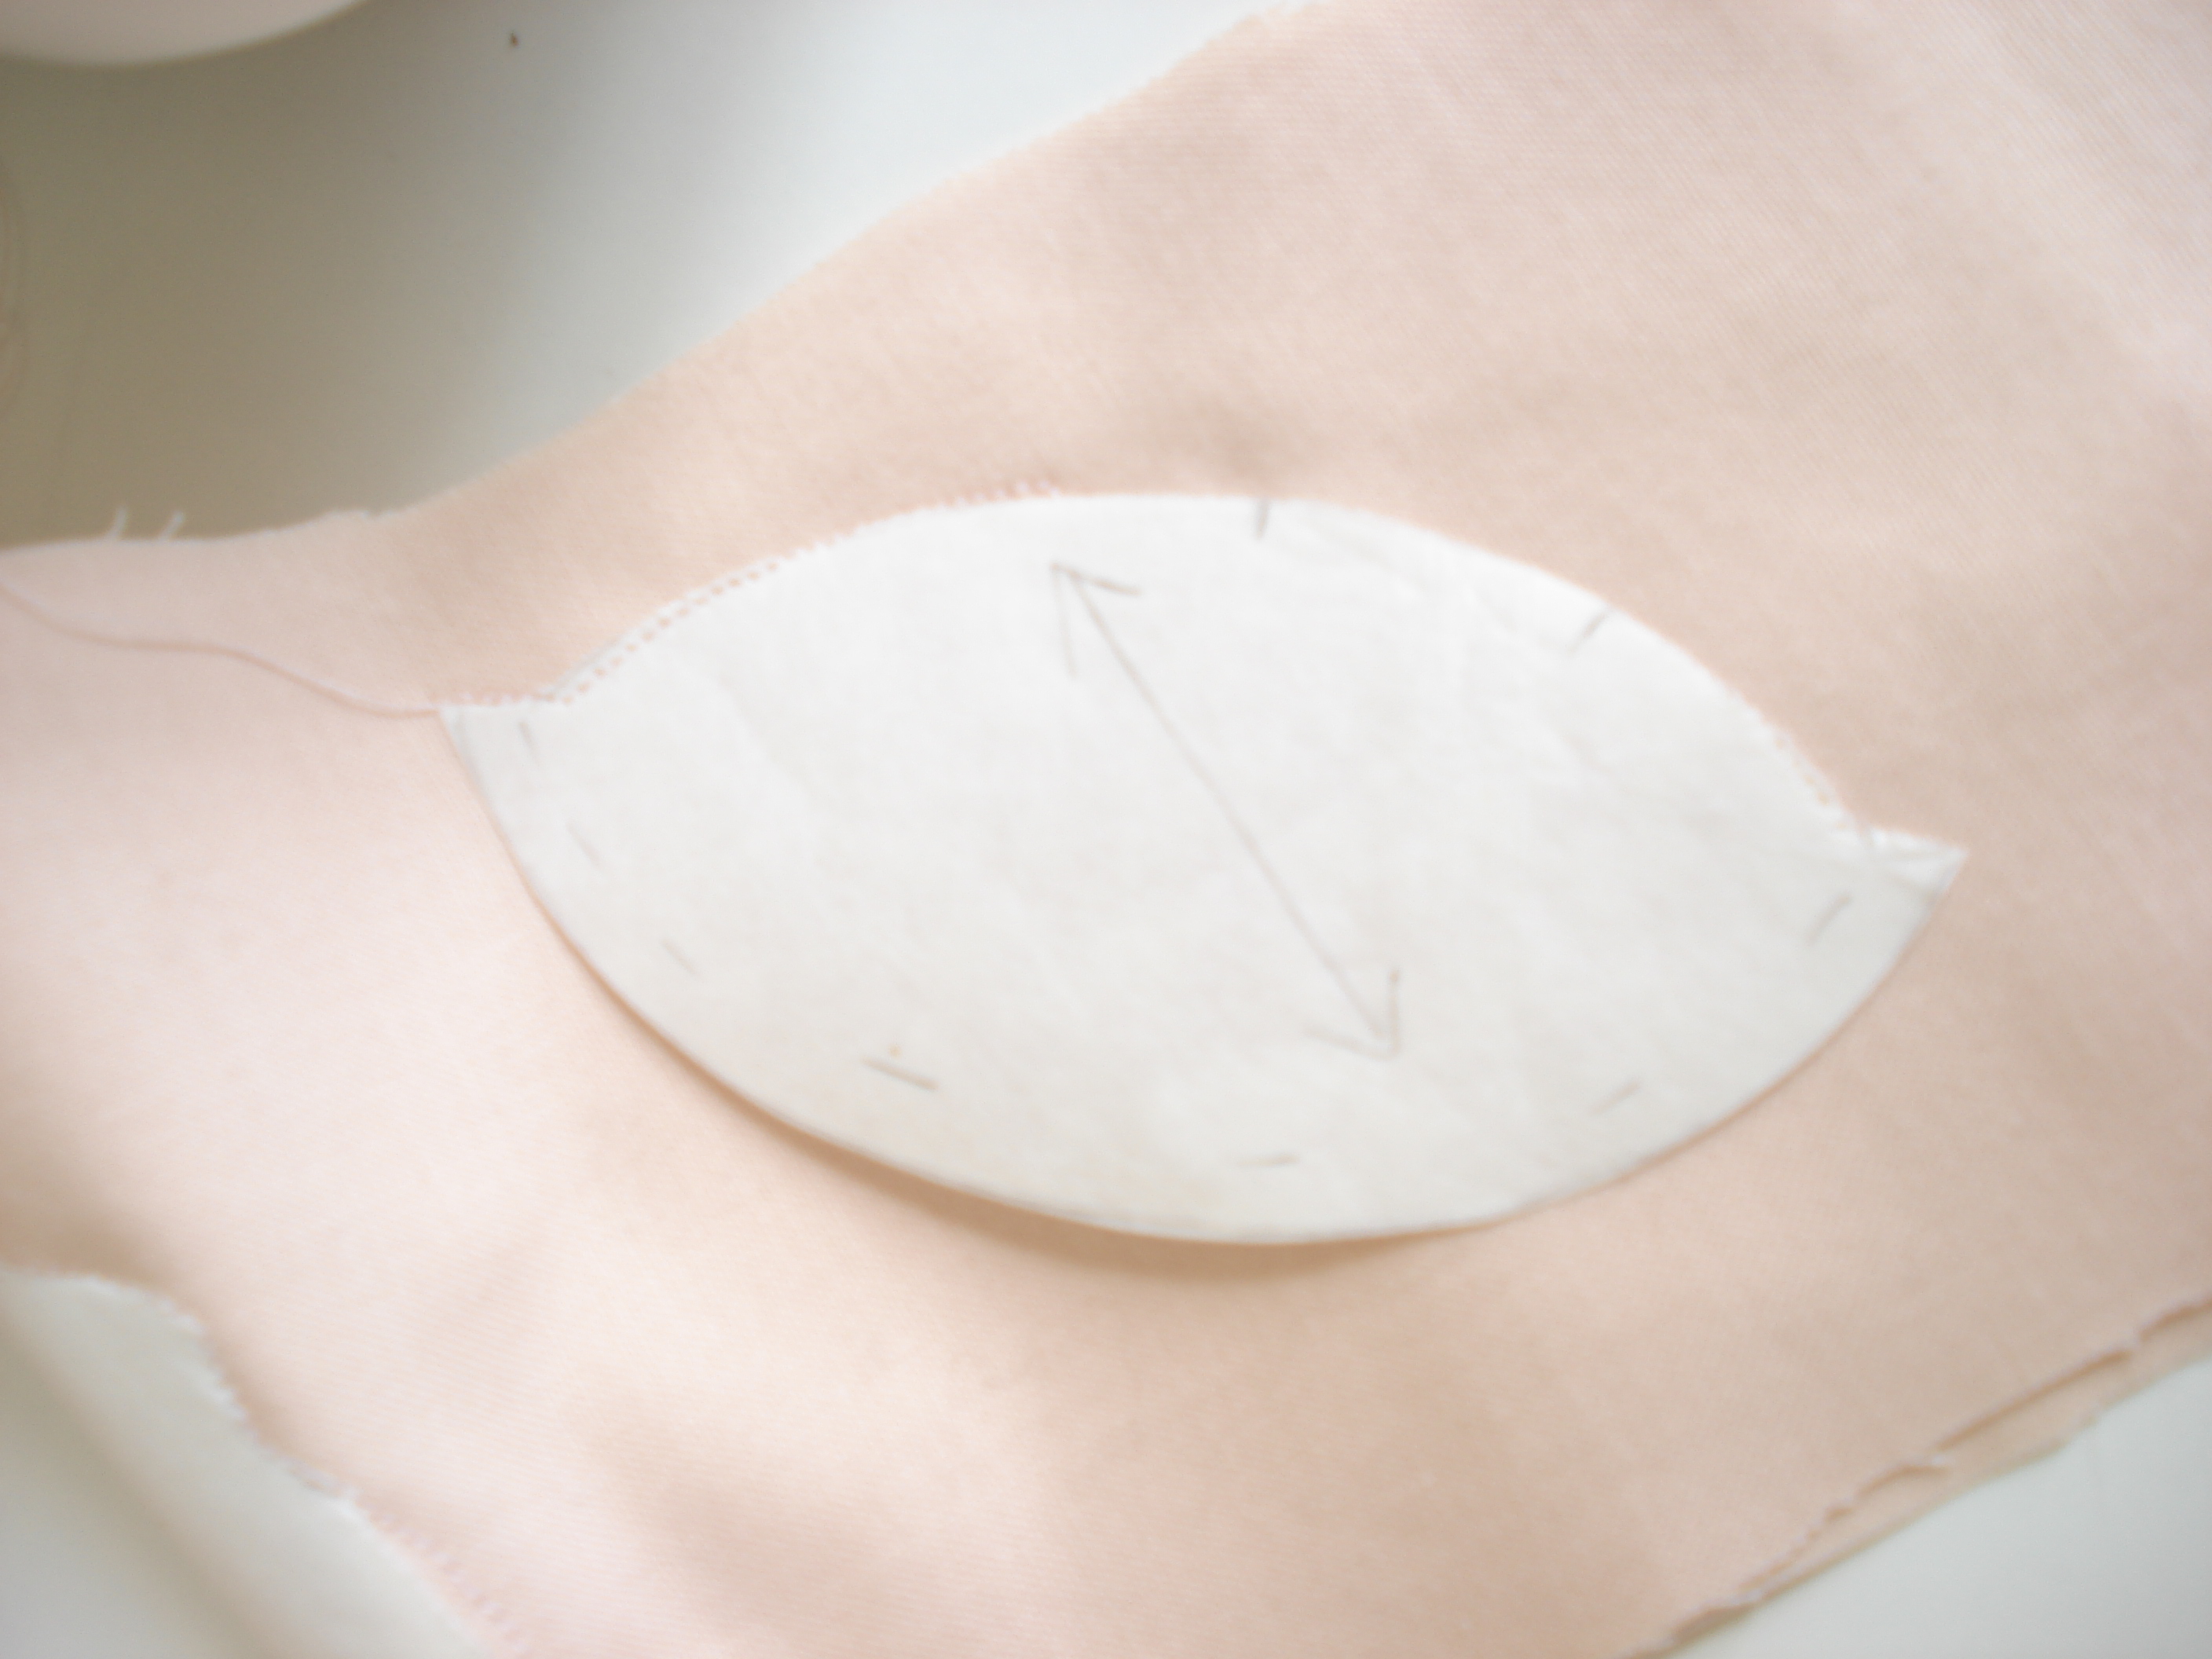 We started but cutting out the templates, ironing them on to our doubled over flesh coloured material and sewing round them. Once cut out they were sewed together and stuffed (paying particular attention to the nose!).
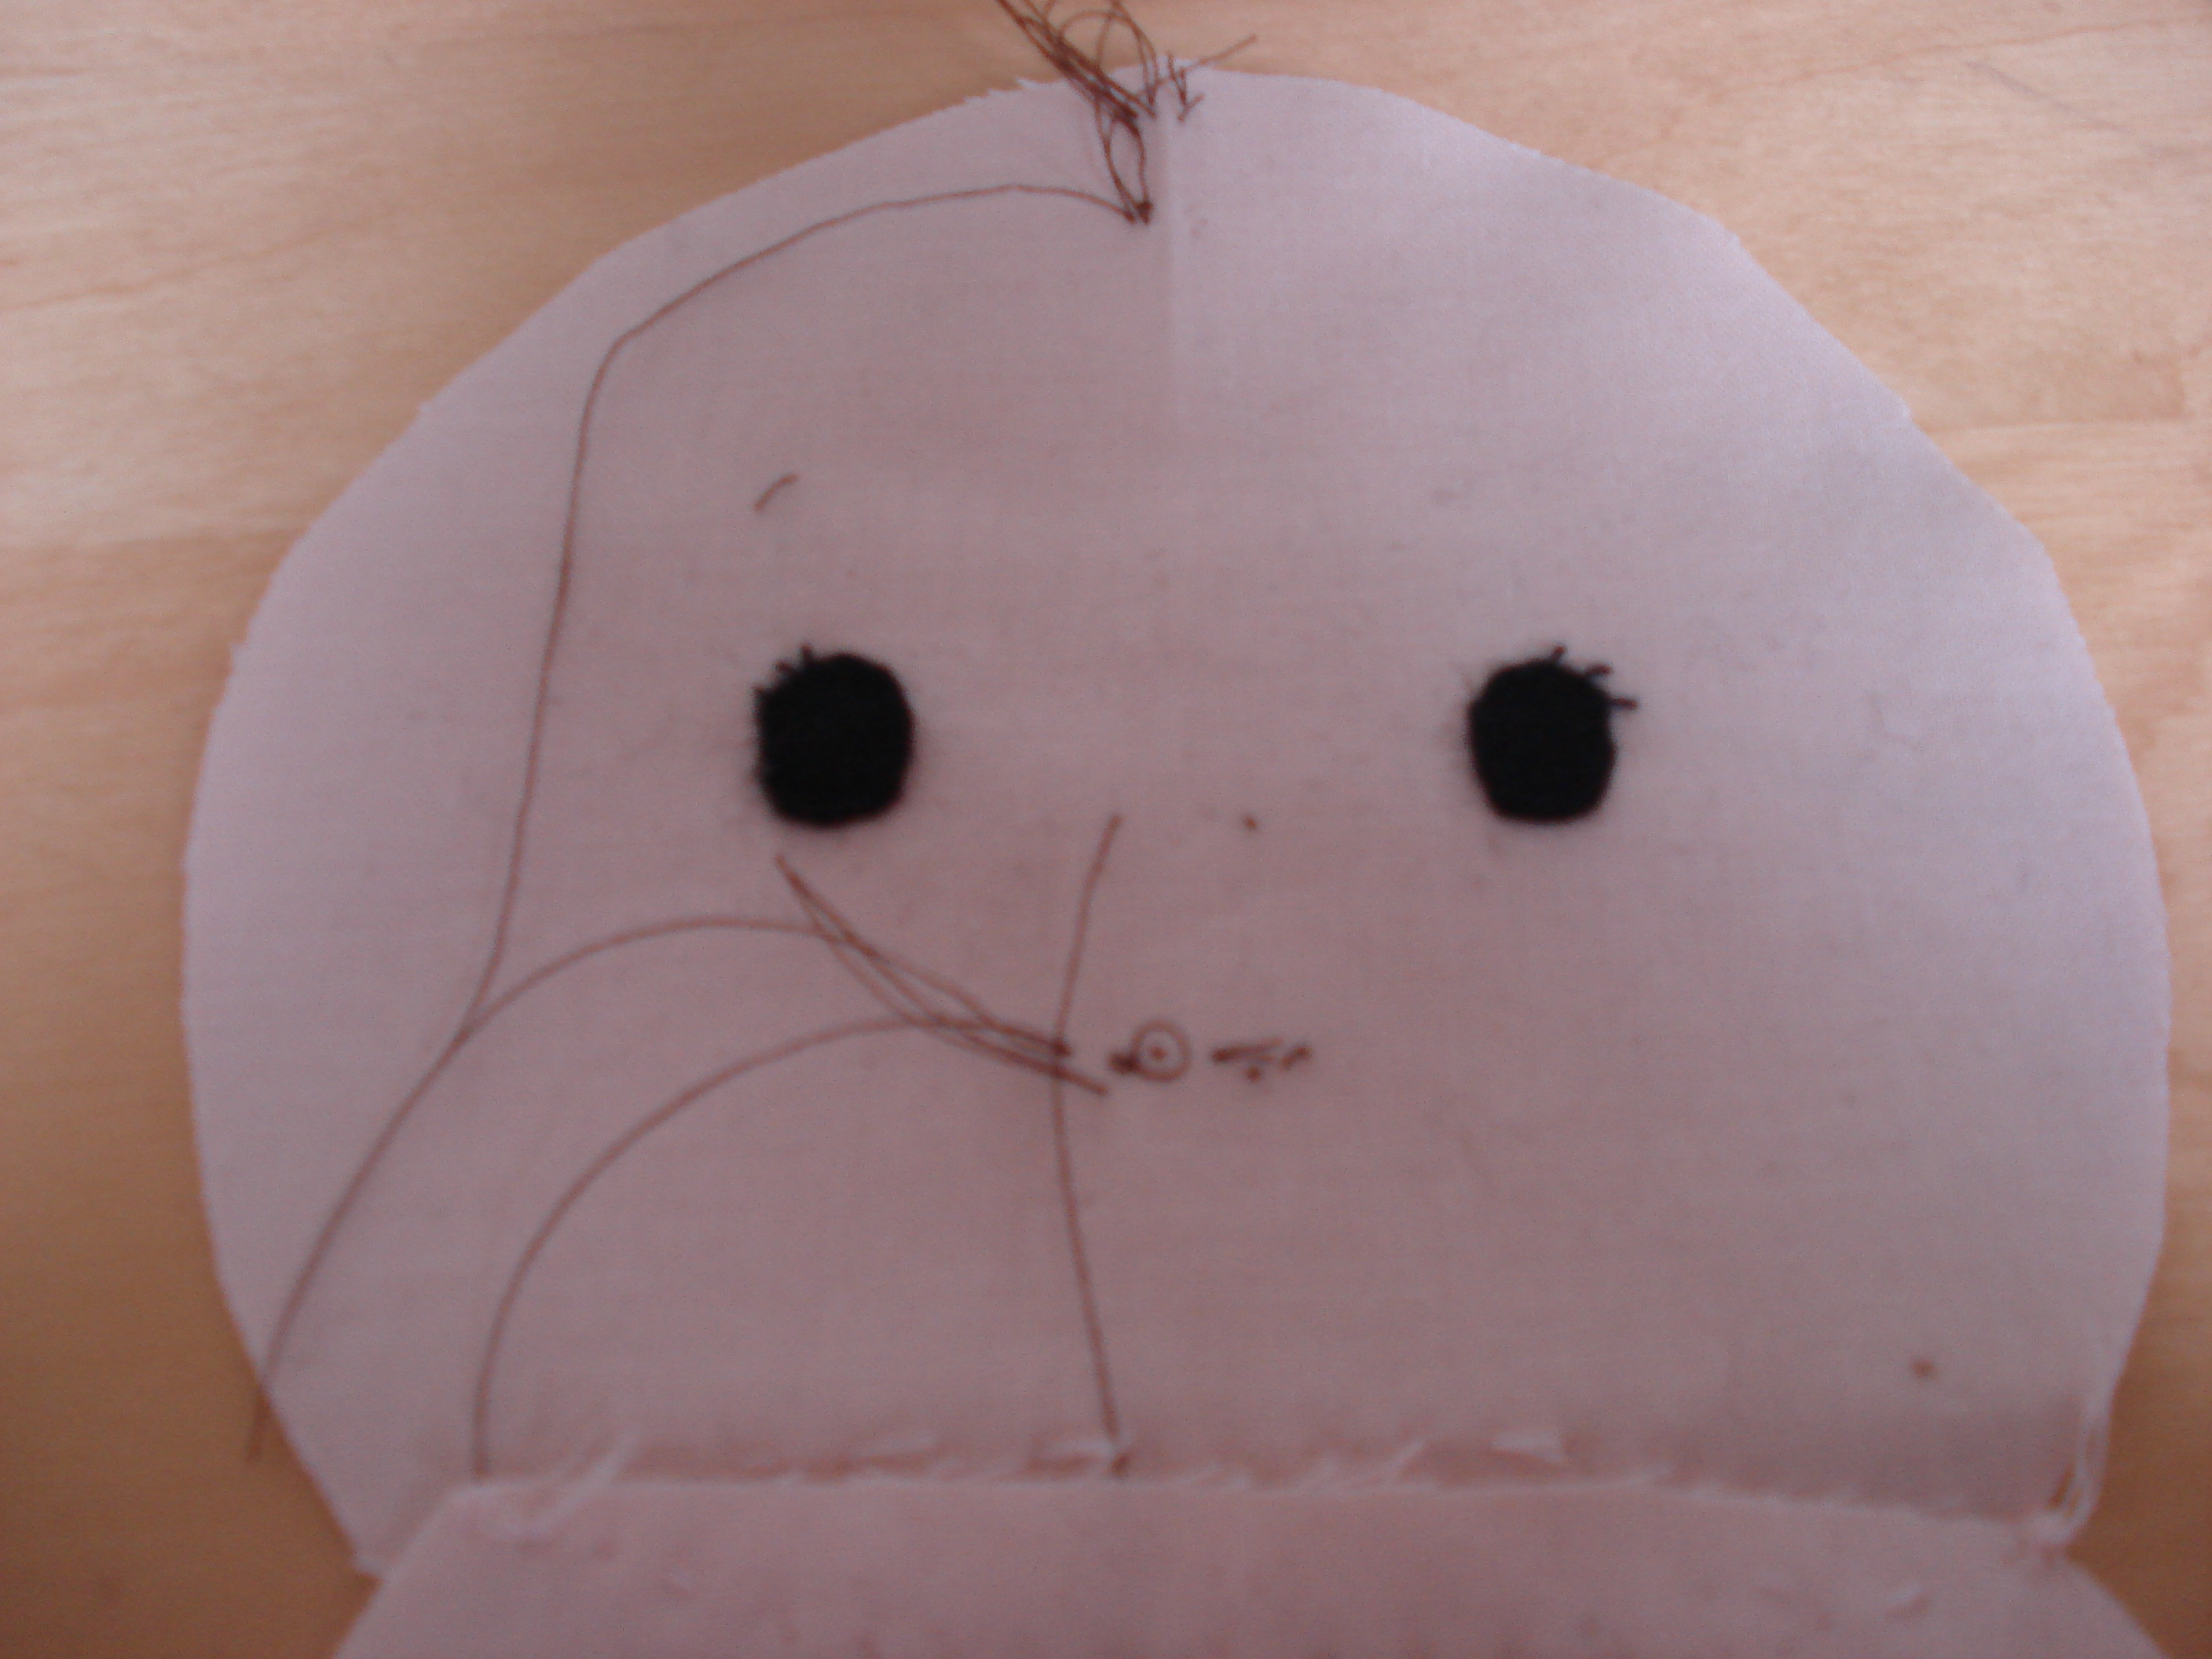
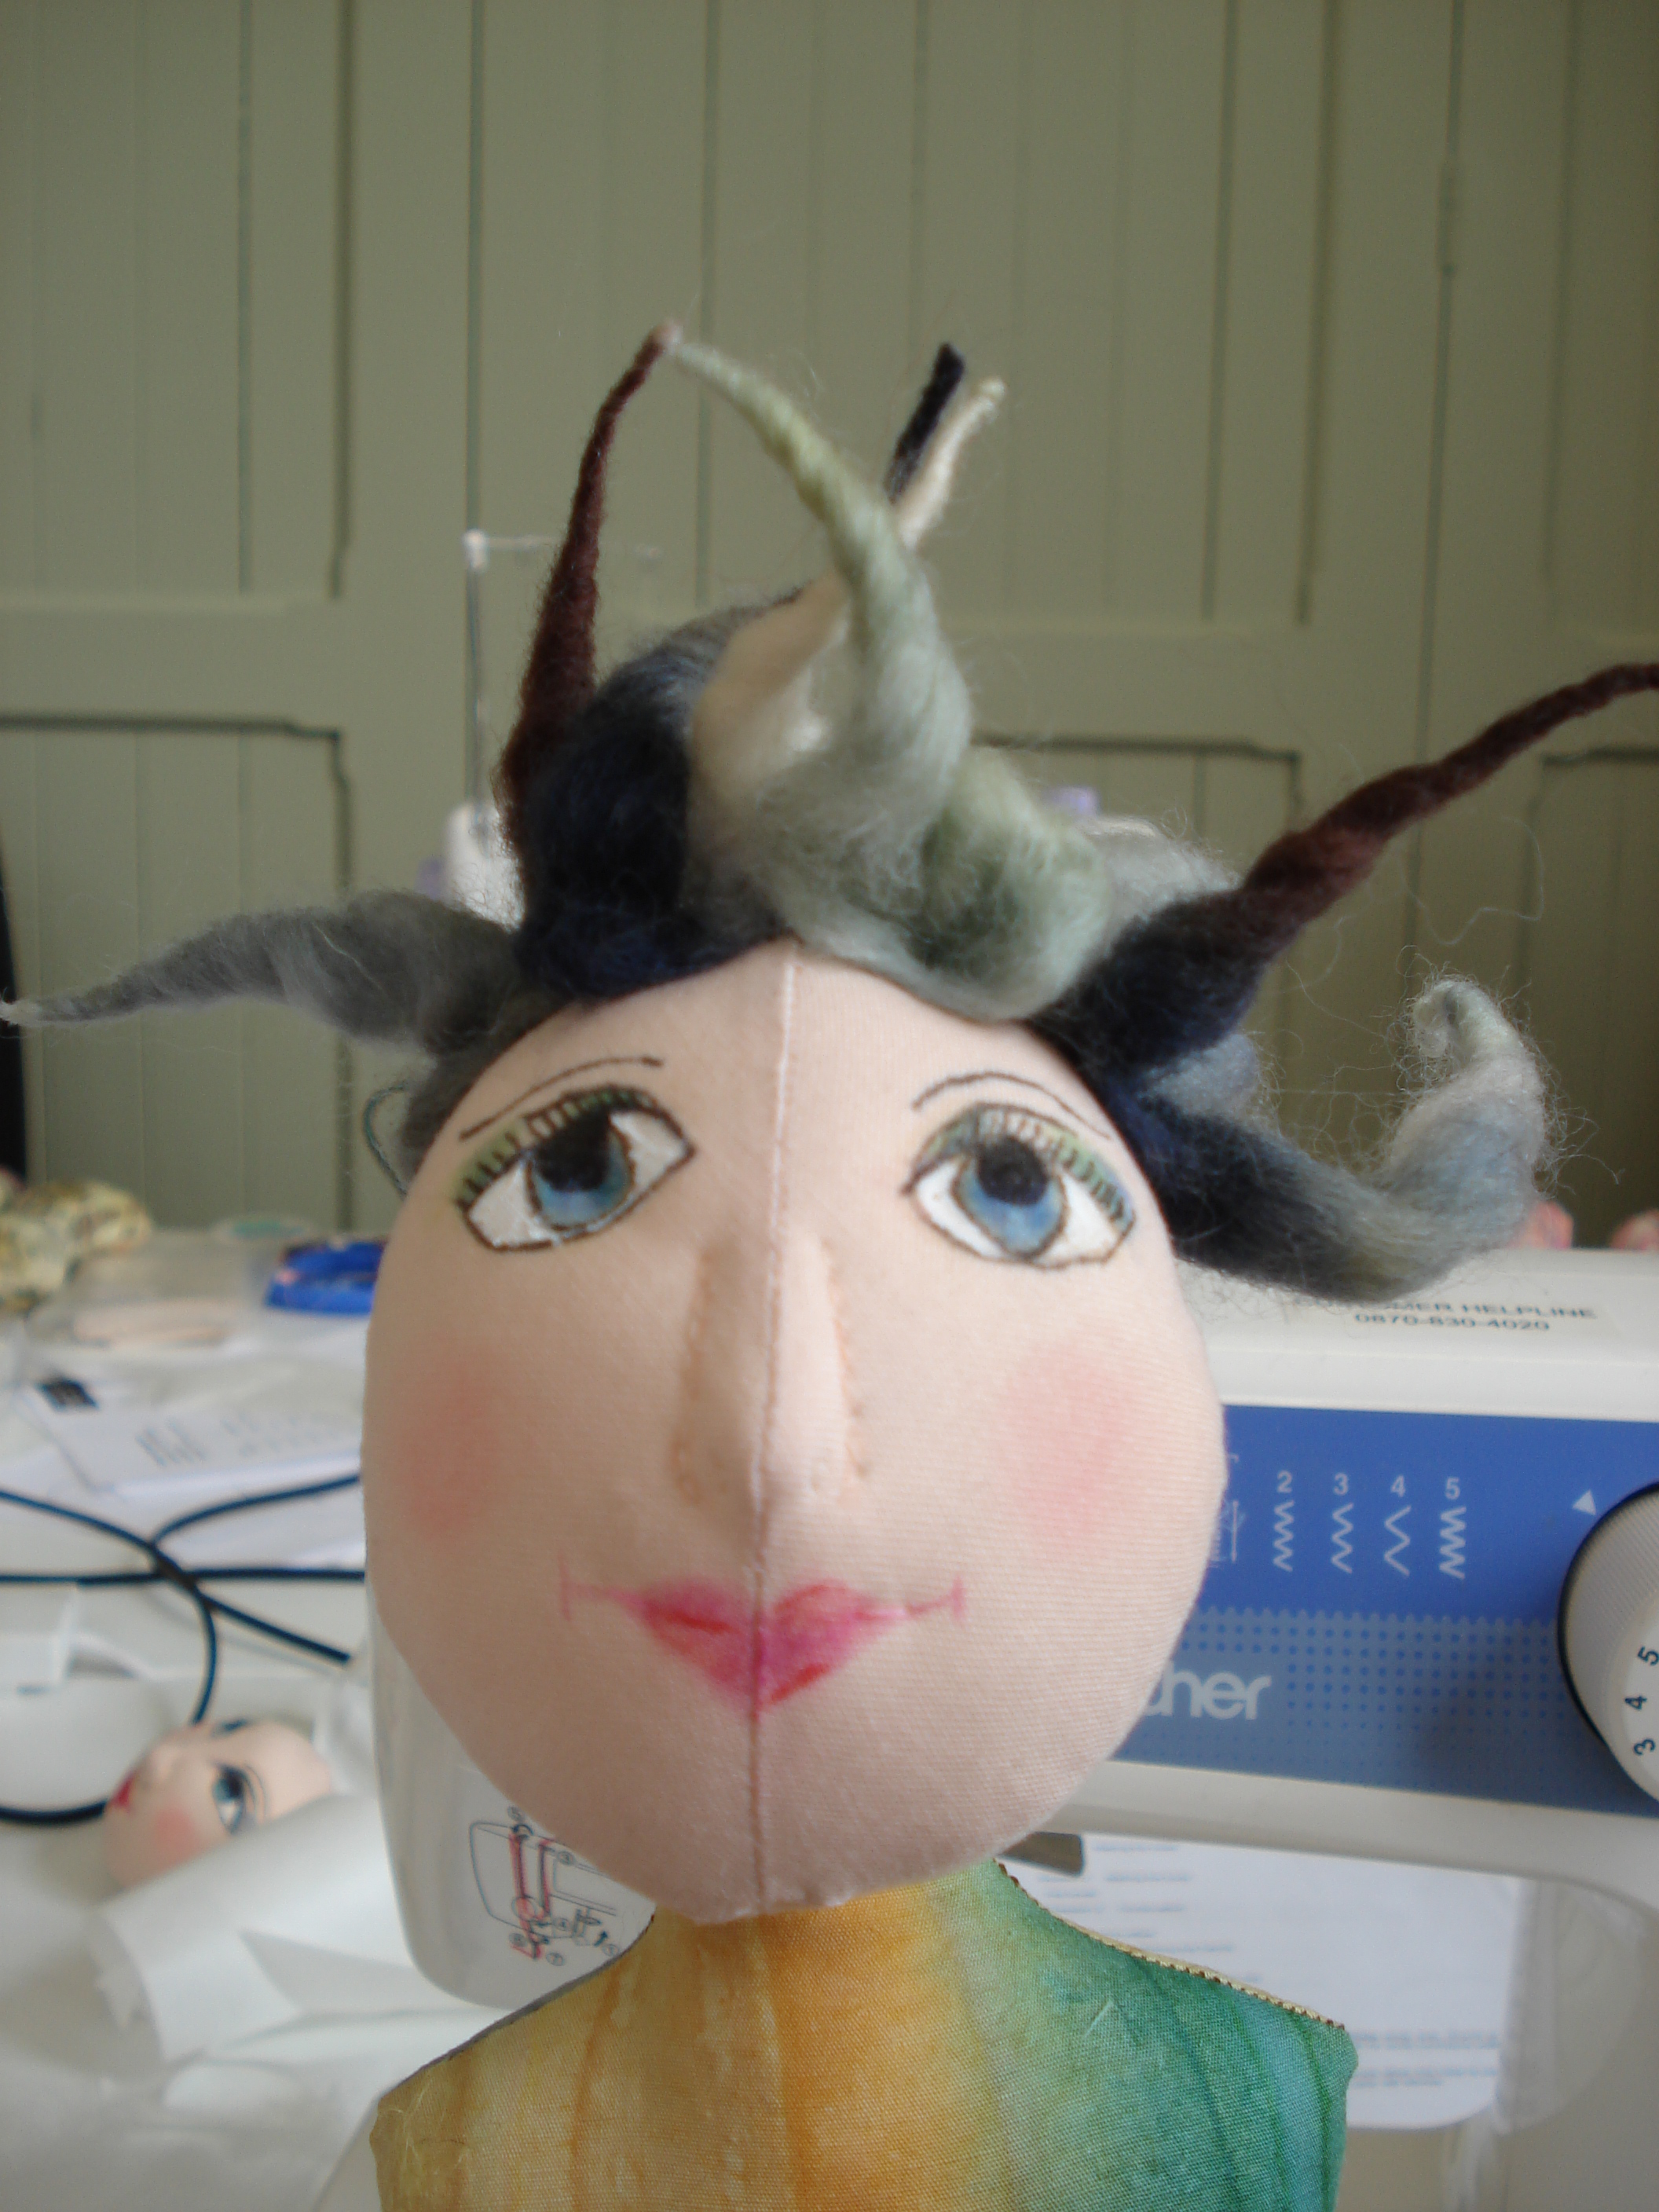
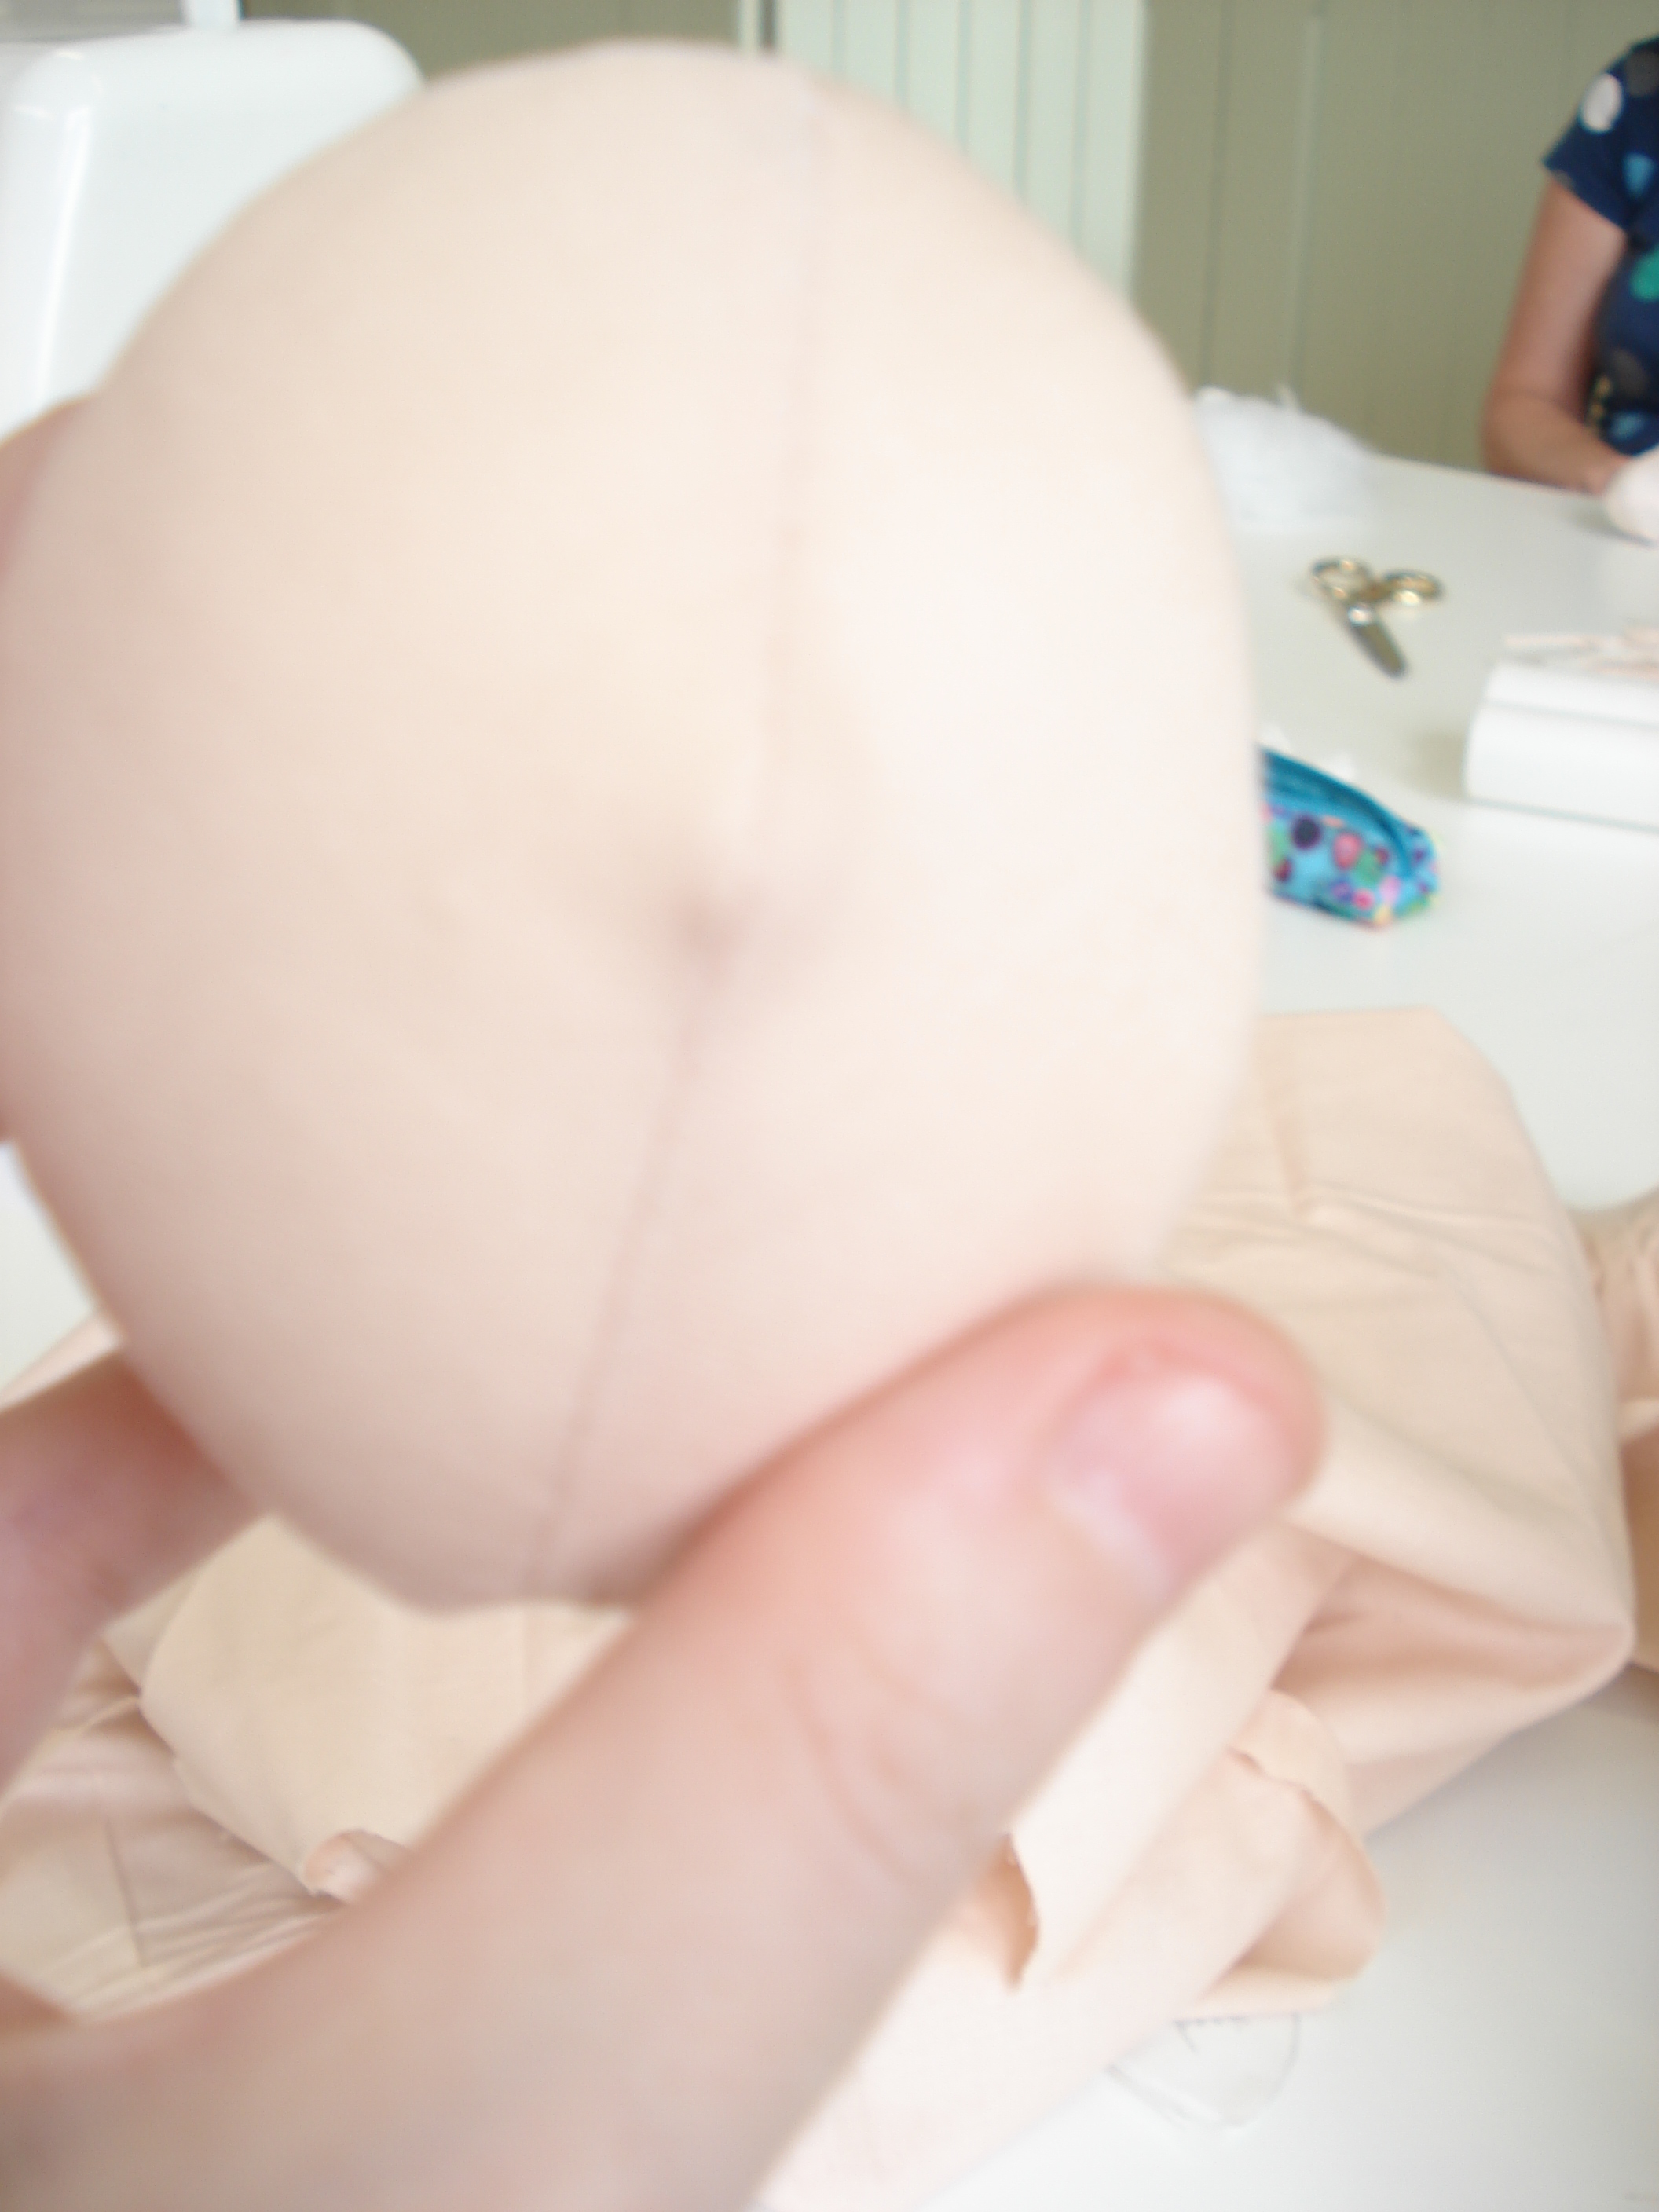 Look at her little nose! After stuffing and needlefelting in the features (no photos of that bit I was too busy concentrating) was the part I was least looking forward to, painting the features on the face. Ray suggested we make 2 heads so we could use the one we liked the best. Here they both are:
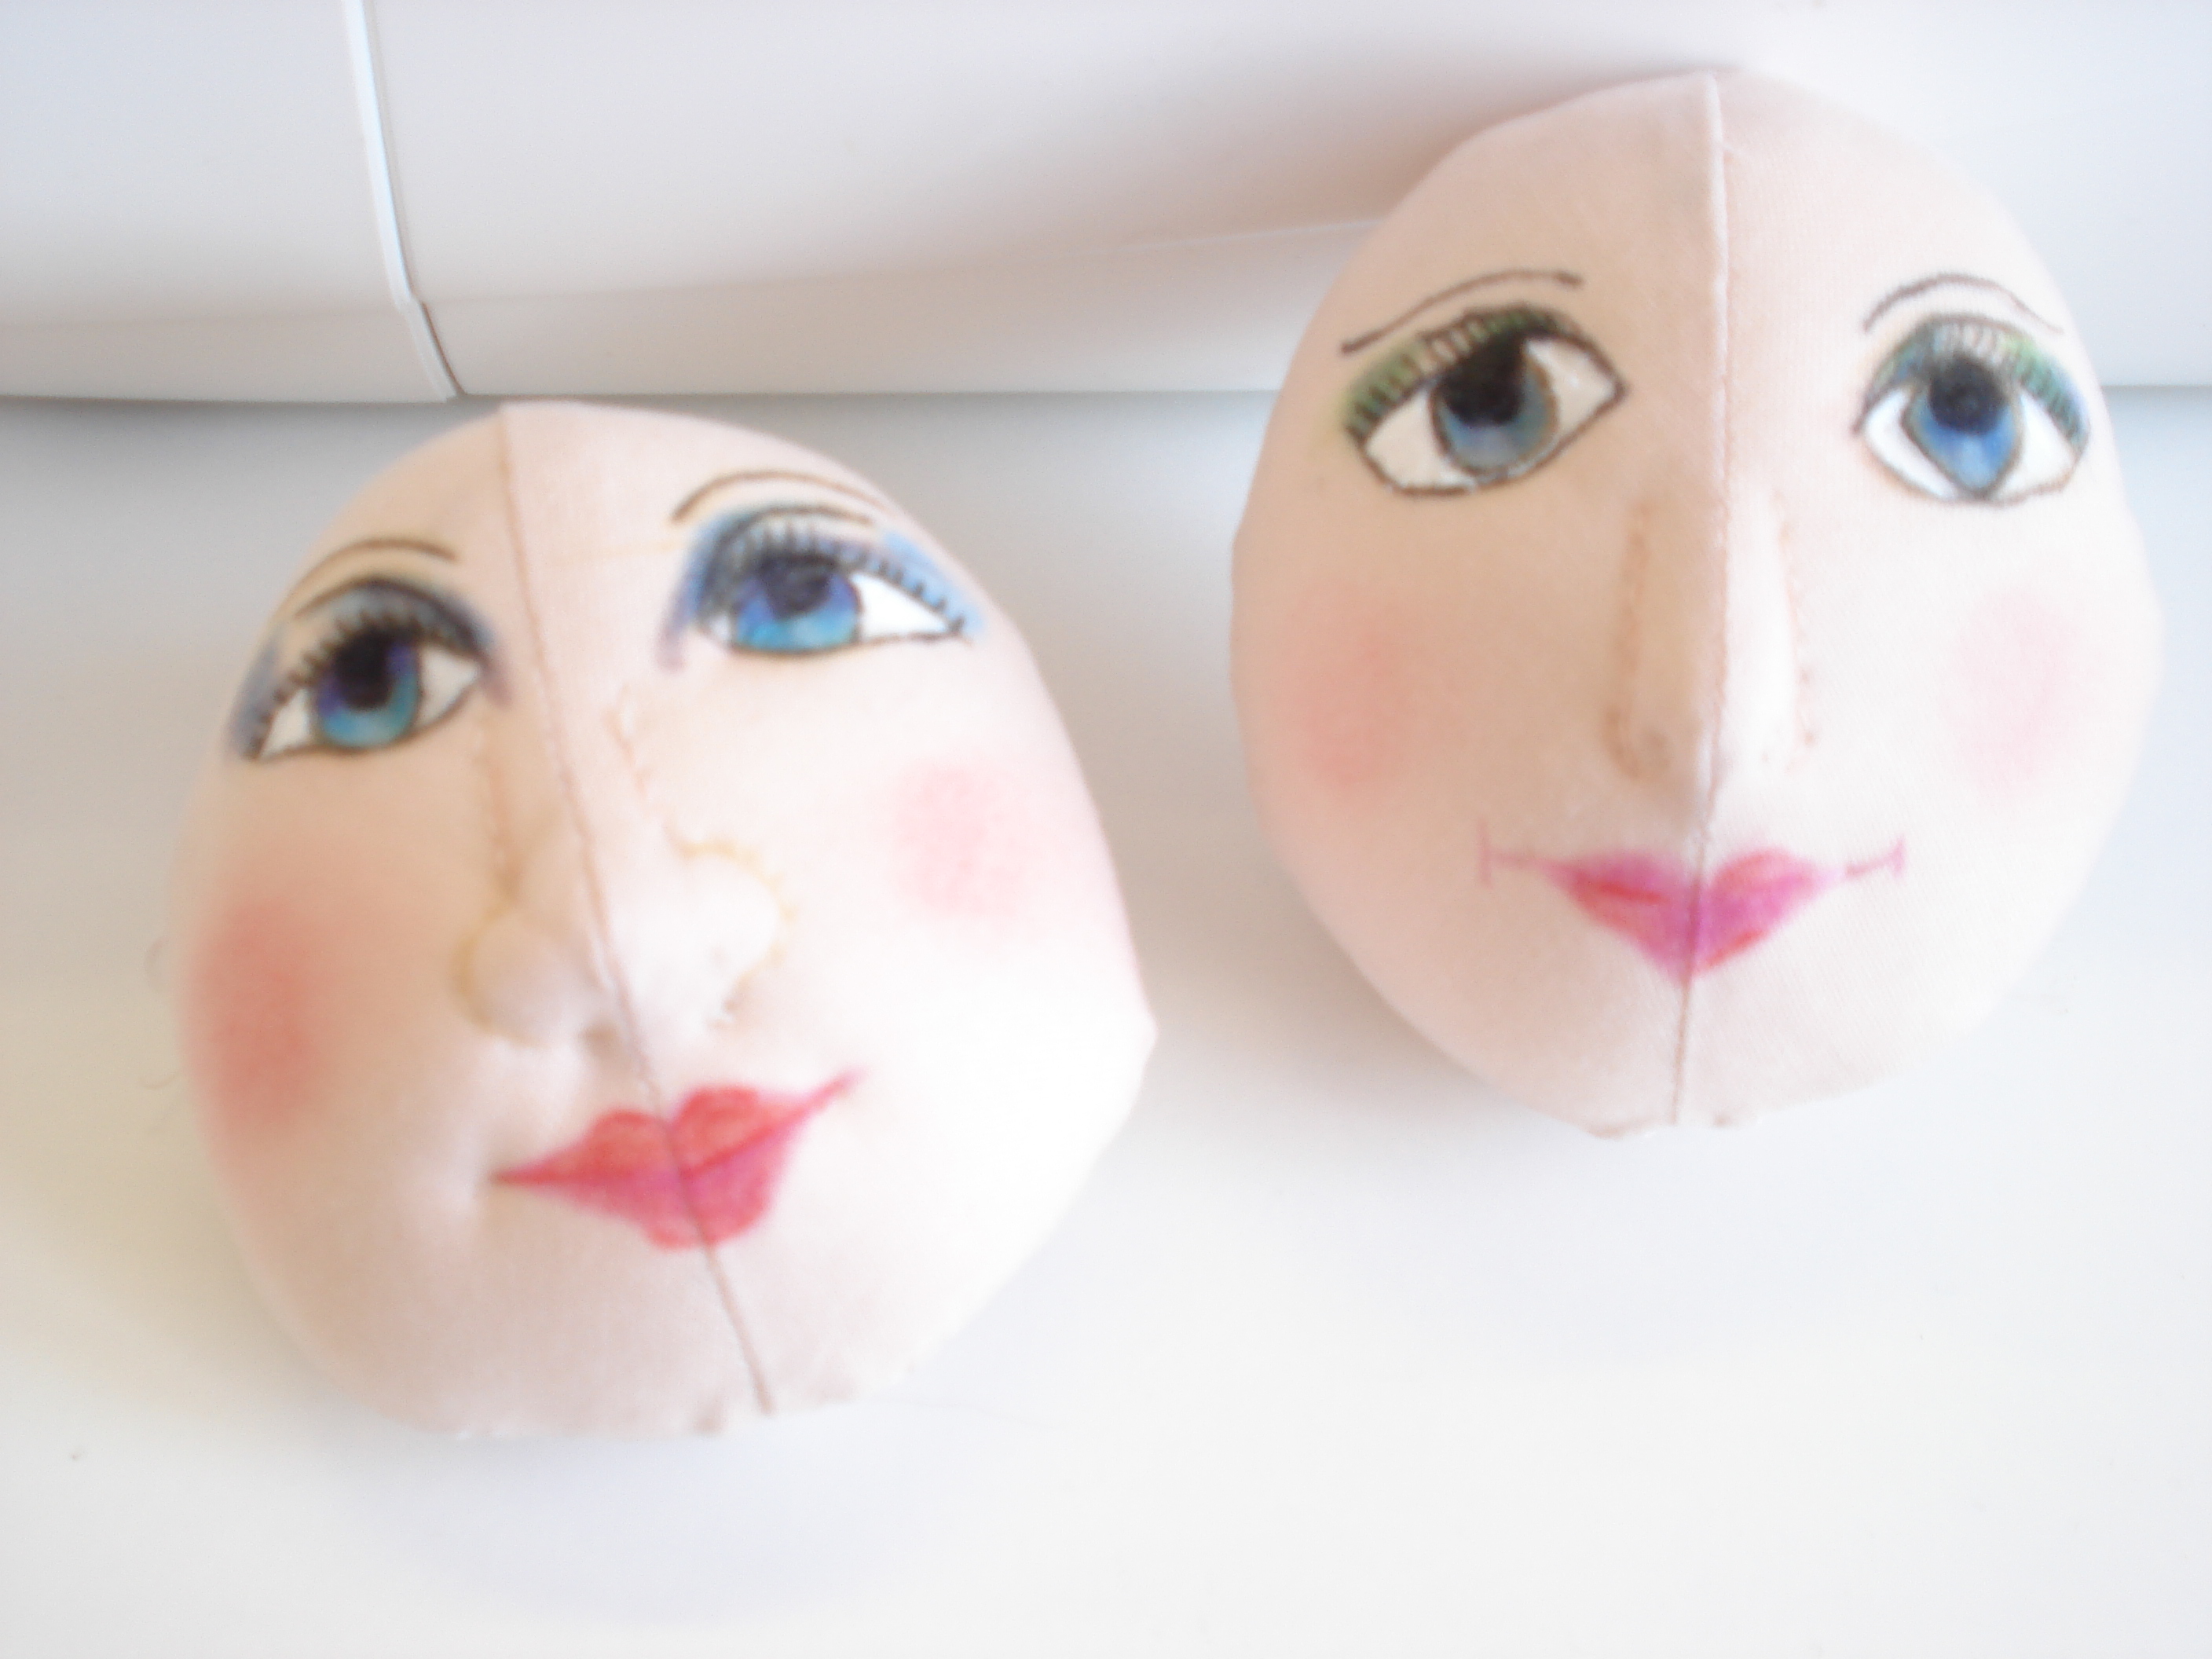 I went for greens and yellows with pink lips on one (Arianna) and vamped it up with red lips and smoky blue shadow on the other (Martha). The faces went better than expected due to some truly awesome instructions from Ray (which I will keep by me always). Then it was on to cutting out the body, arms and legs.
 I sewed round these before we broke for the evening. My homework was to stuff them and have them ready to sew up the next day. Stuffing is harder work than you think, the body parts have to be really firm (in fact mine had to be redone). So the next day it was time to make the hands (Ray structured it so we did the hard bits in the morning, and boy were the hands and head hard). So on to the hands, they were so small, but perfectly formed:
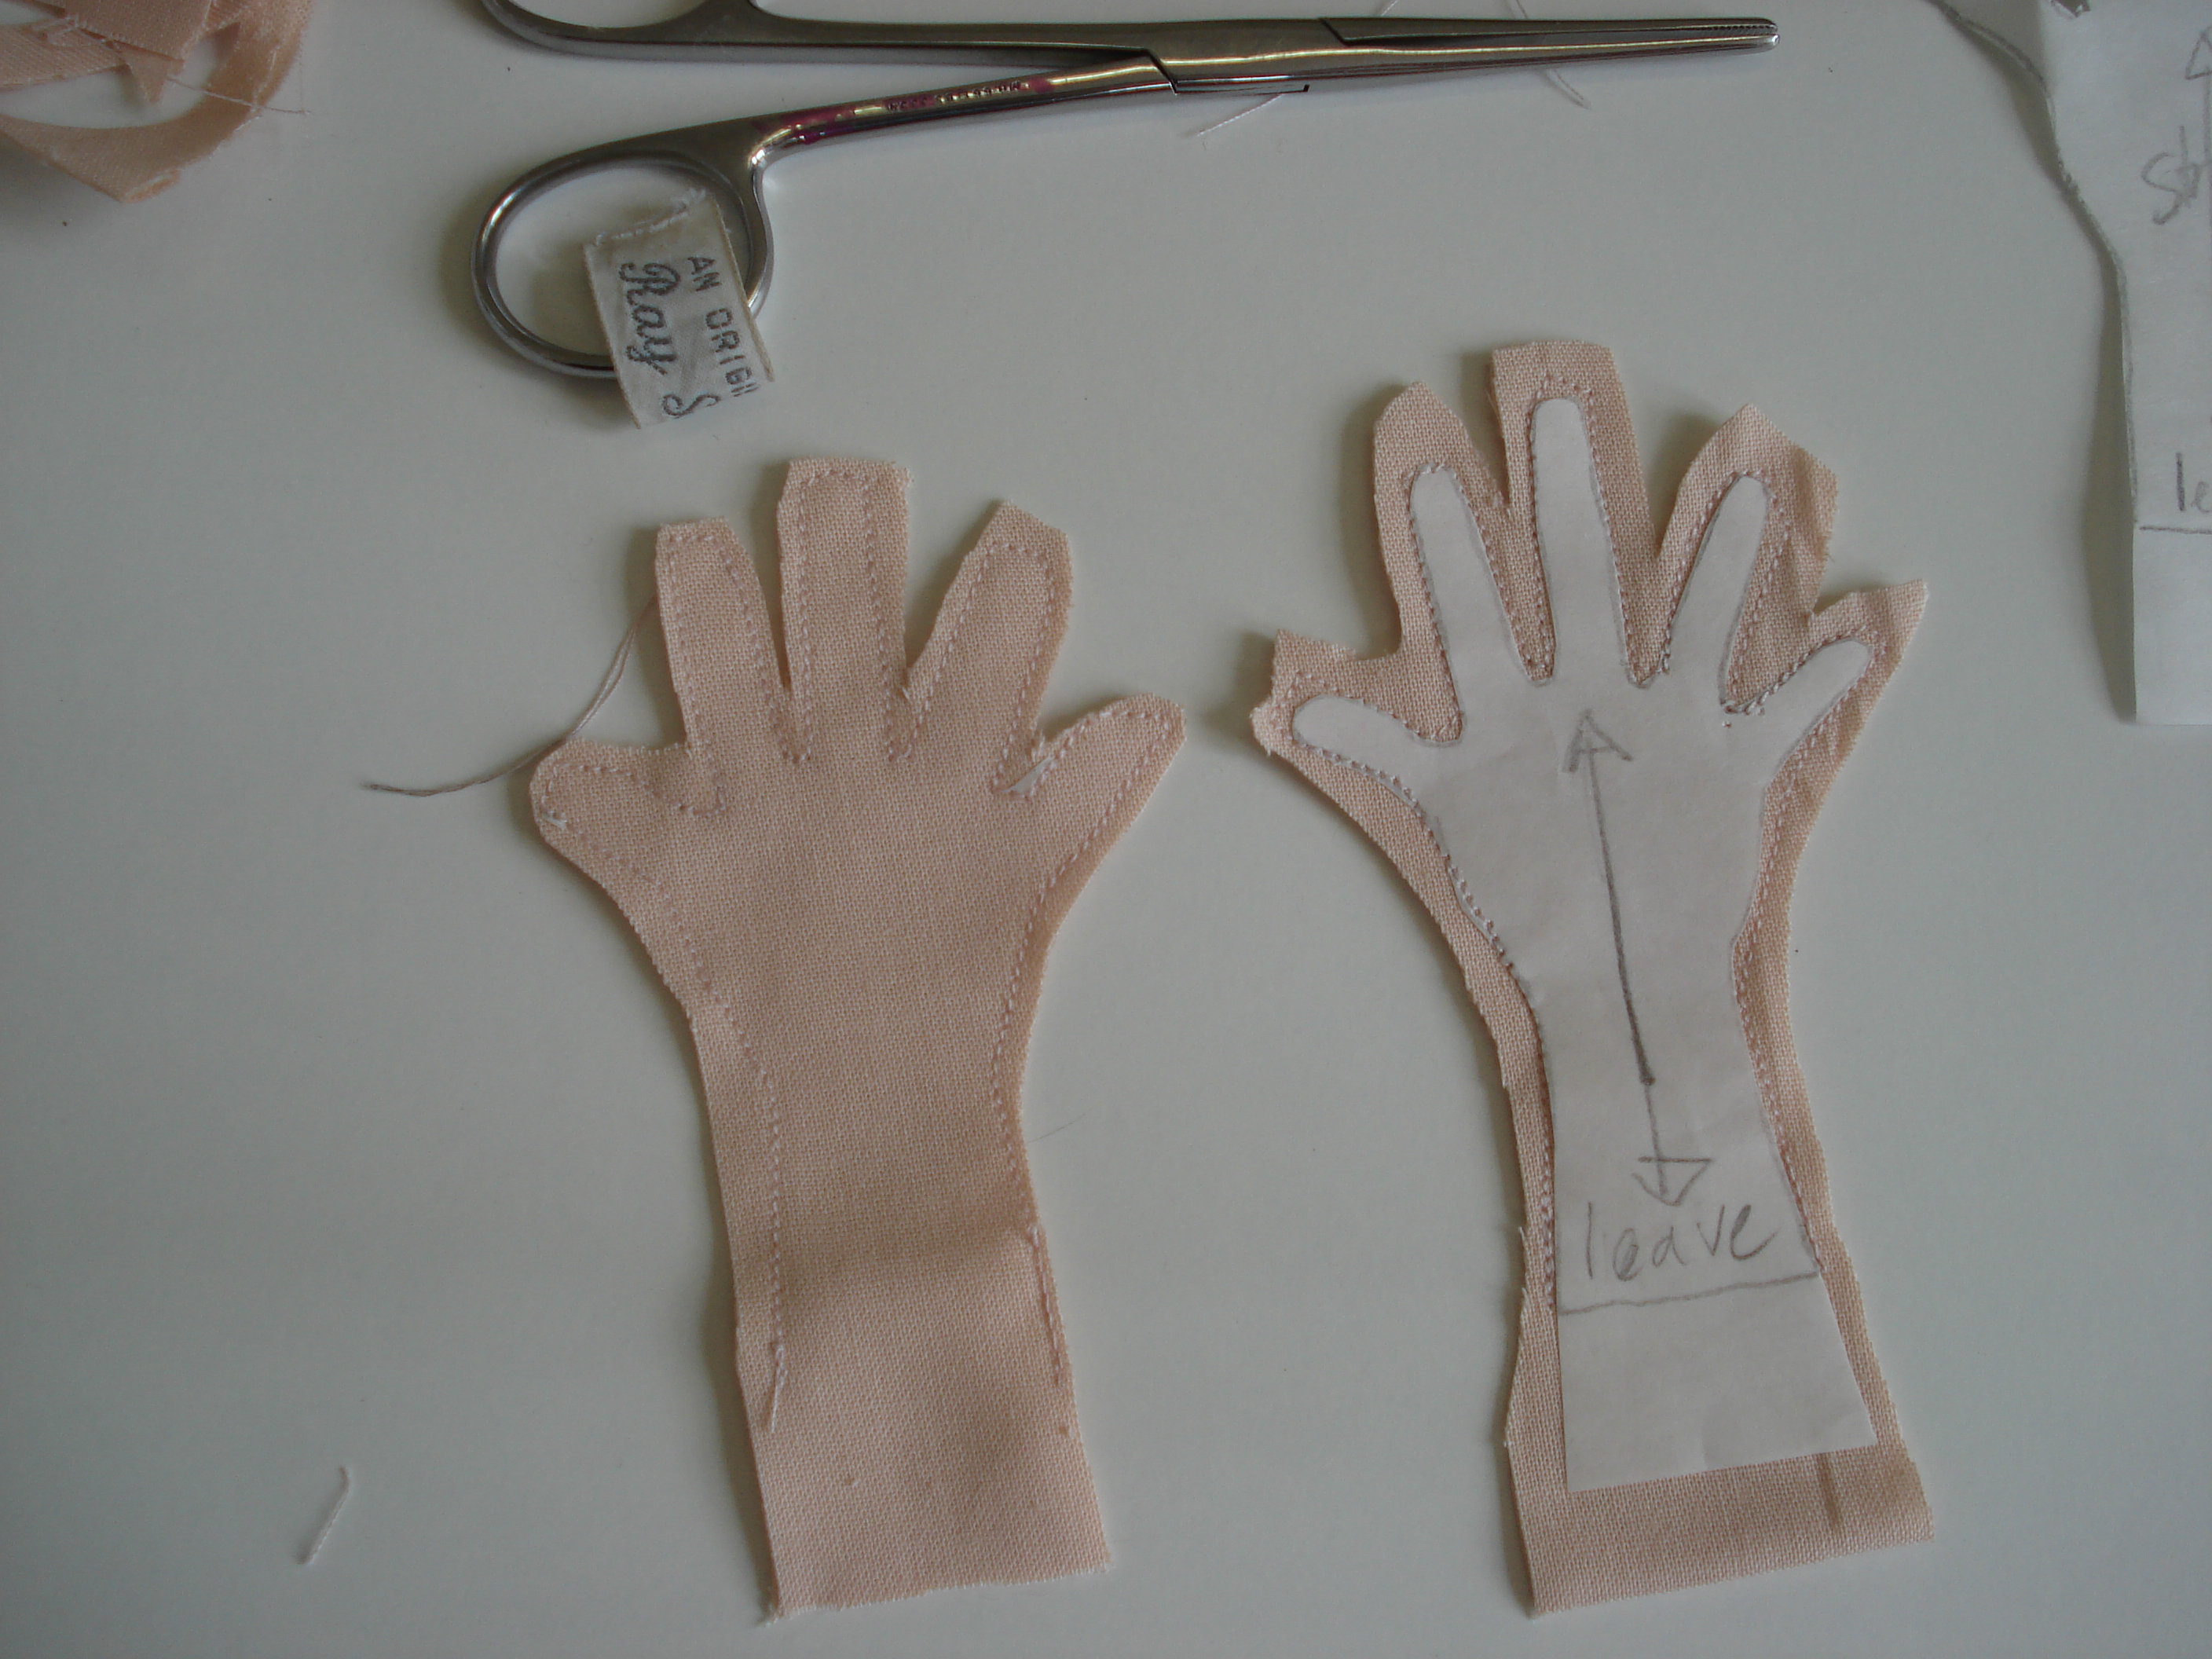
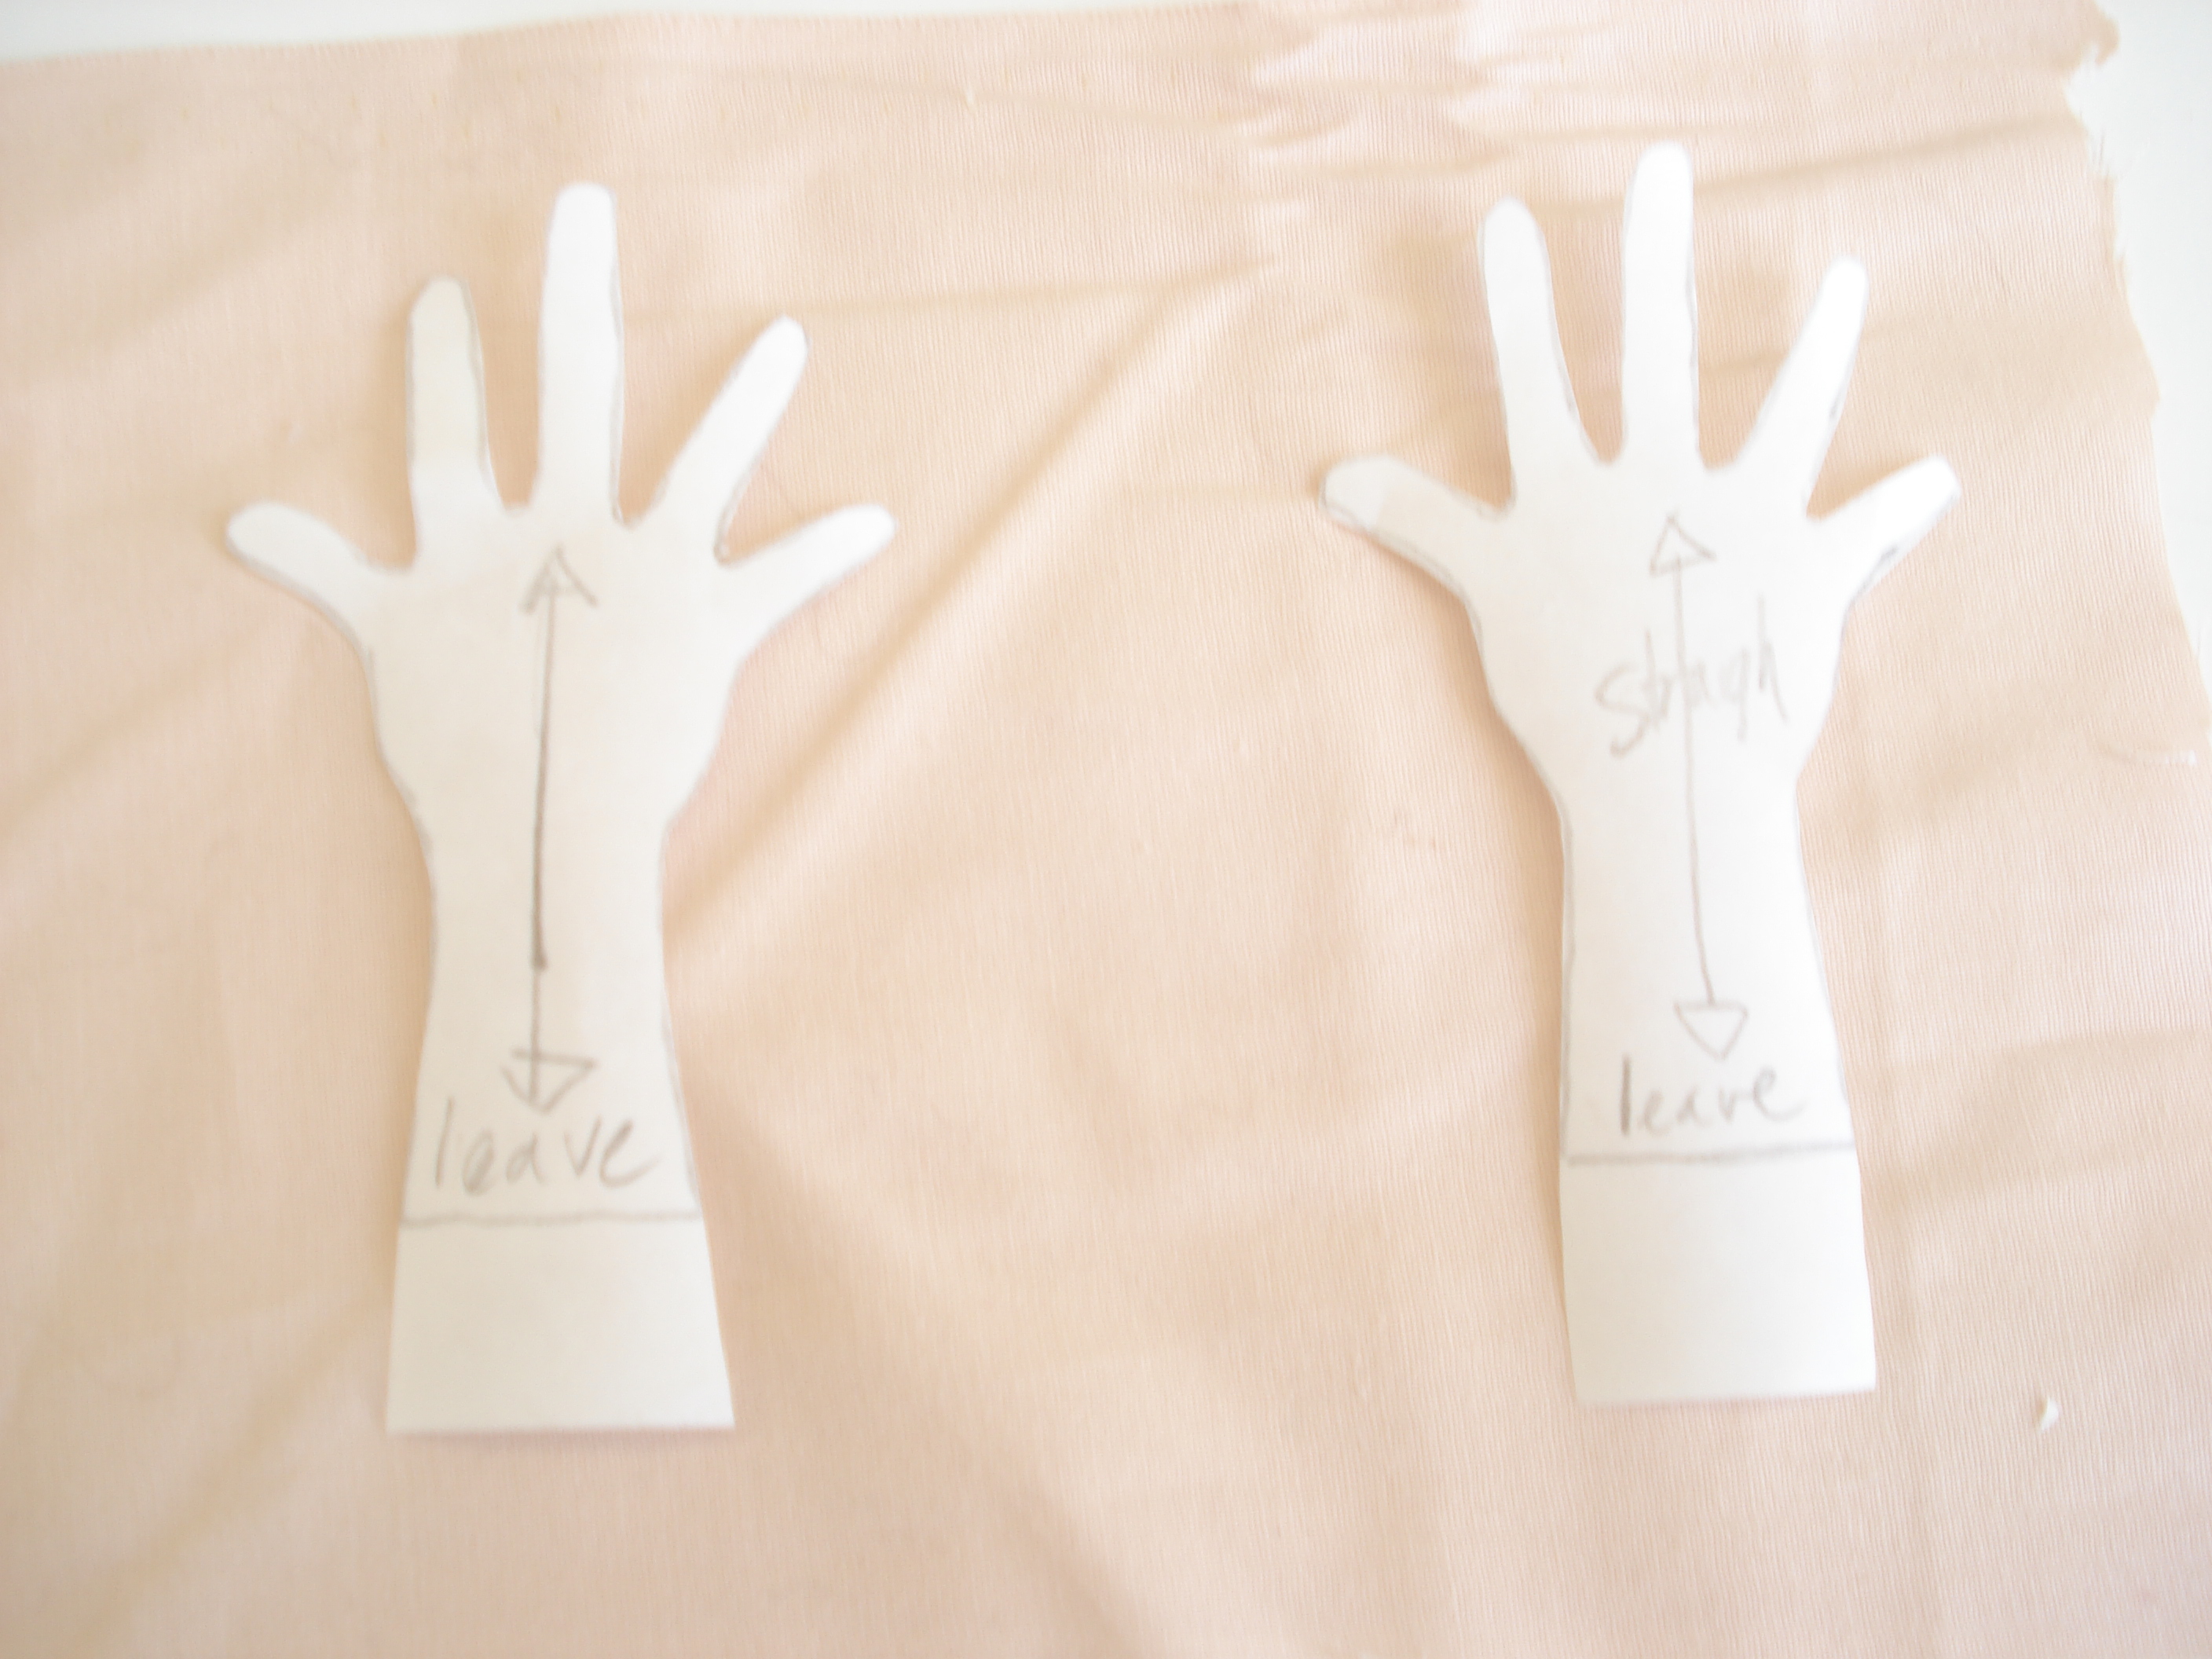 Here are the hand cut out next to some forceps (excellent stuffing tool) for scale. See tiny (and a nightmare to sew in between the fingers, but I managed).
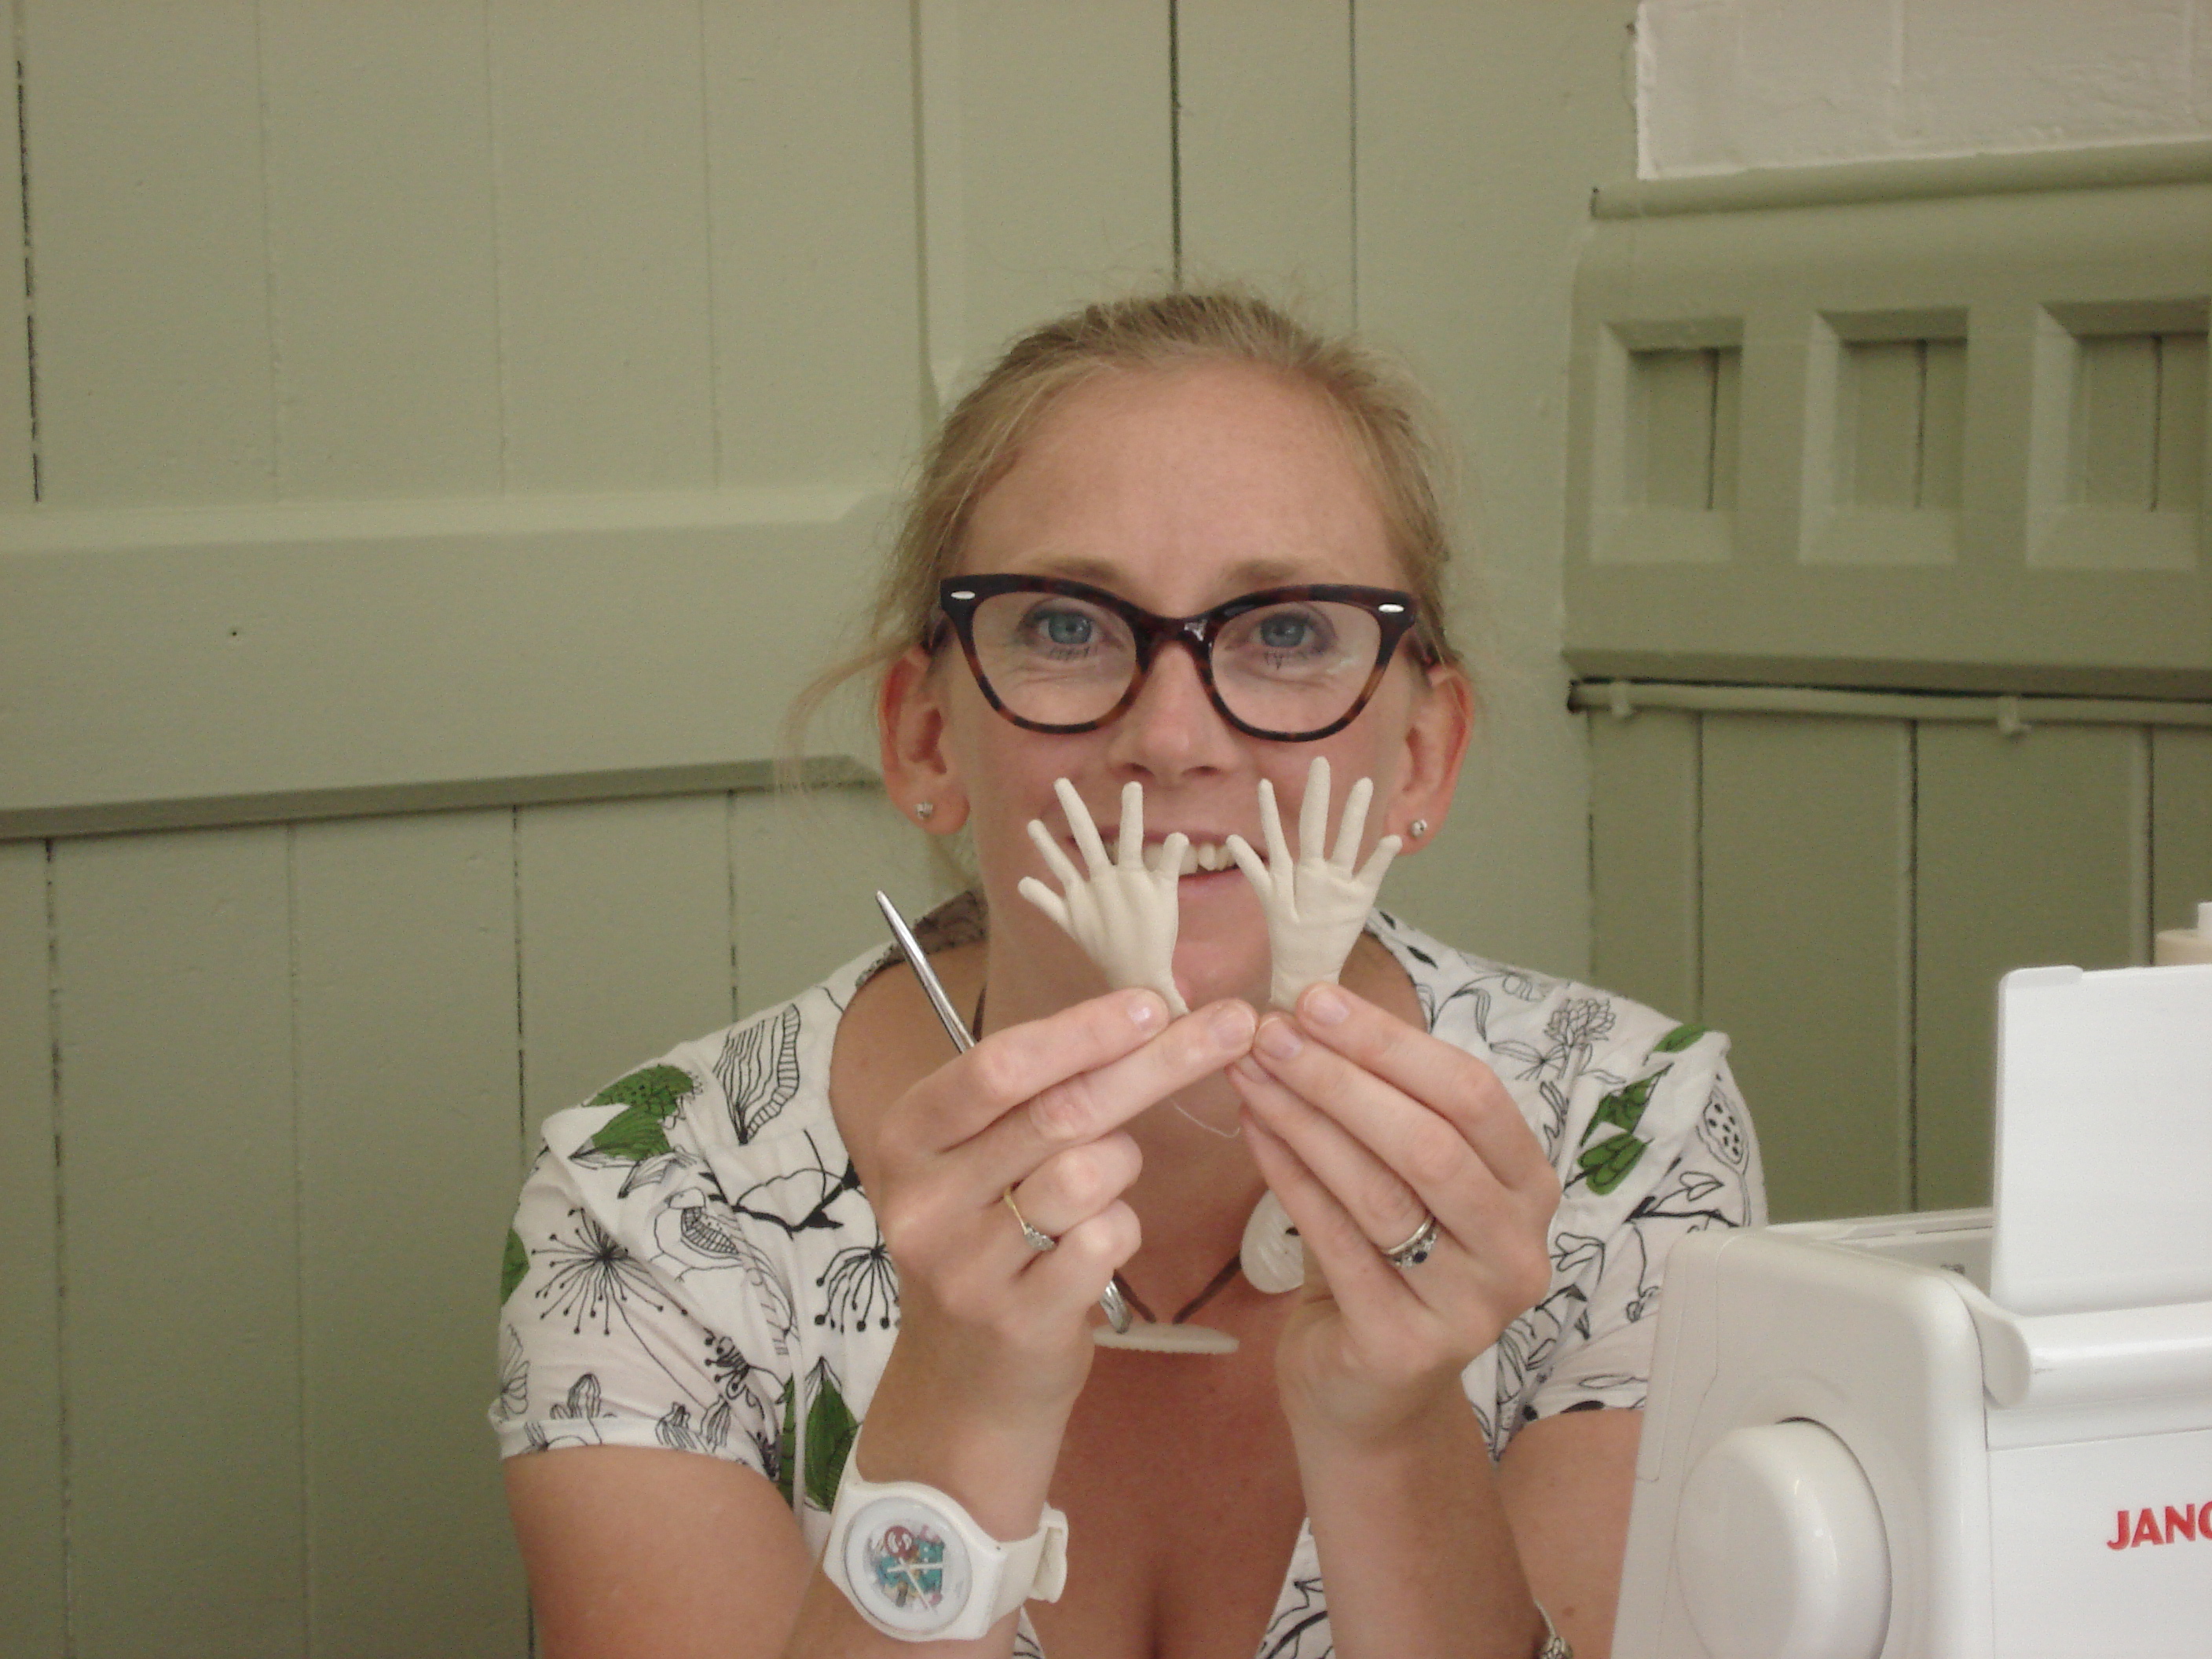
 We had forceps to do all of the stuffing which really helped and even these had a bit of stuffing inside as well as pipe cleaners in the individual fingers, here are a pair of finished hands.
 So with all the parts ready we were able to start the assembly.
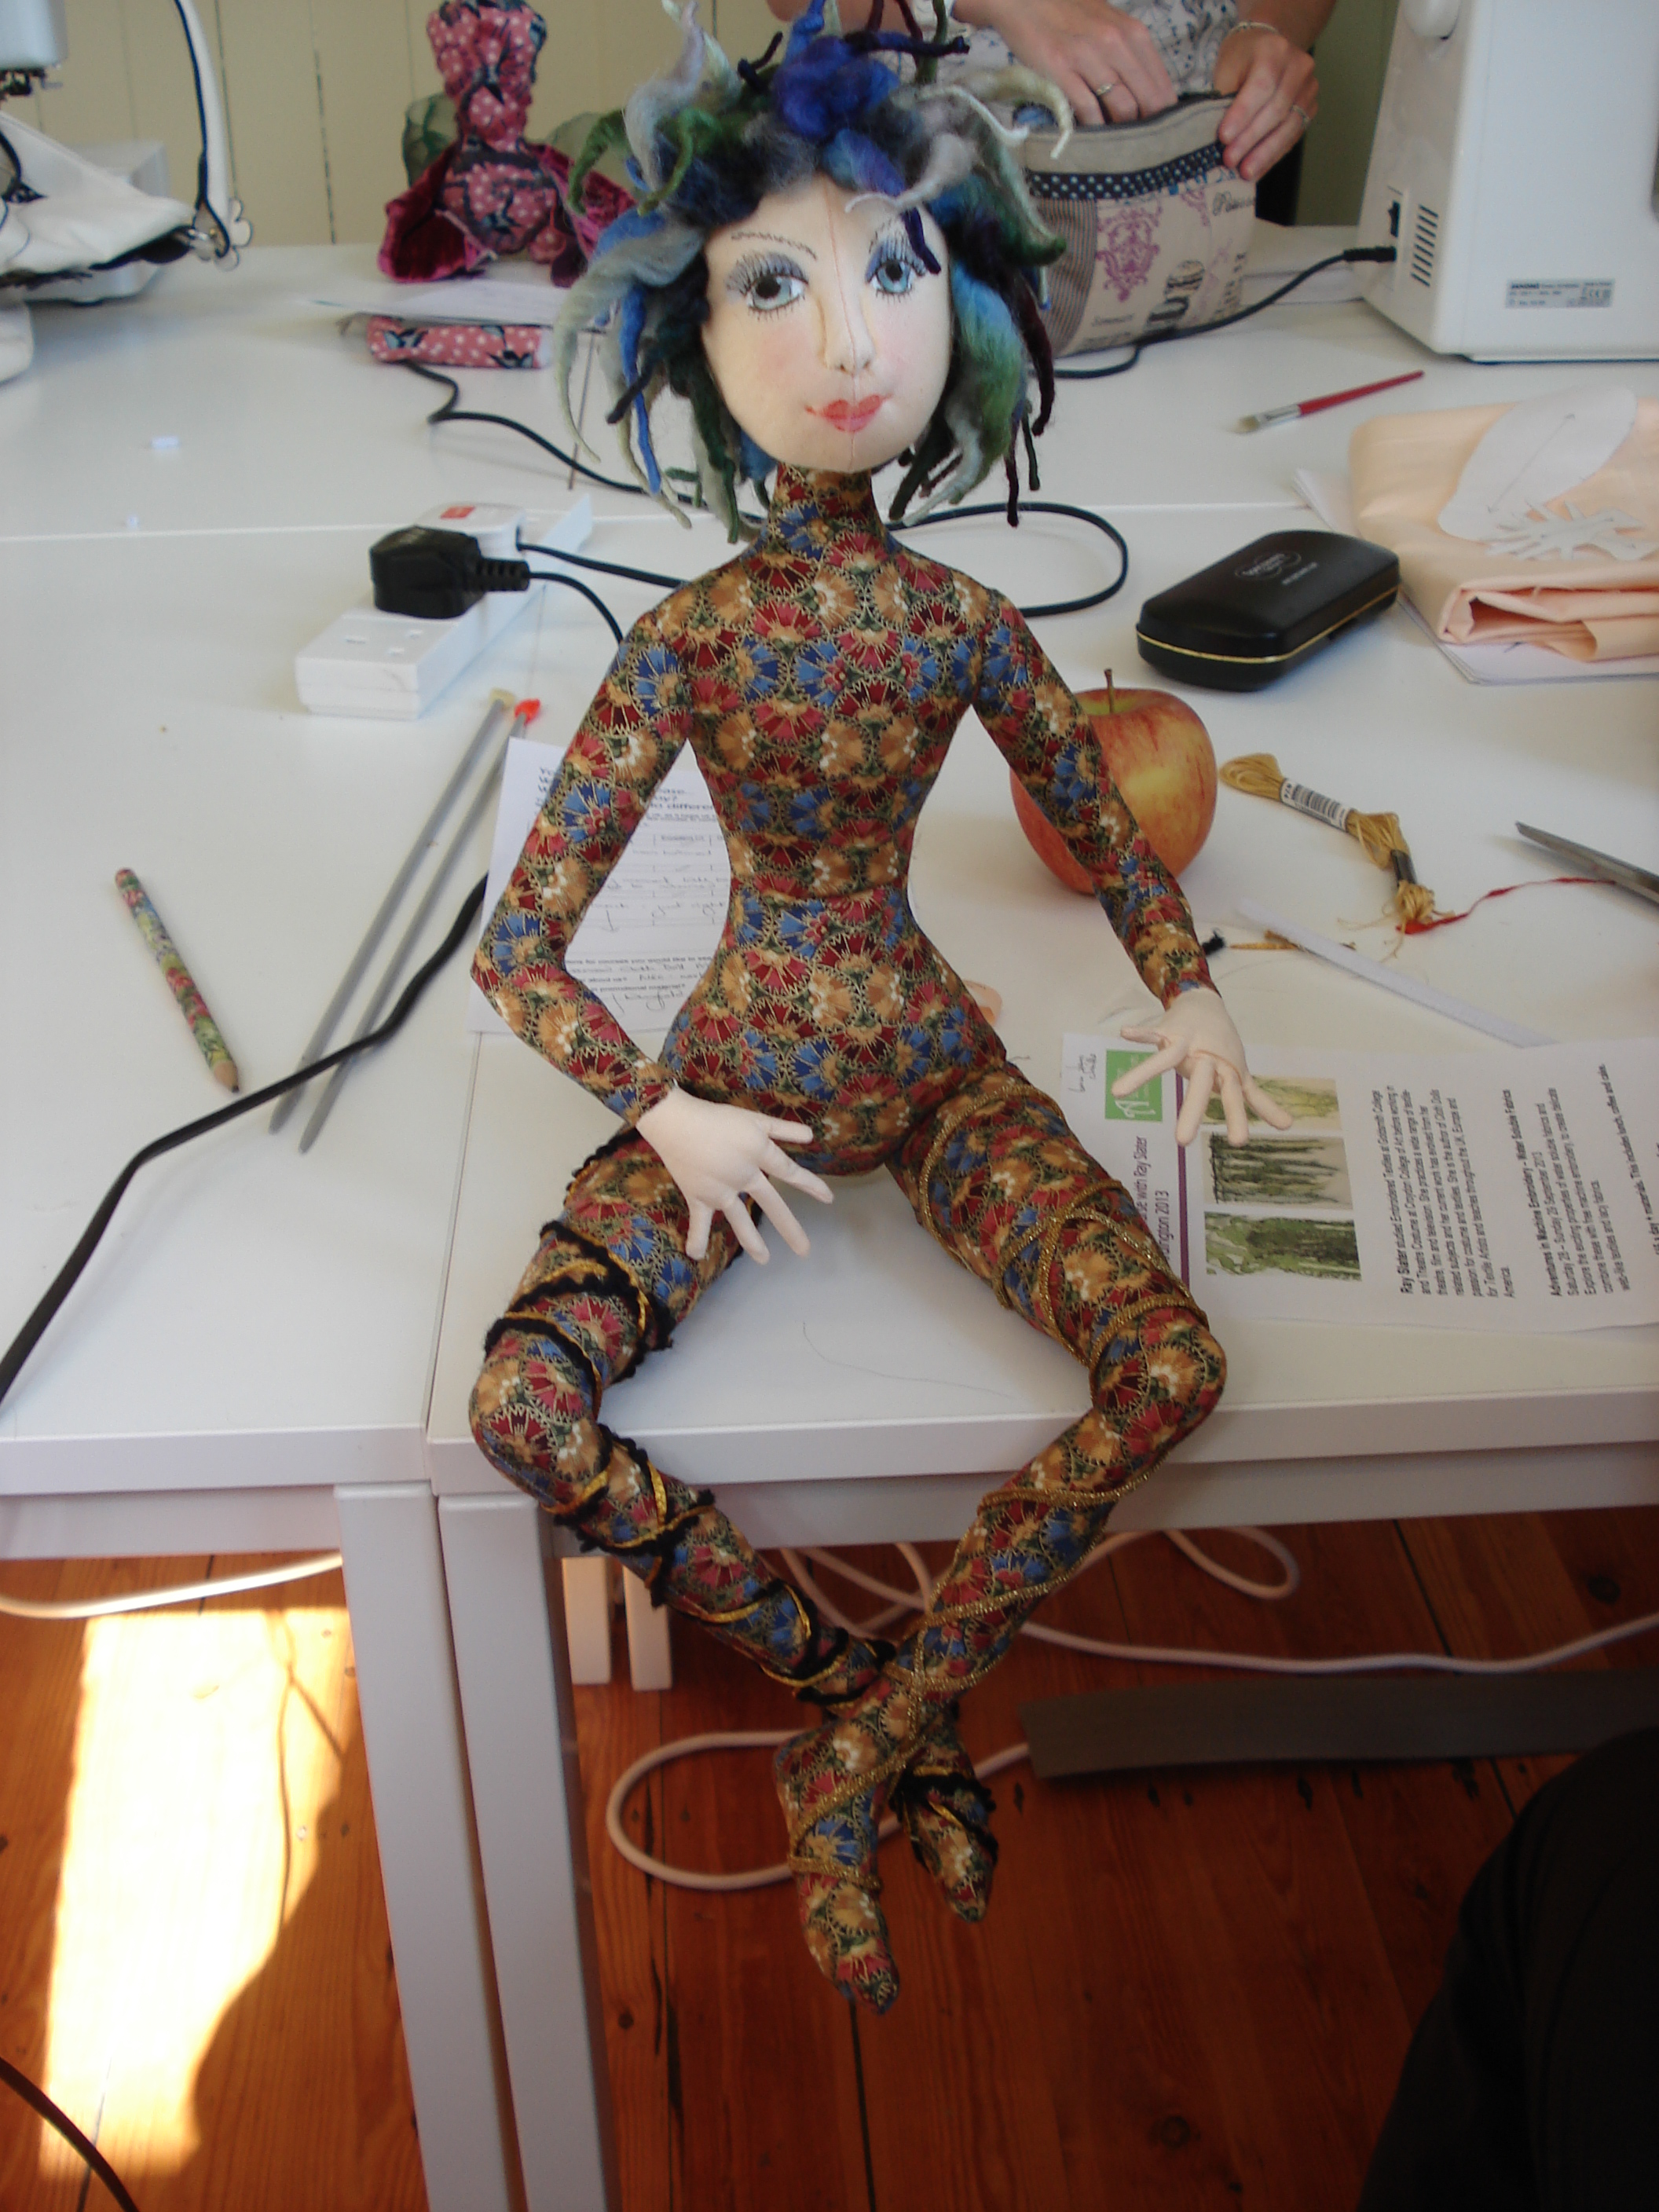
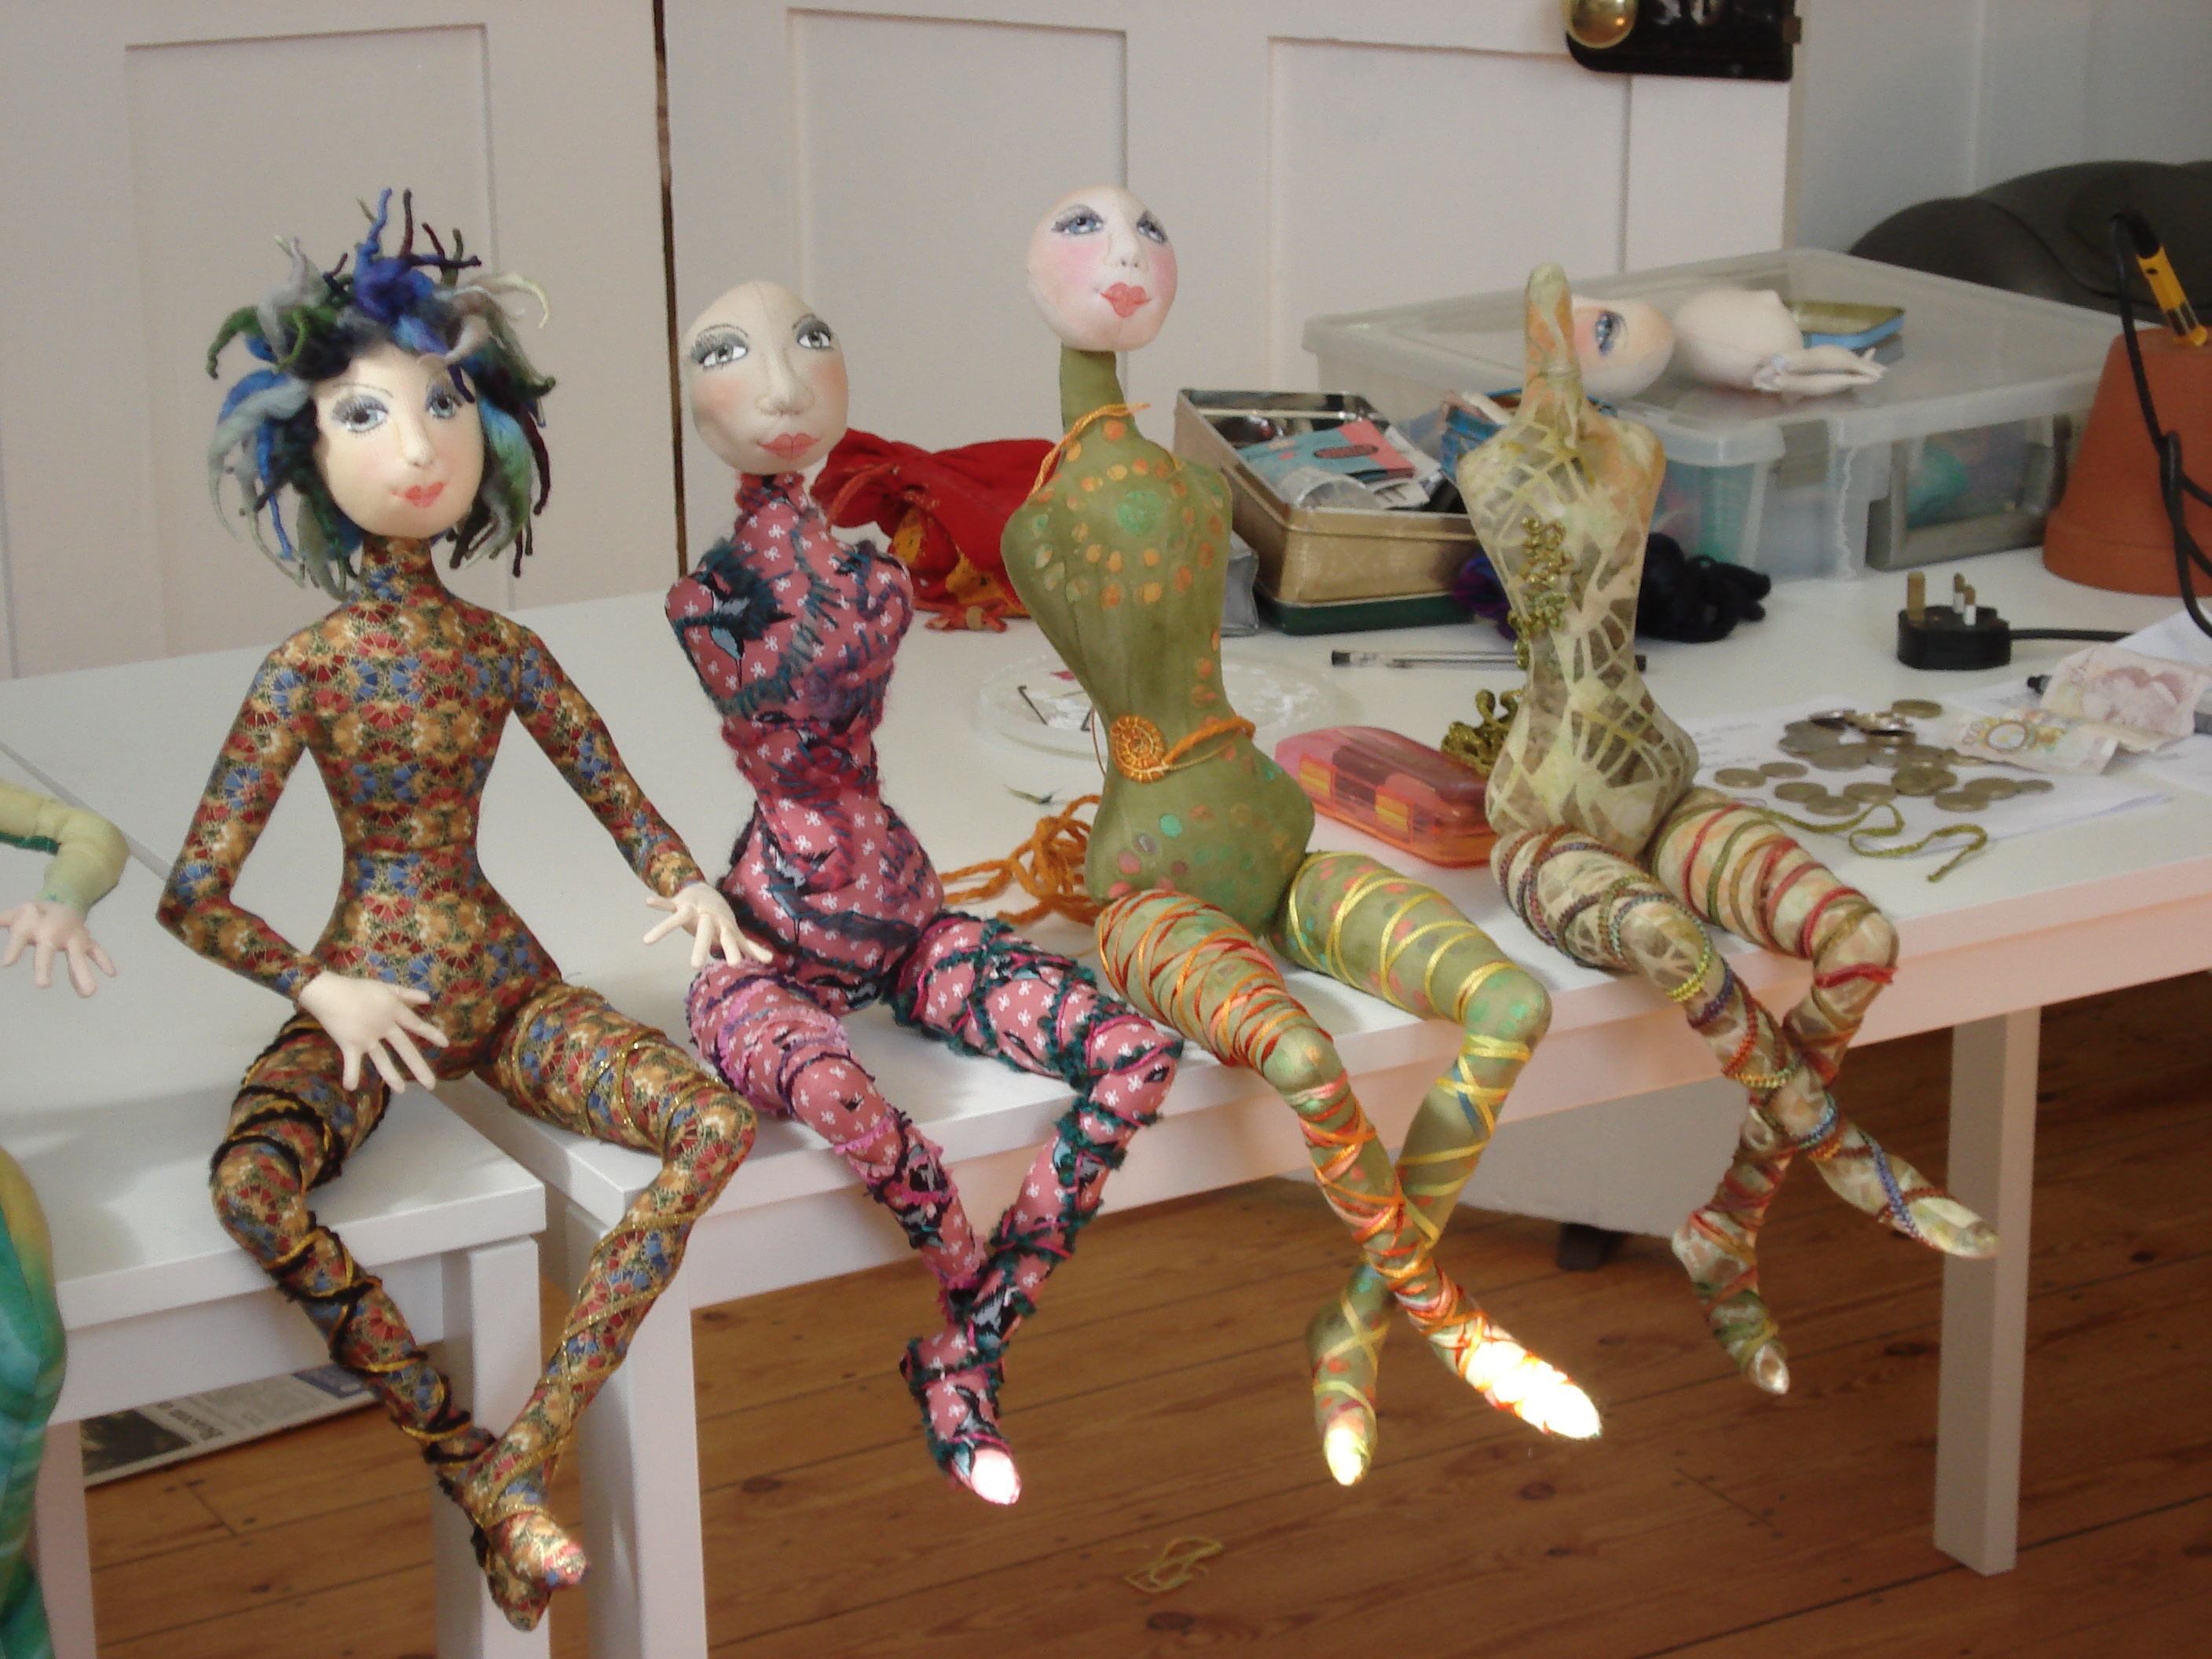
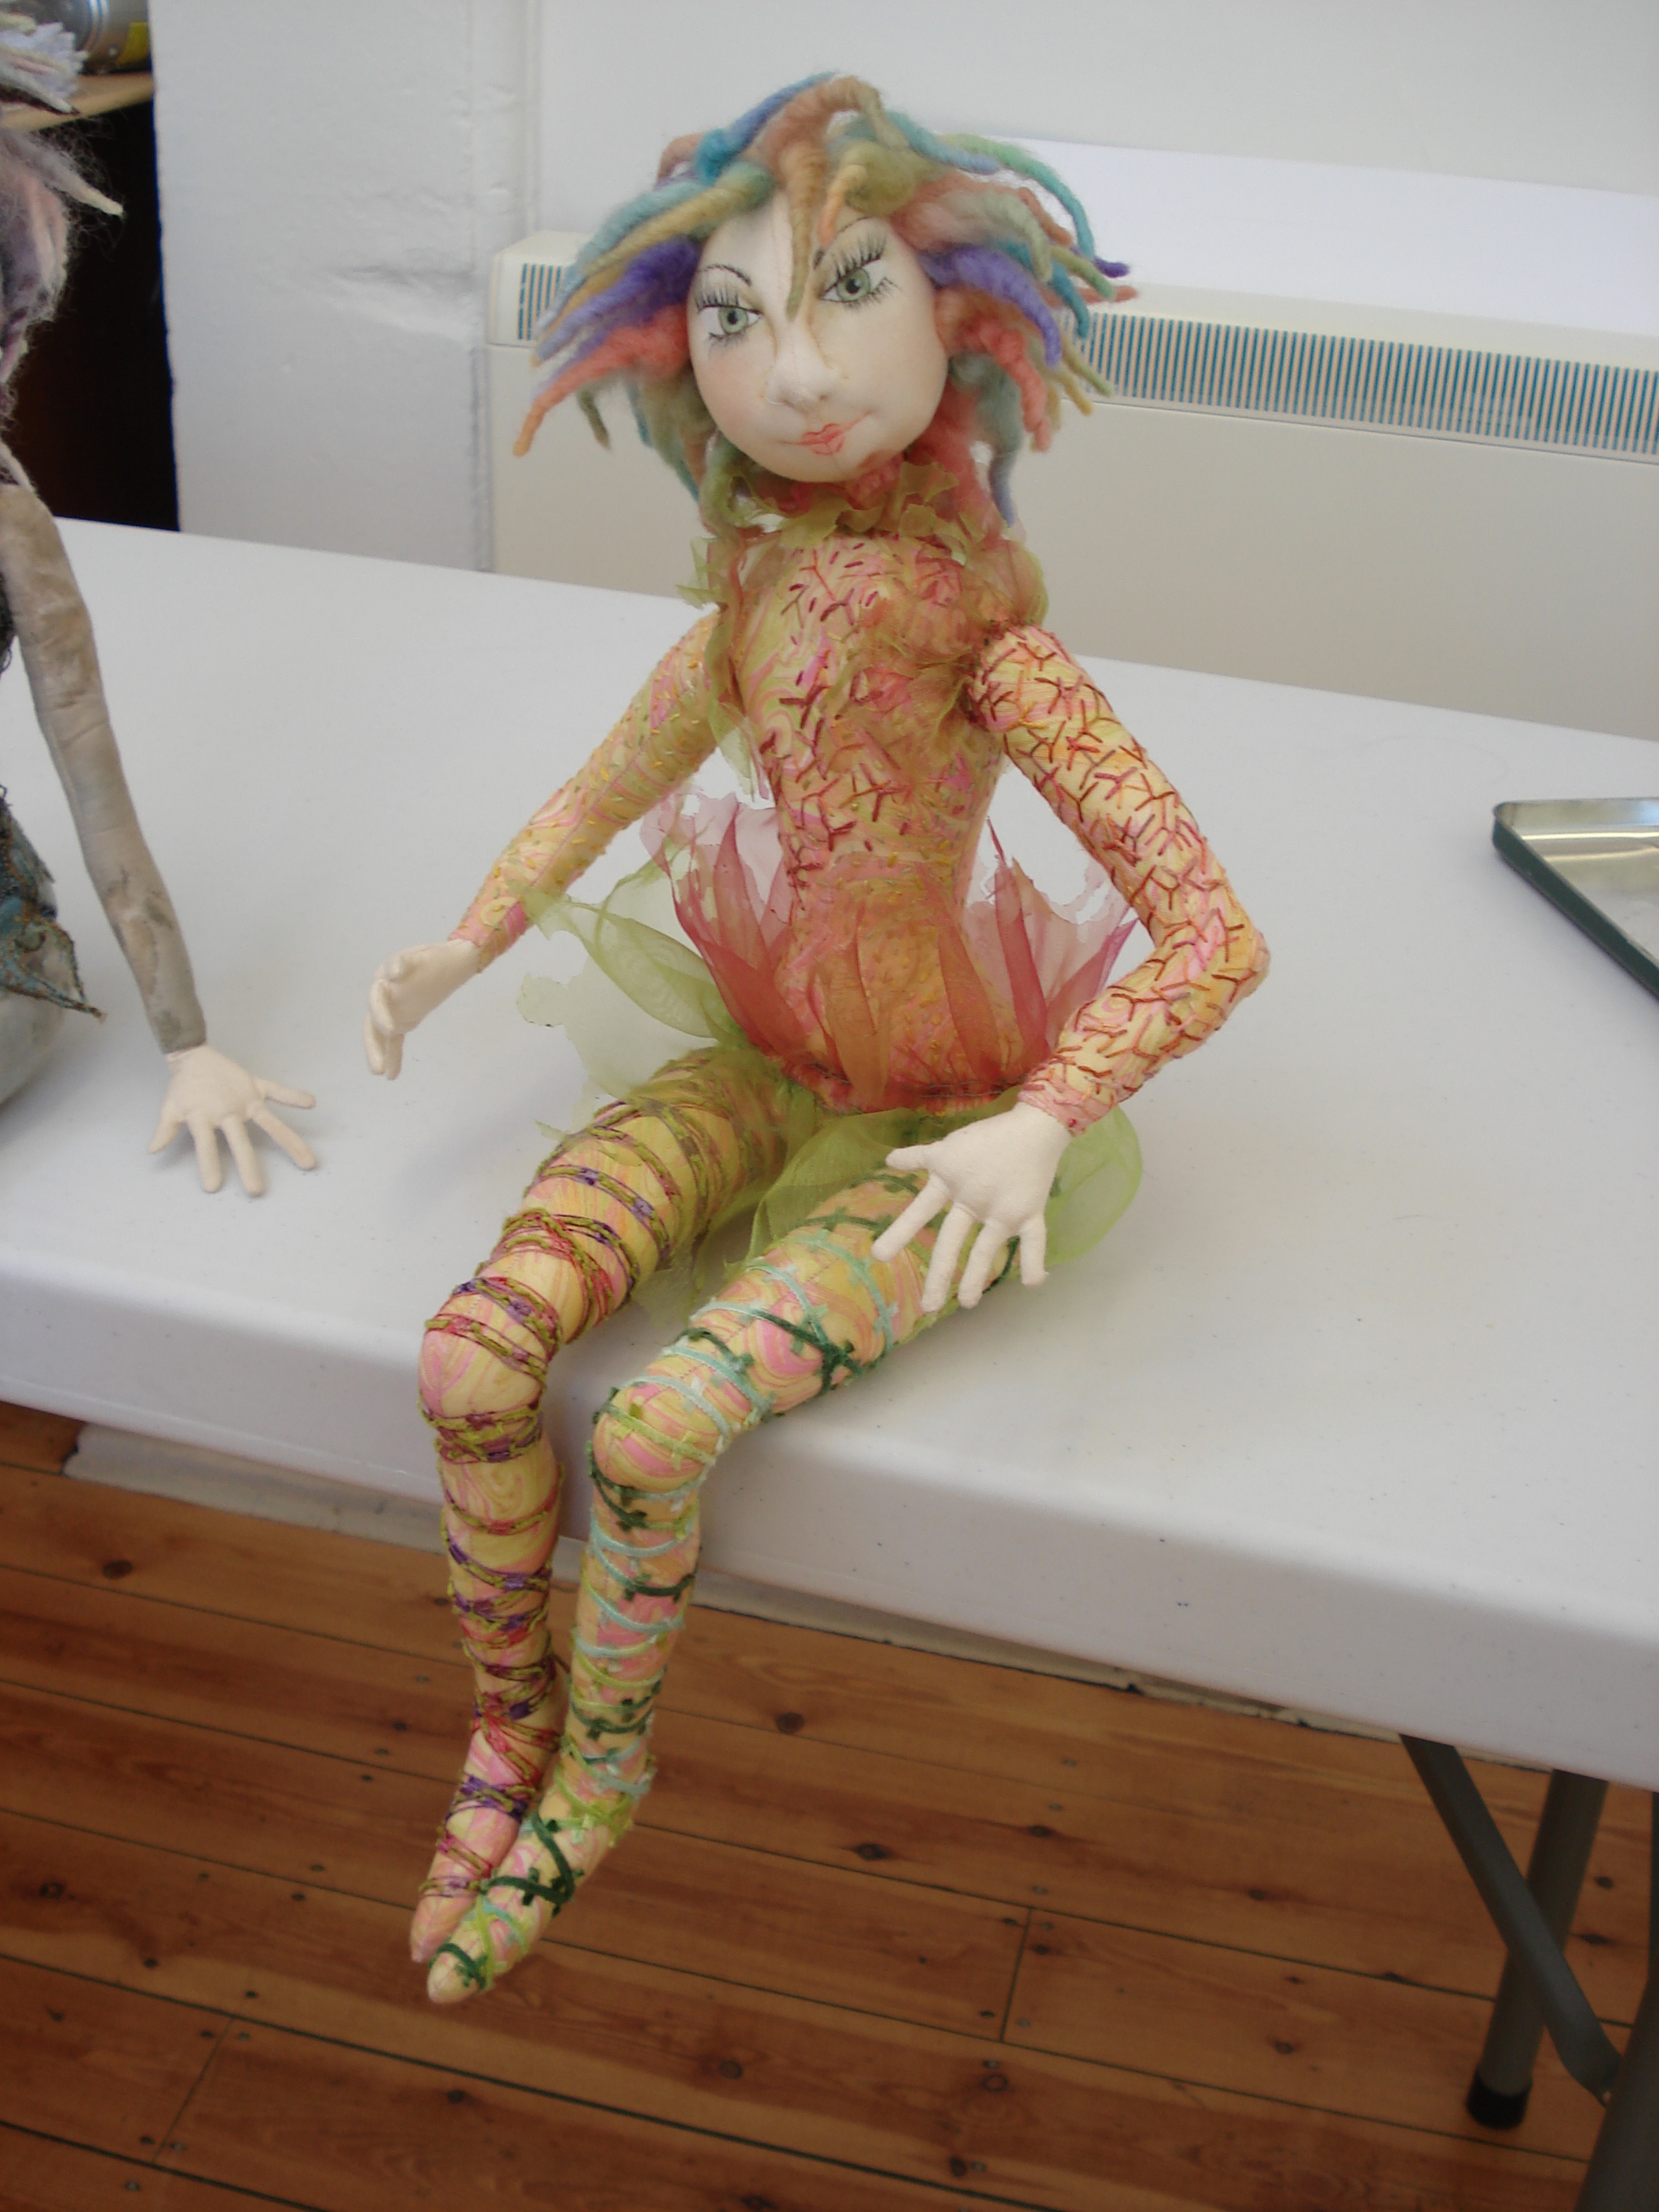
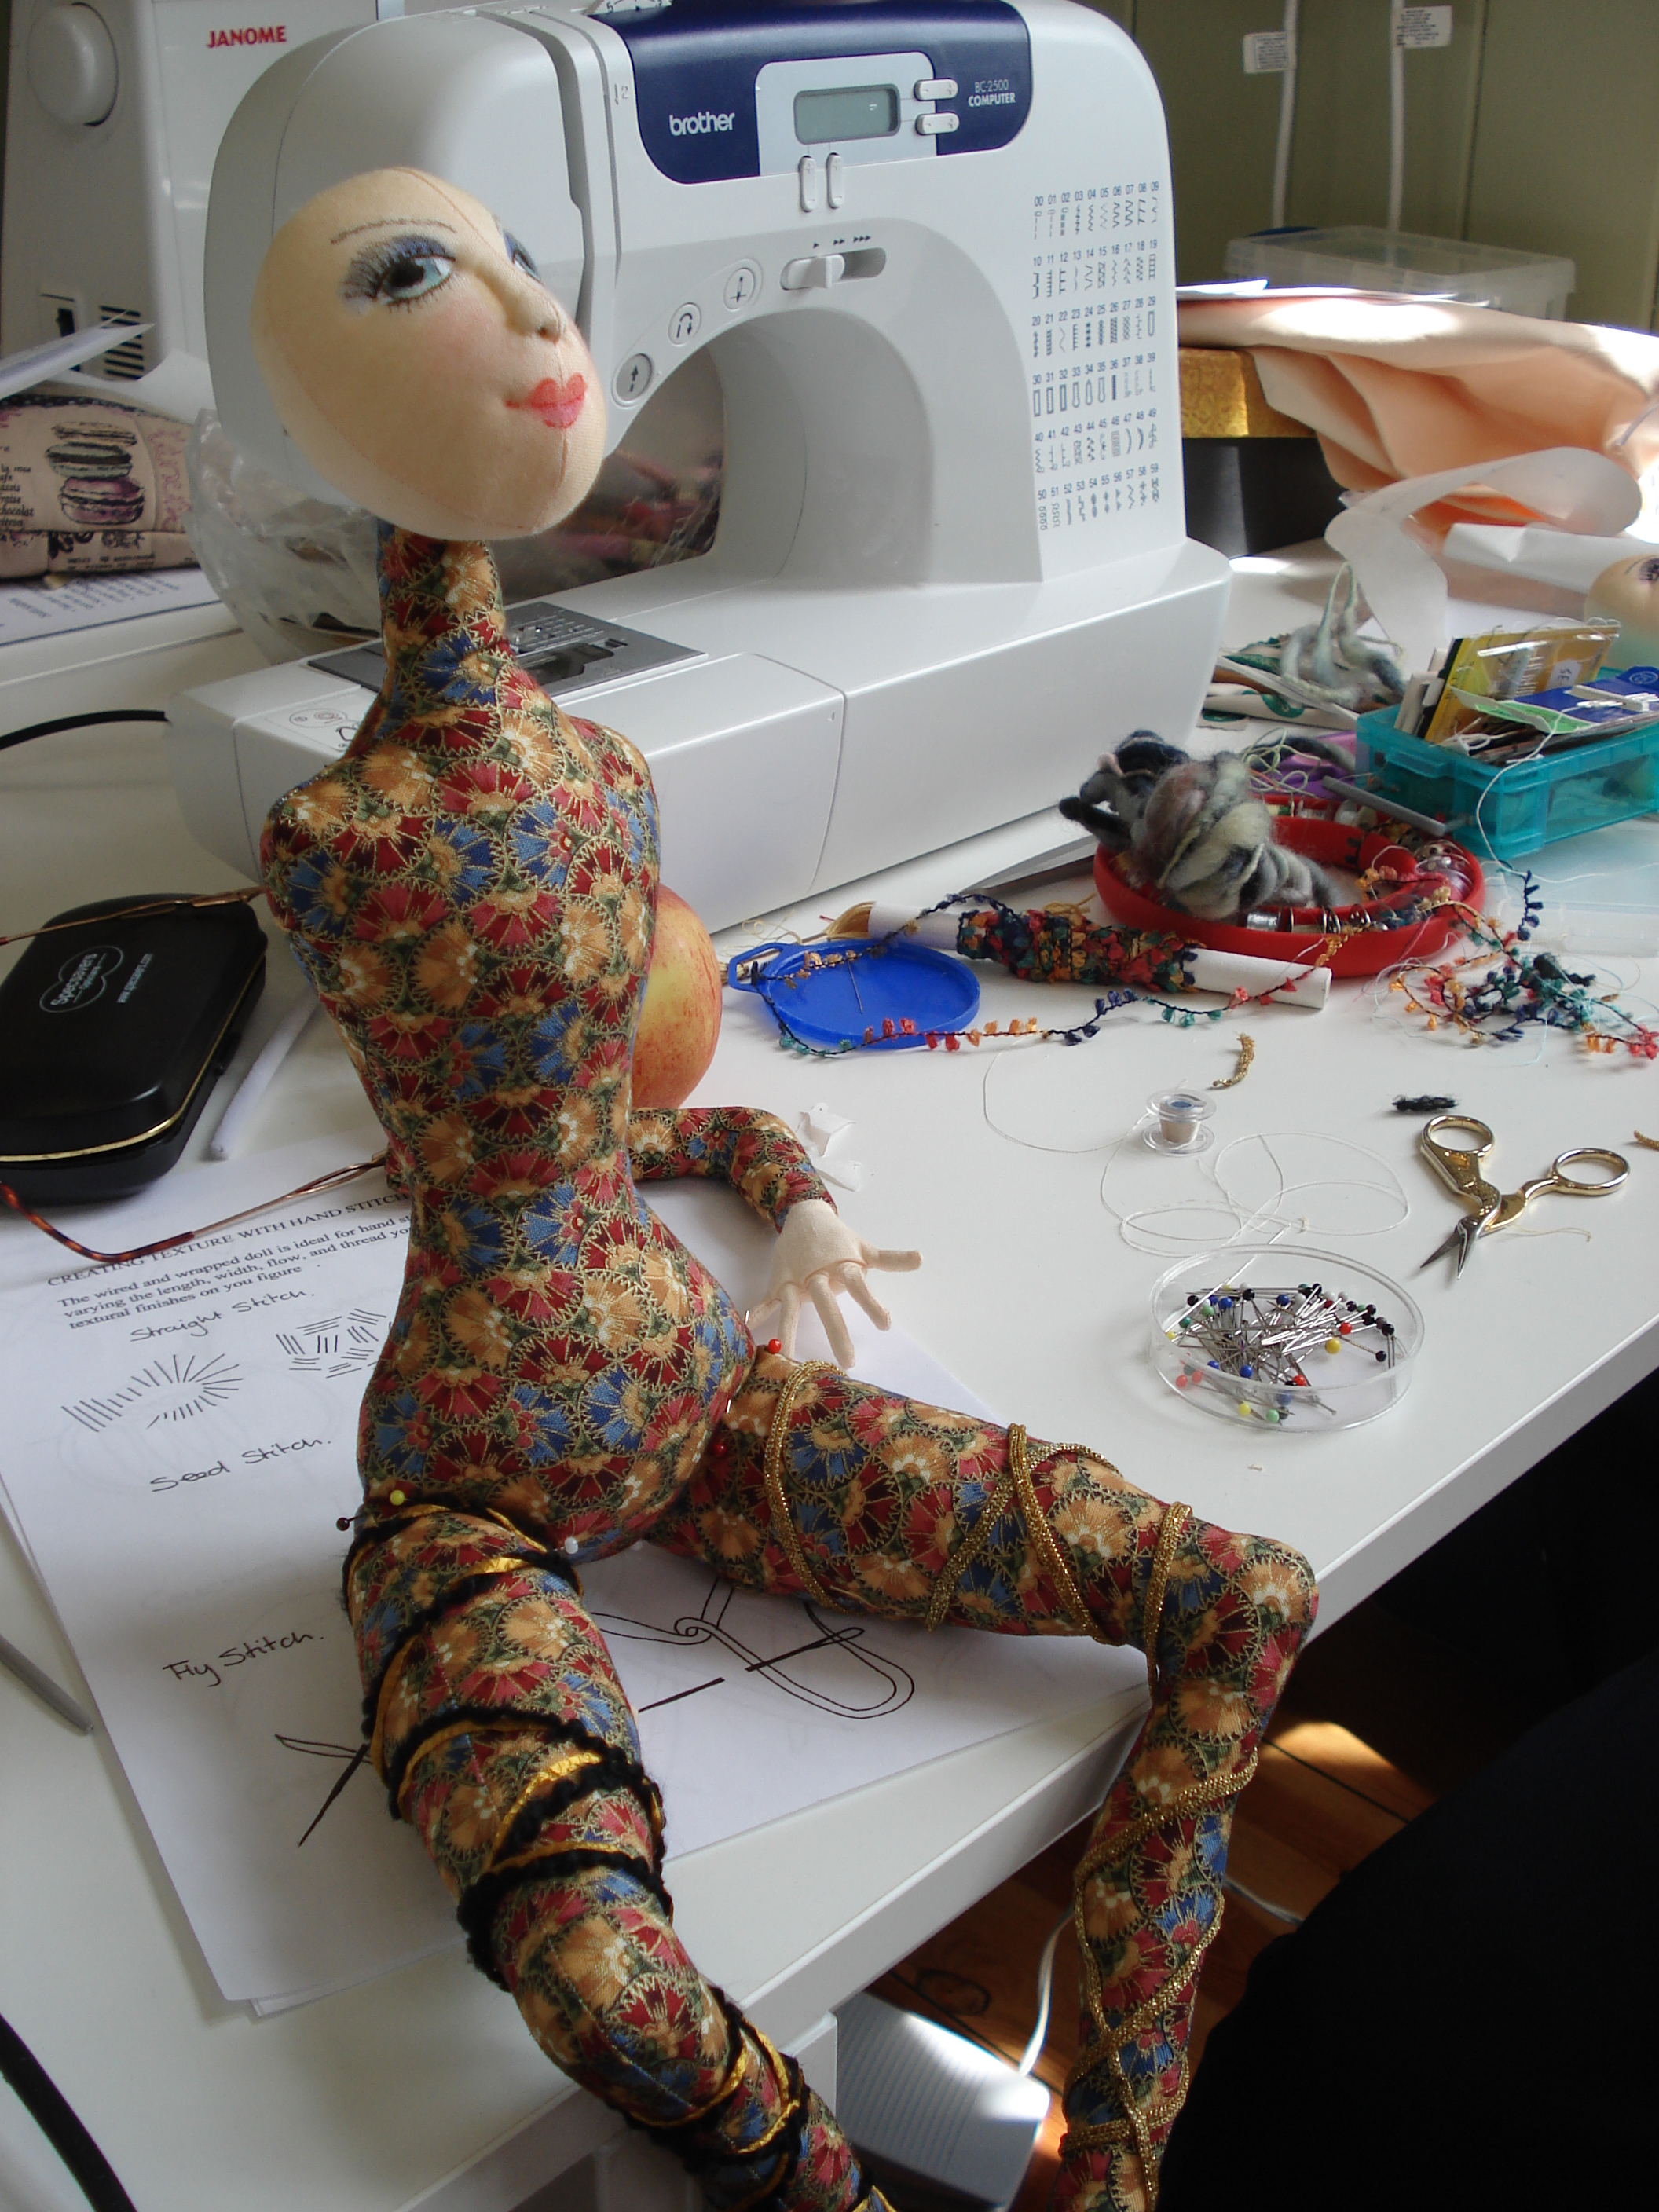 This was my desk mate Jean’s doll, isn’t she lovely? Once the body was all joined we got the opportunity to embellish, I did a couple of stitches but I couldn’t get my holding knots right so i took them out again. Ray also encouraged us to wrap the legs in textured yarn, it looked fabulous on the other dolls but I couldn’t quite find the right colour for Arianna, so another ongoing search.
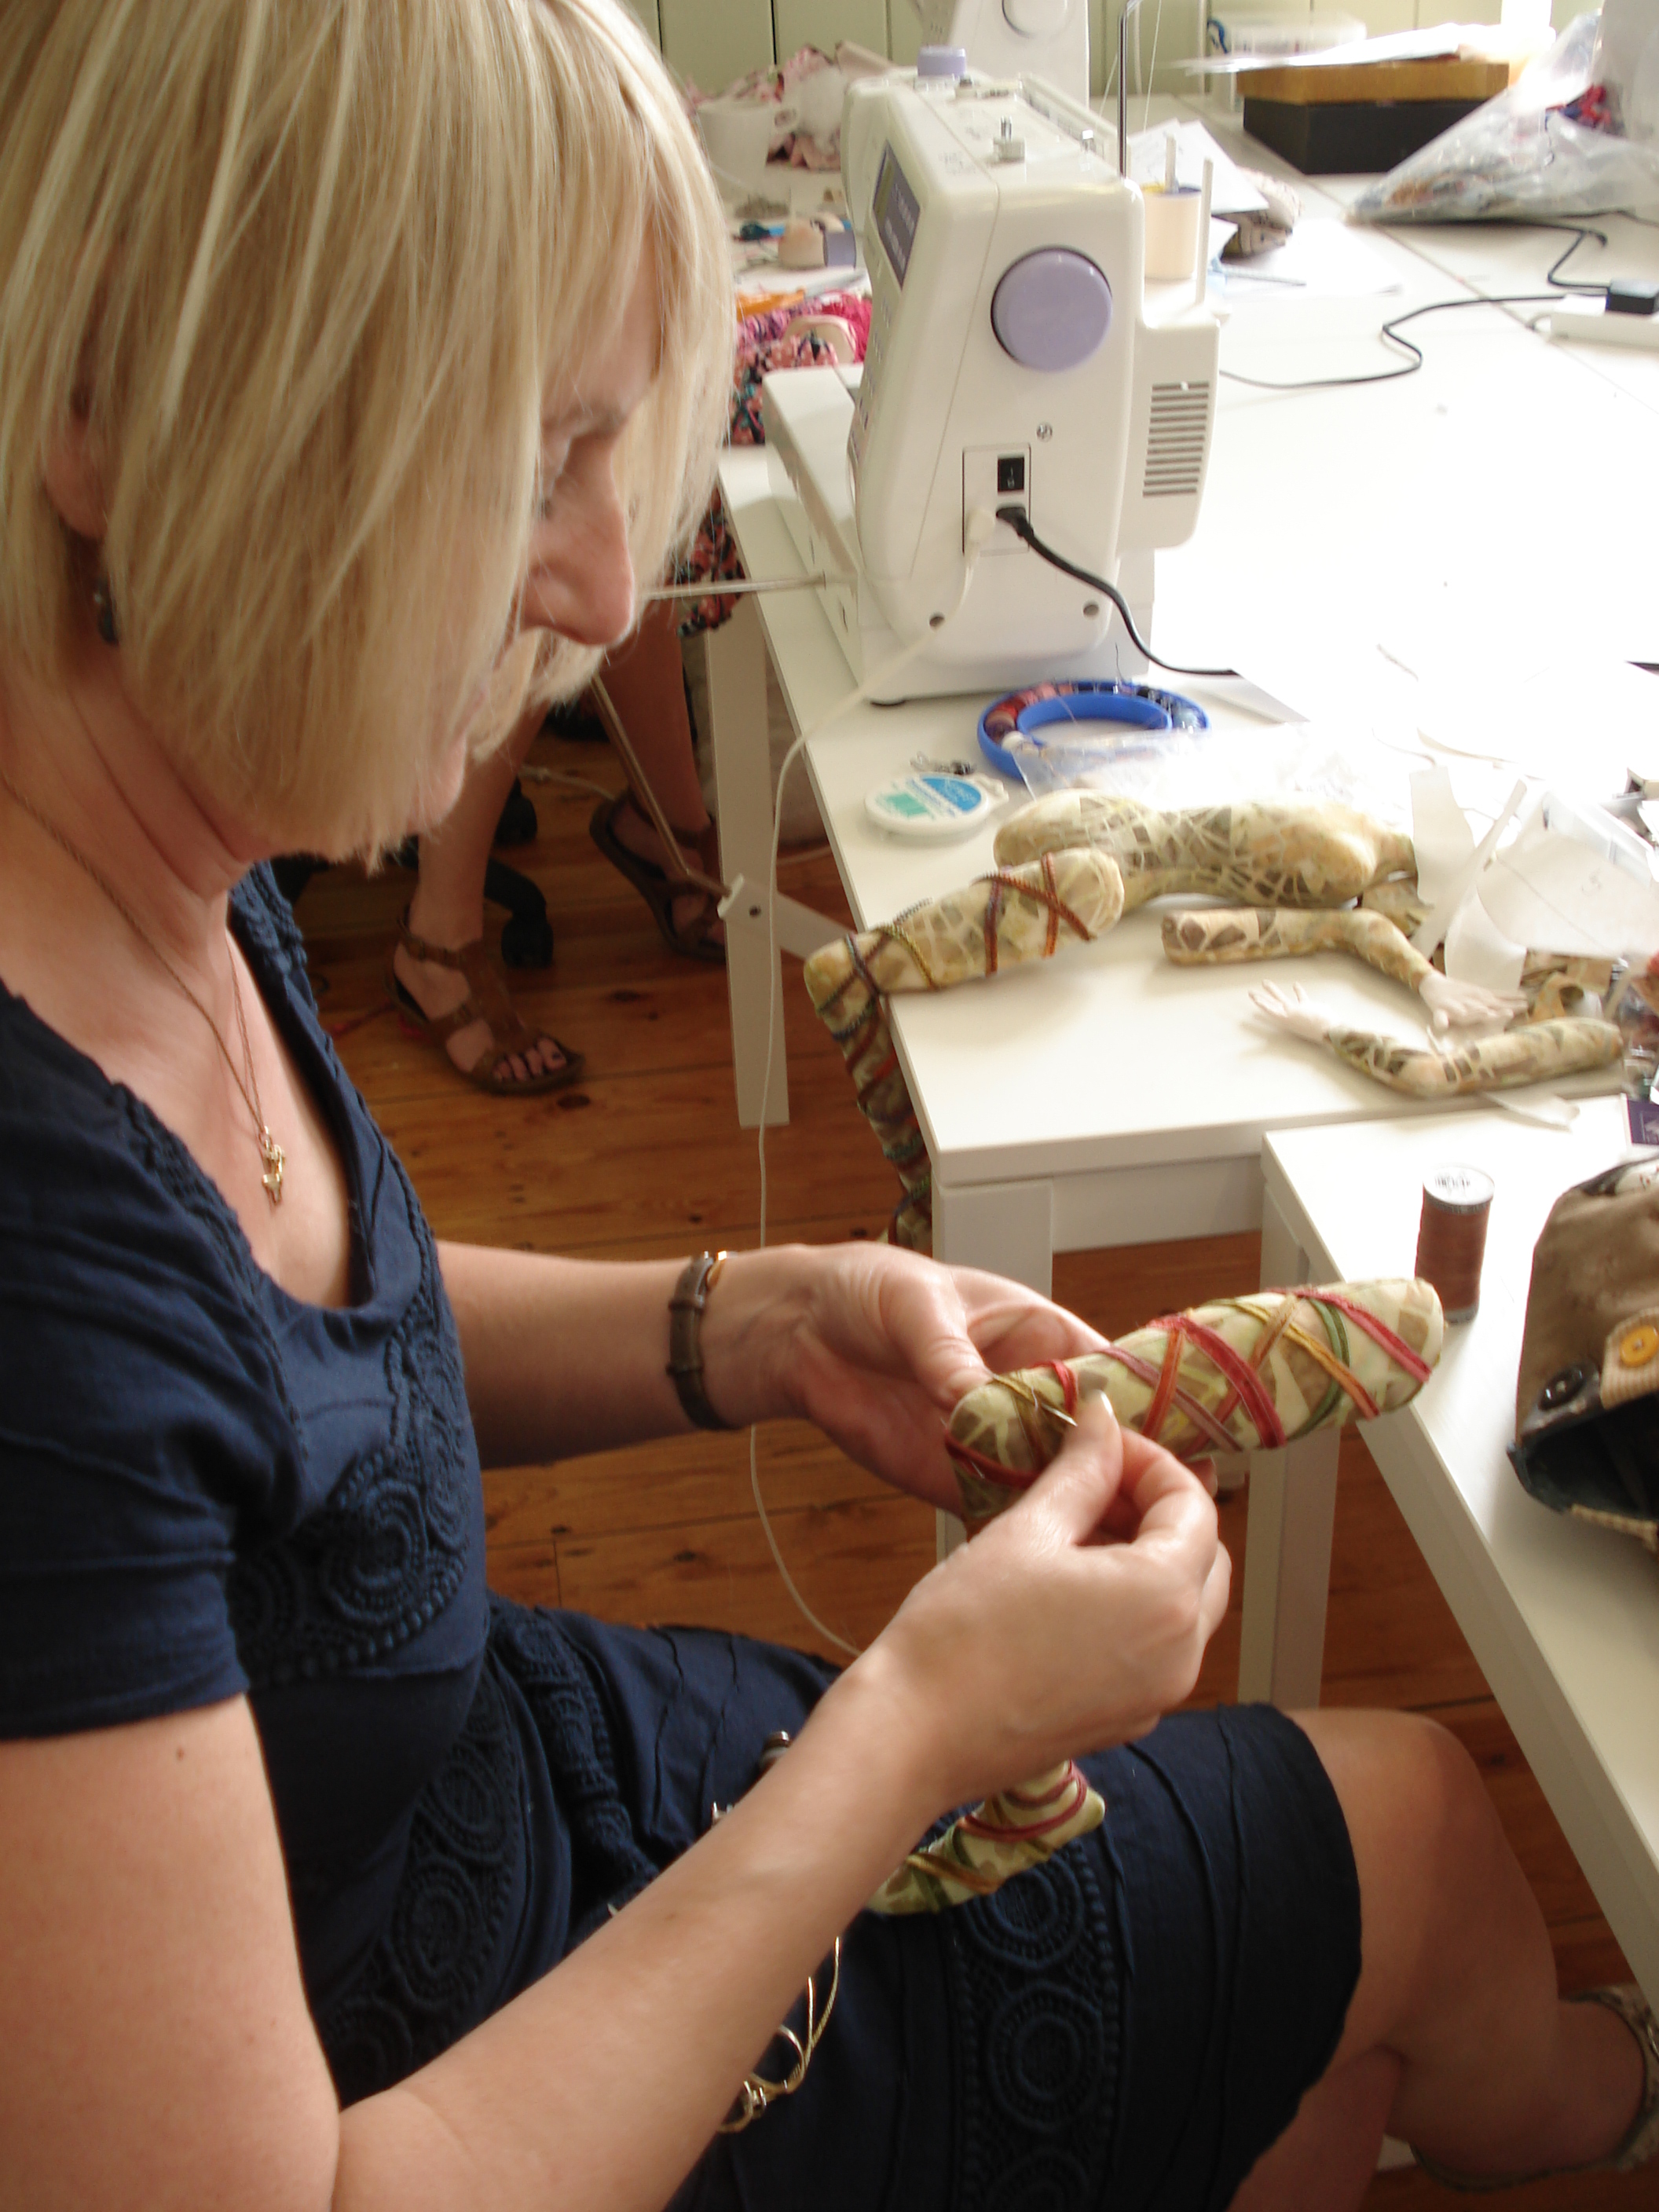
Legs being wrapped
After the embellishments were added it was time to grab some hair. I went for yellow, blues and greens to match Arianna’s body colour.
 Here she is with the start of a fine head of hair. And so in no time at all she was finished.
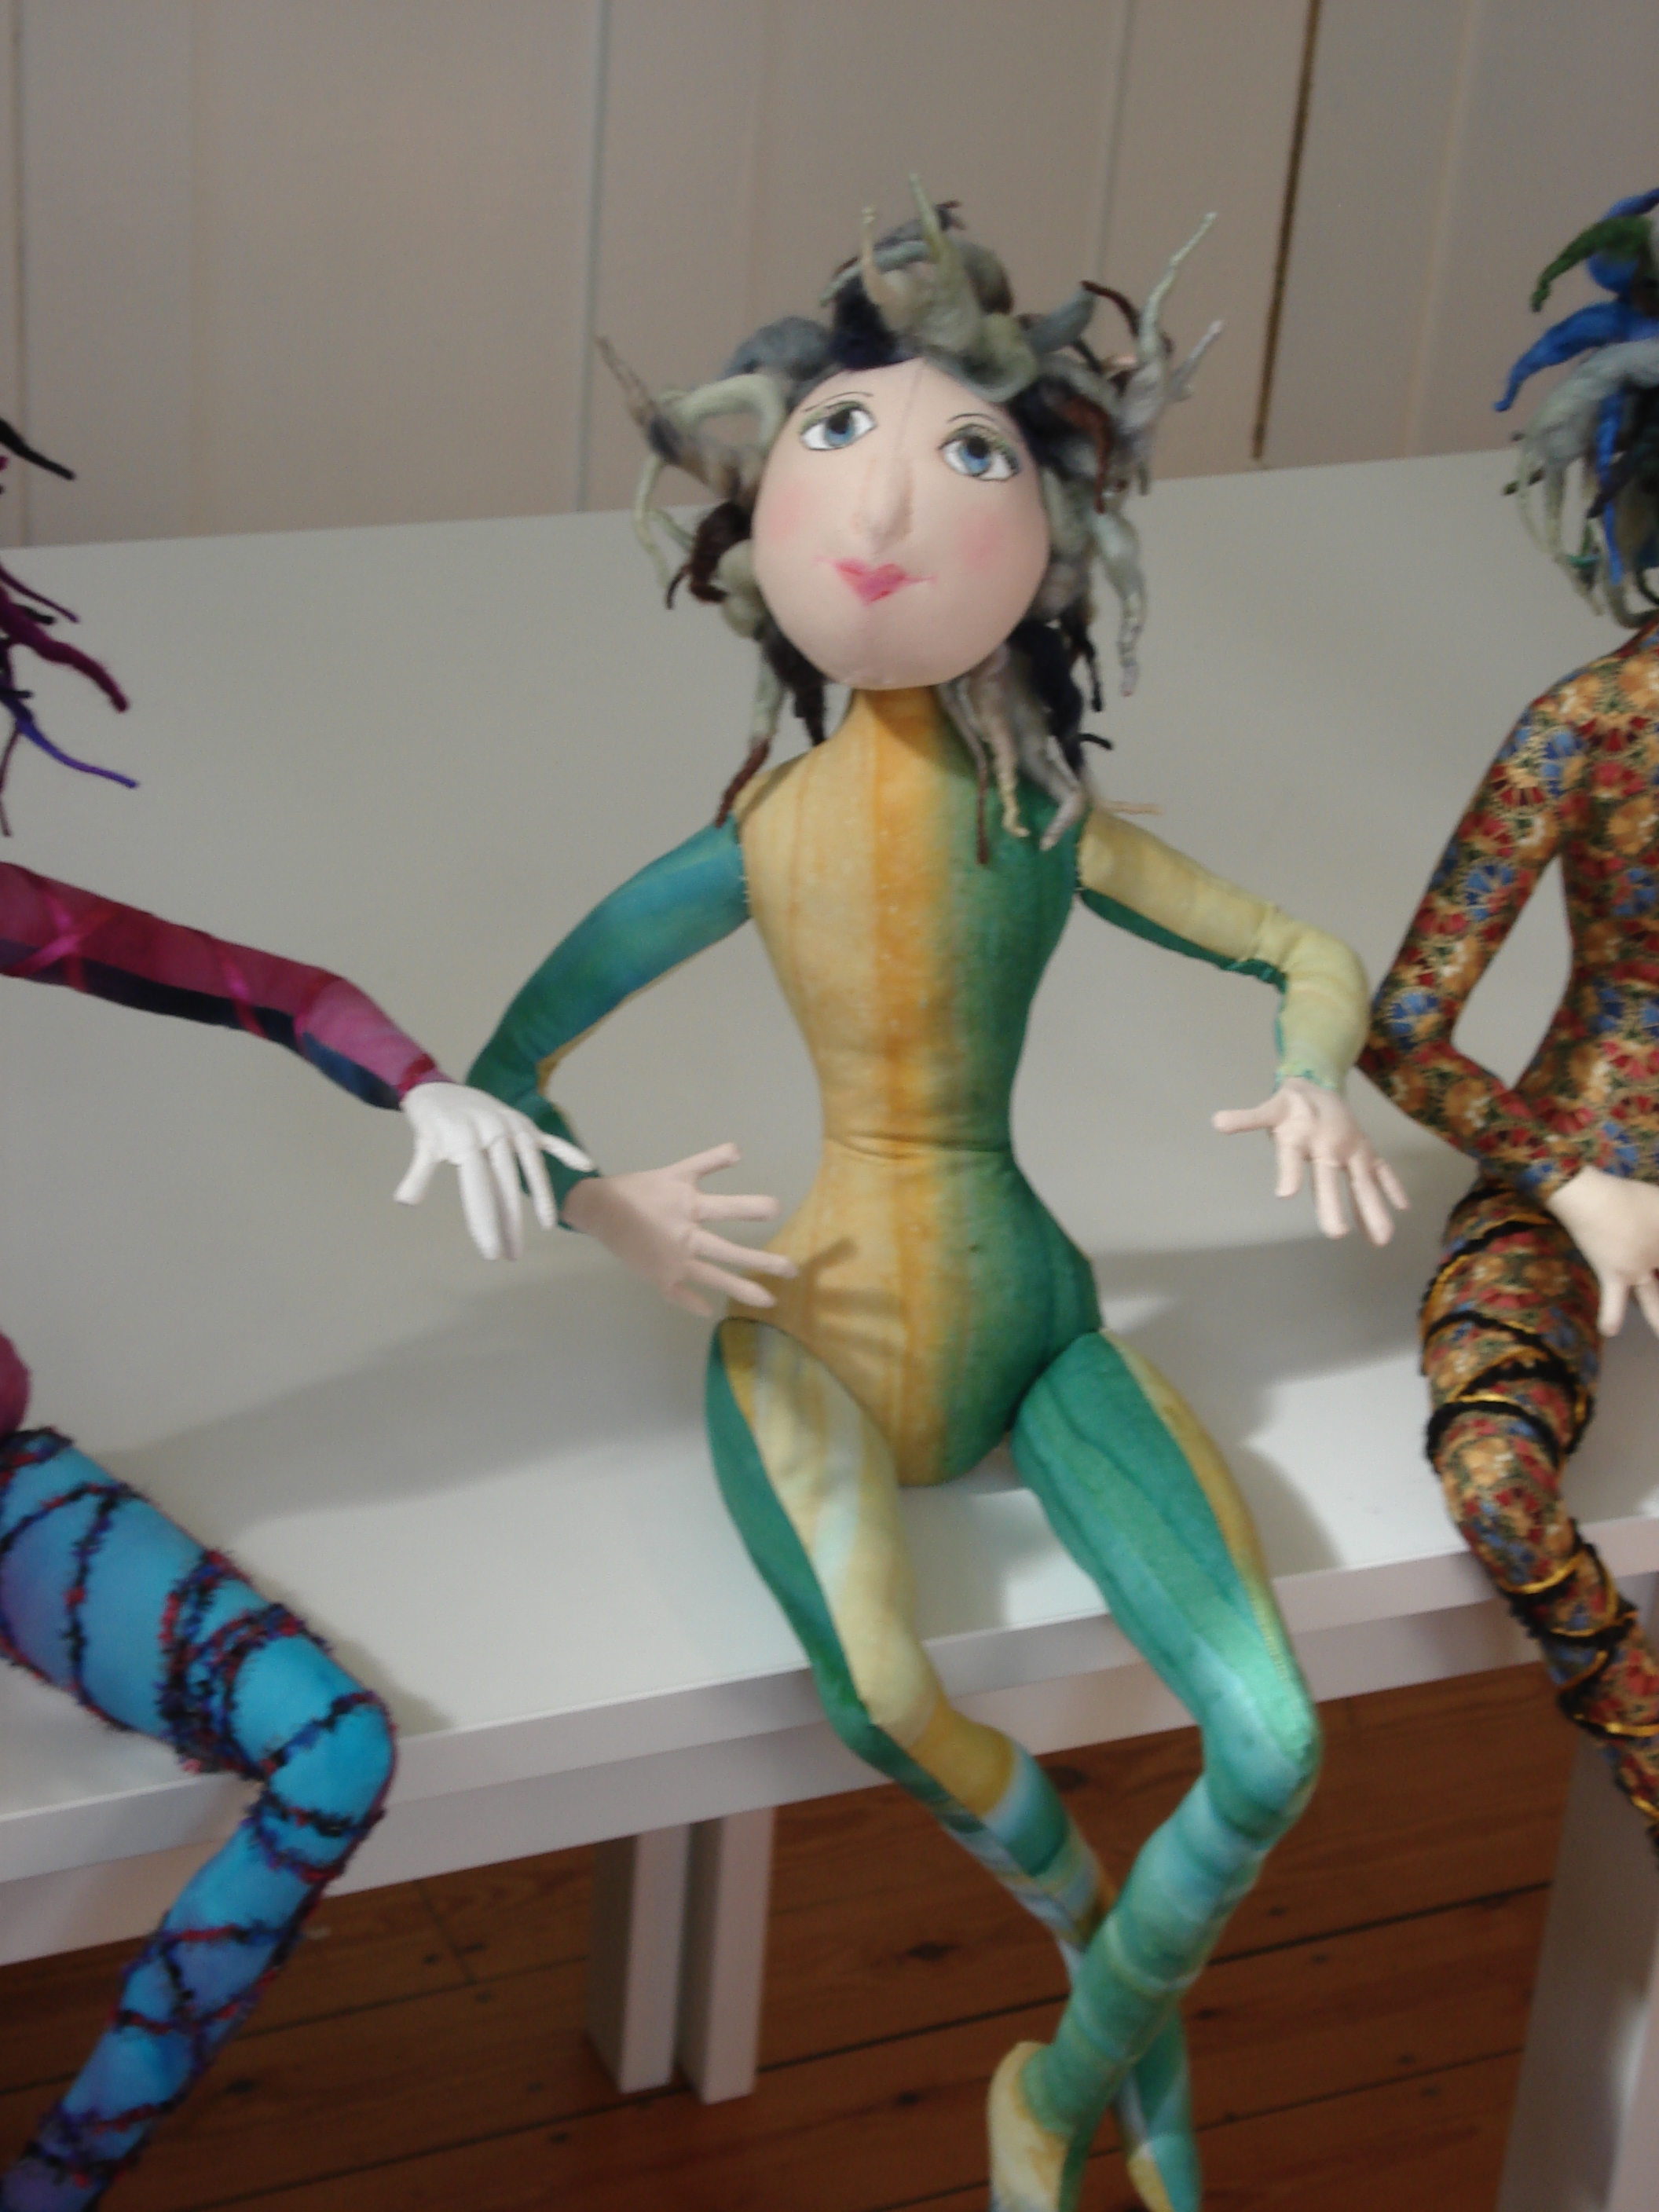
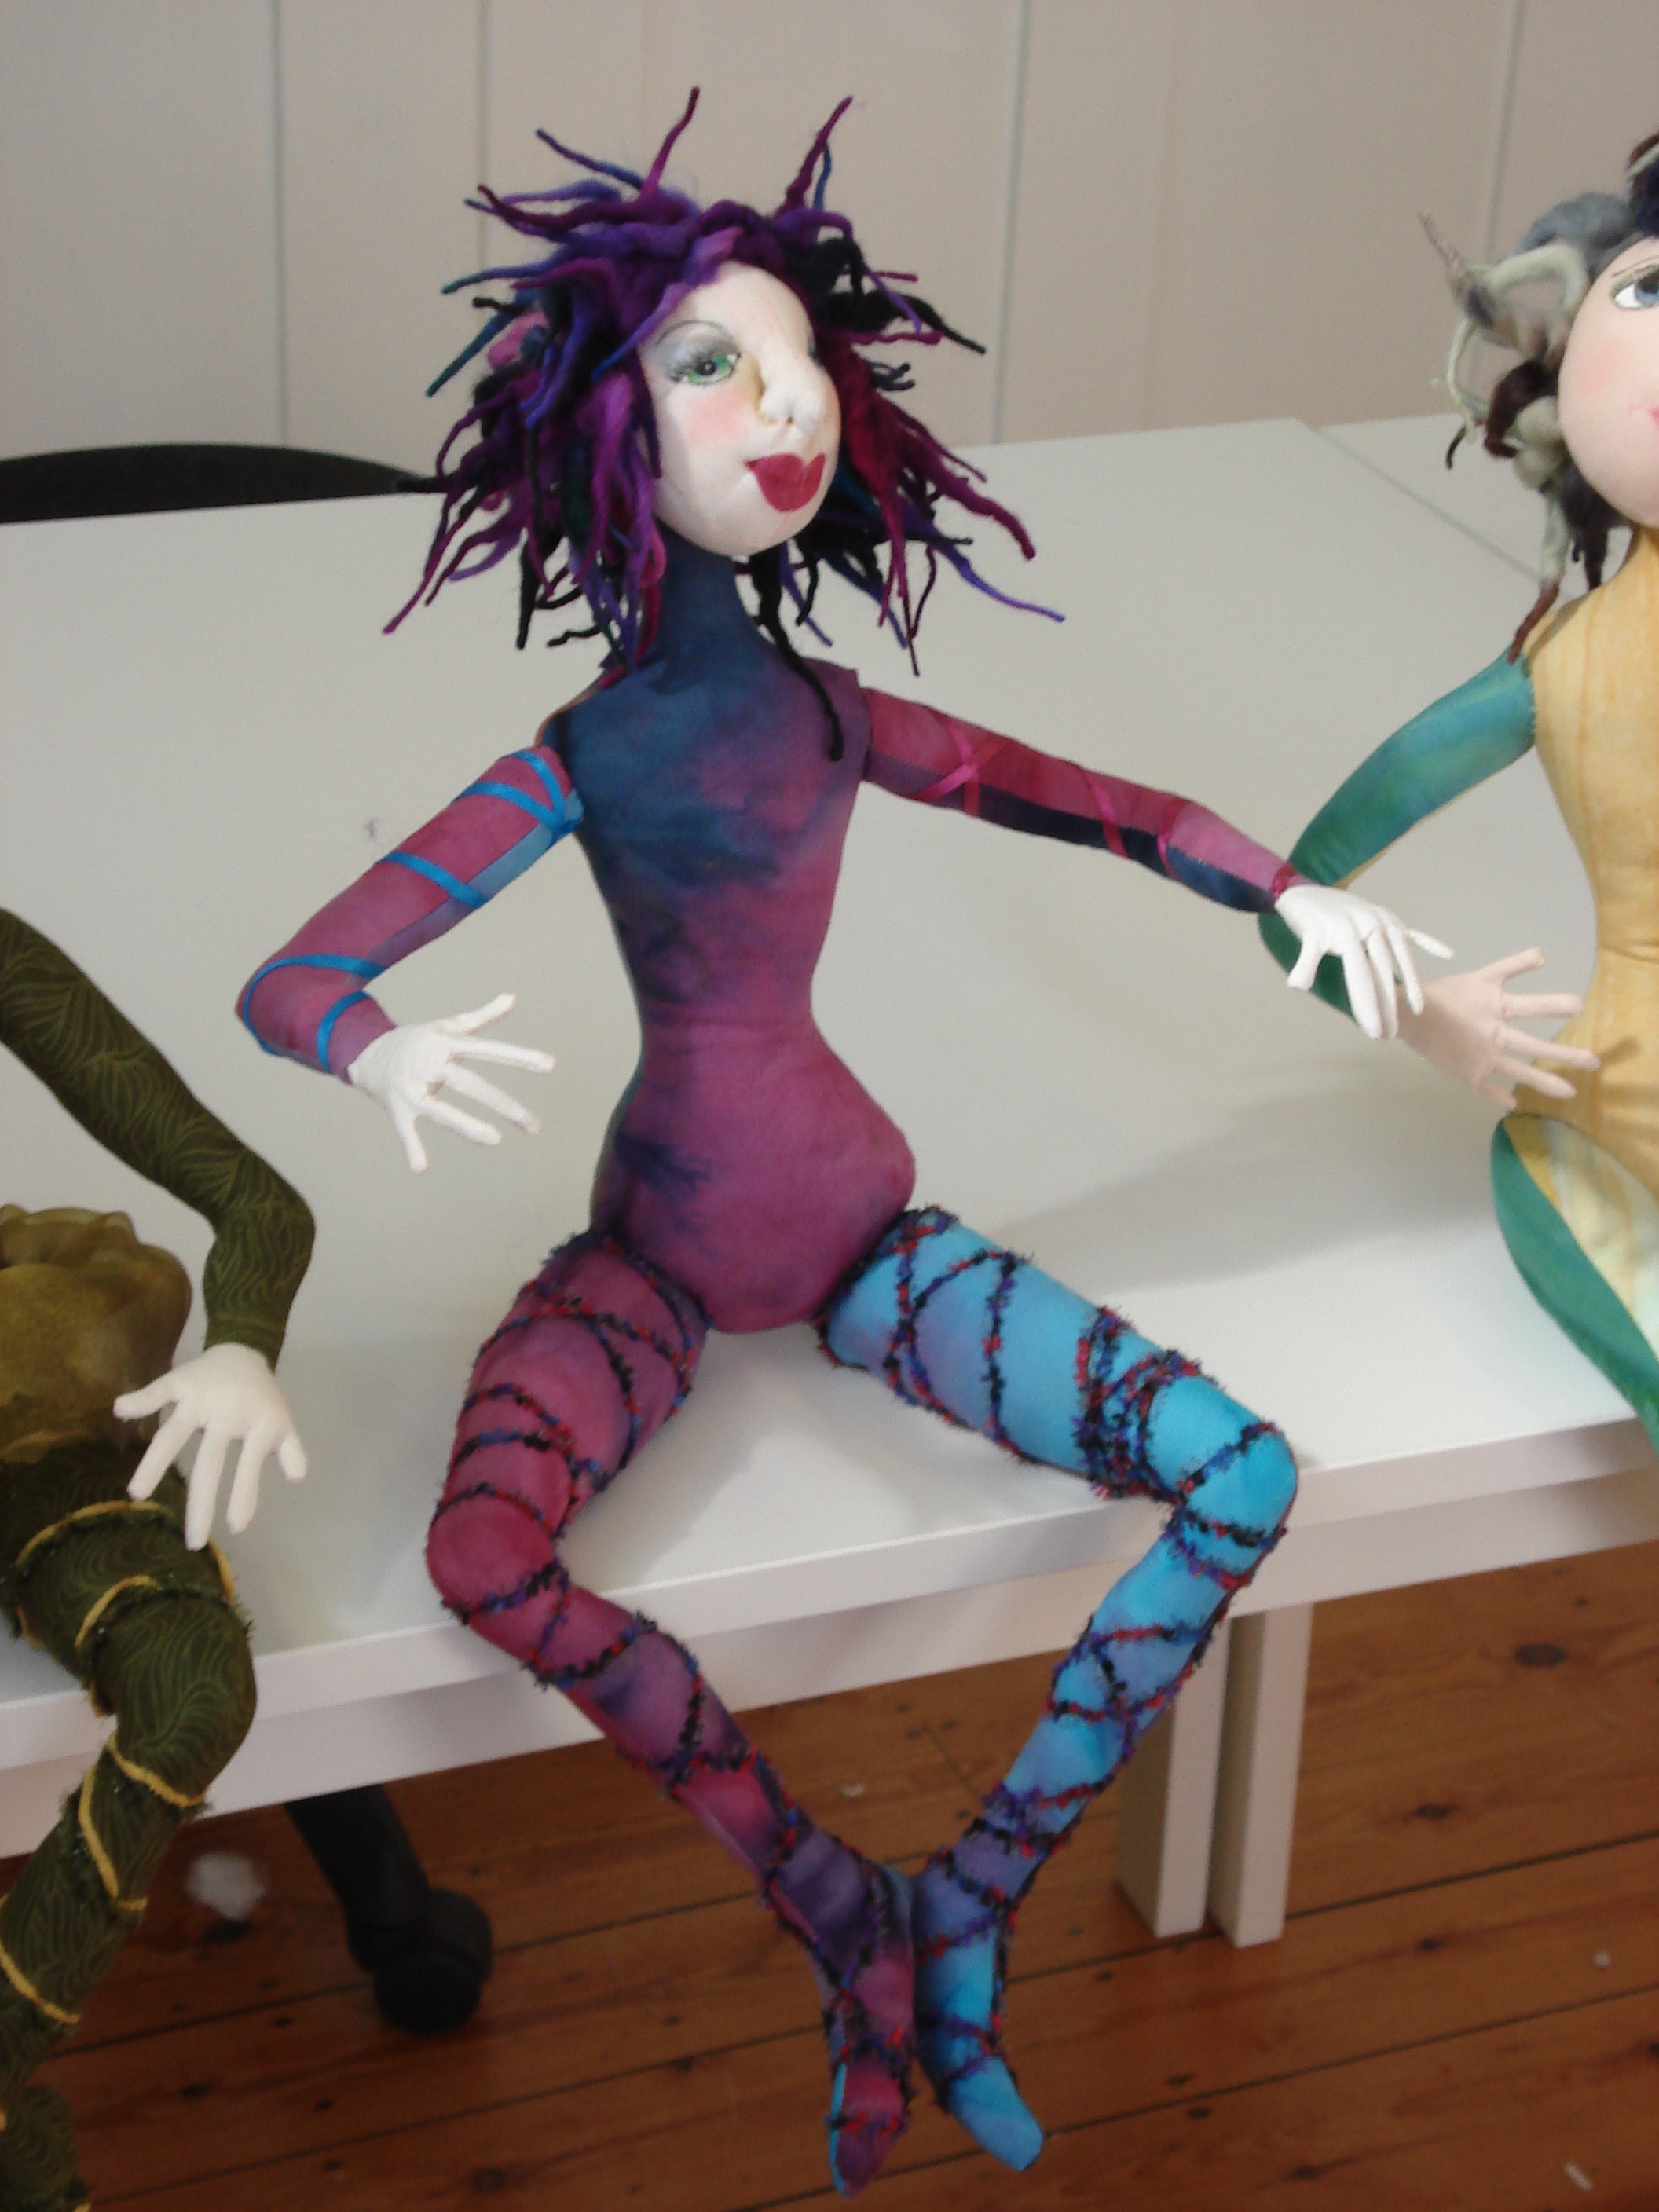
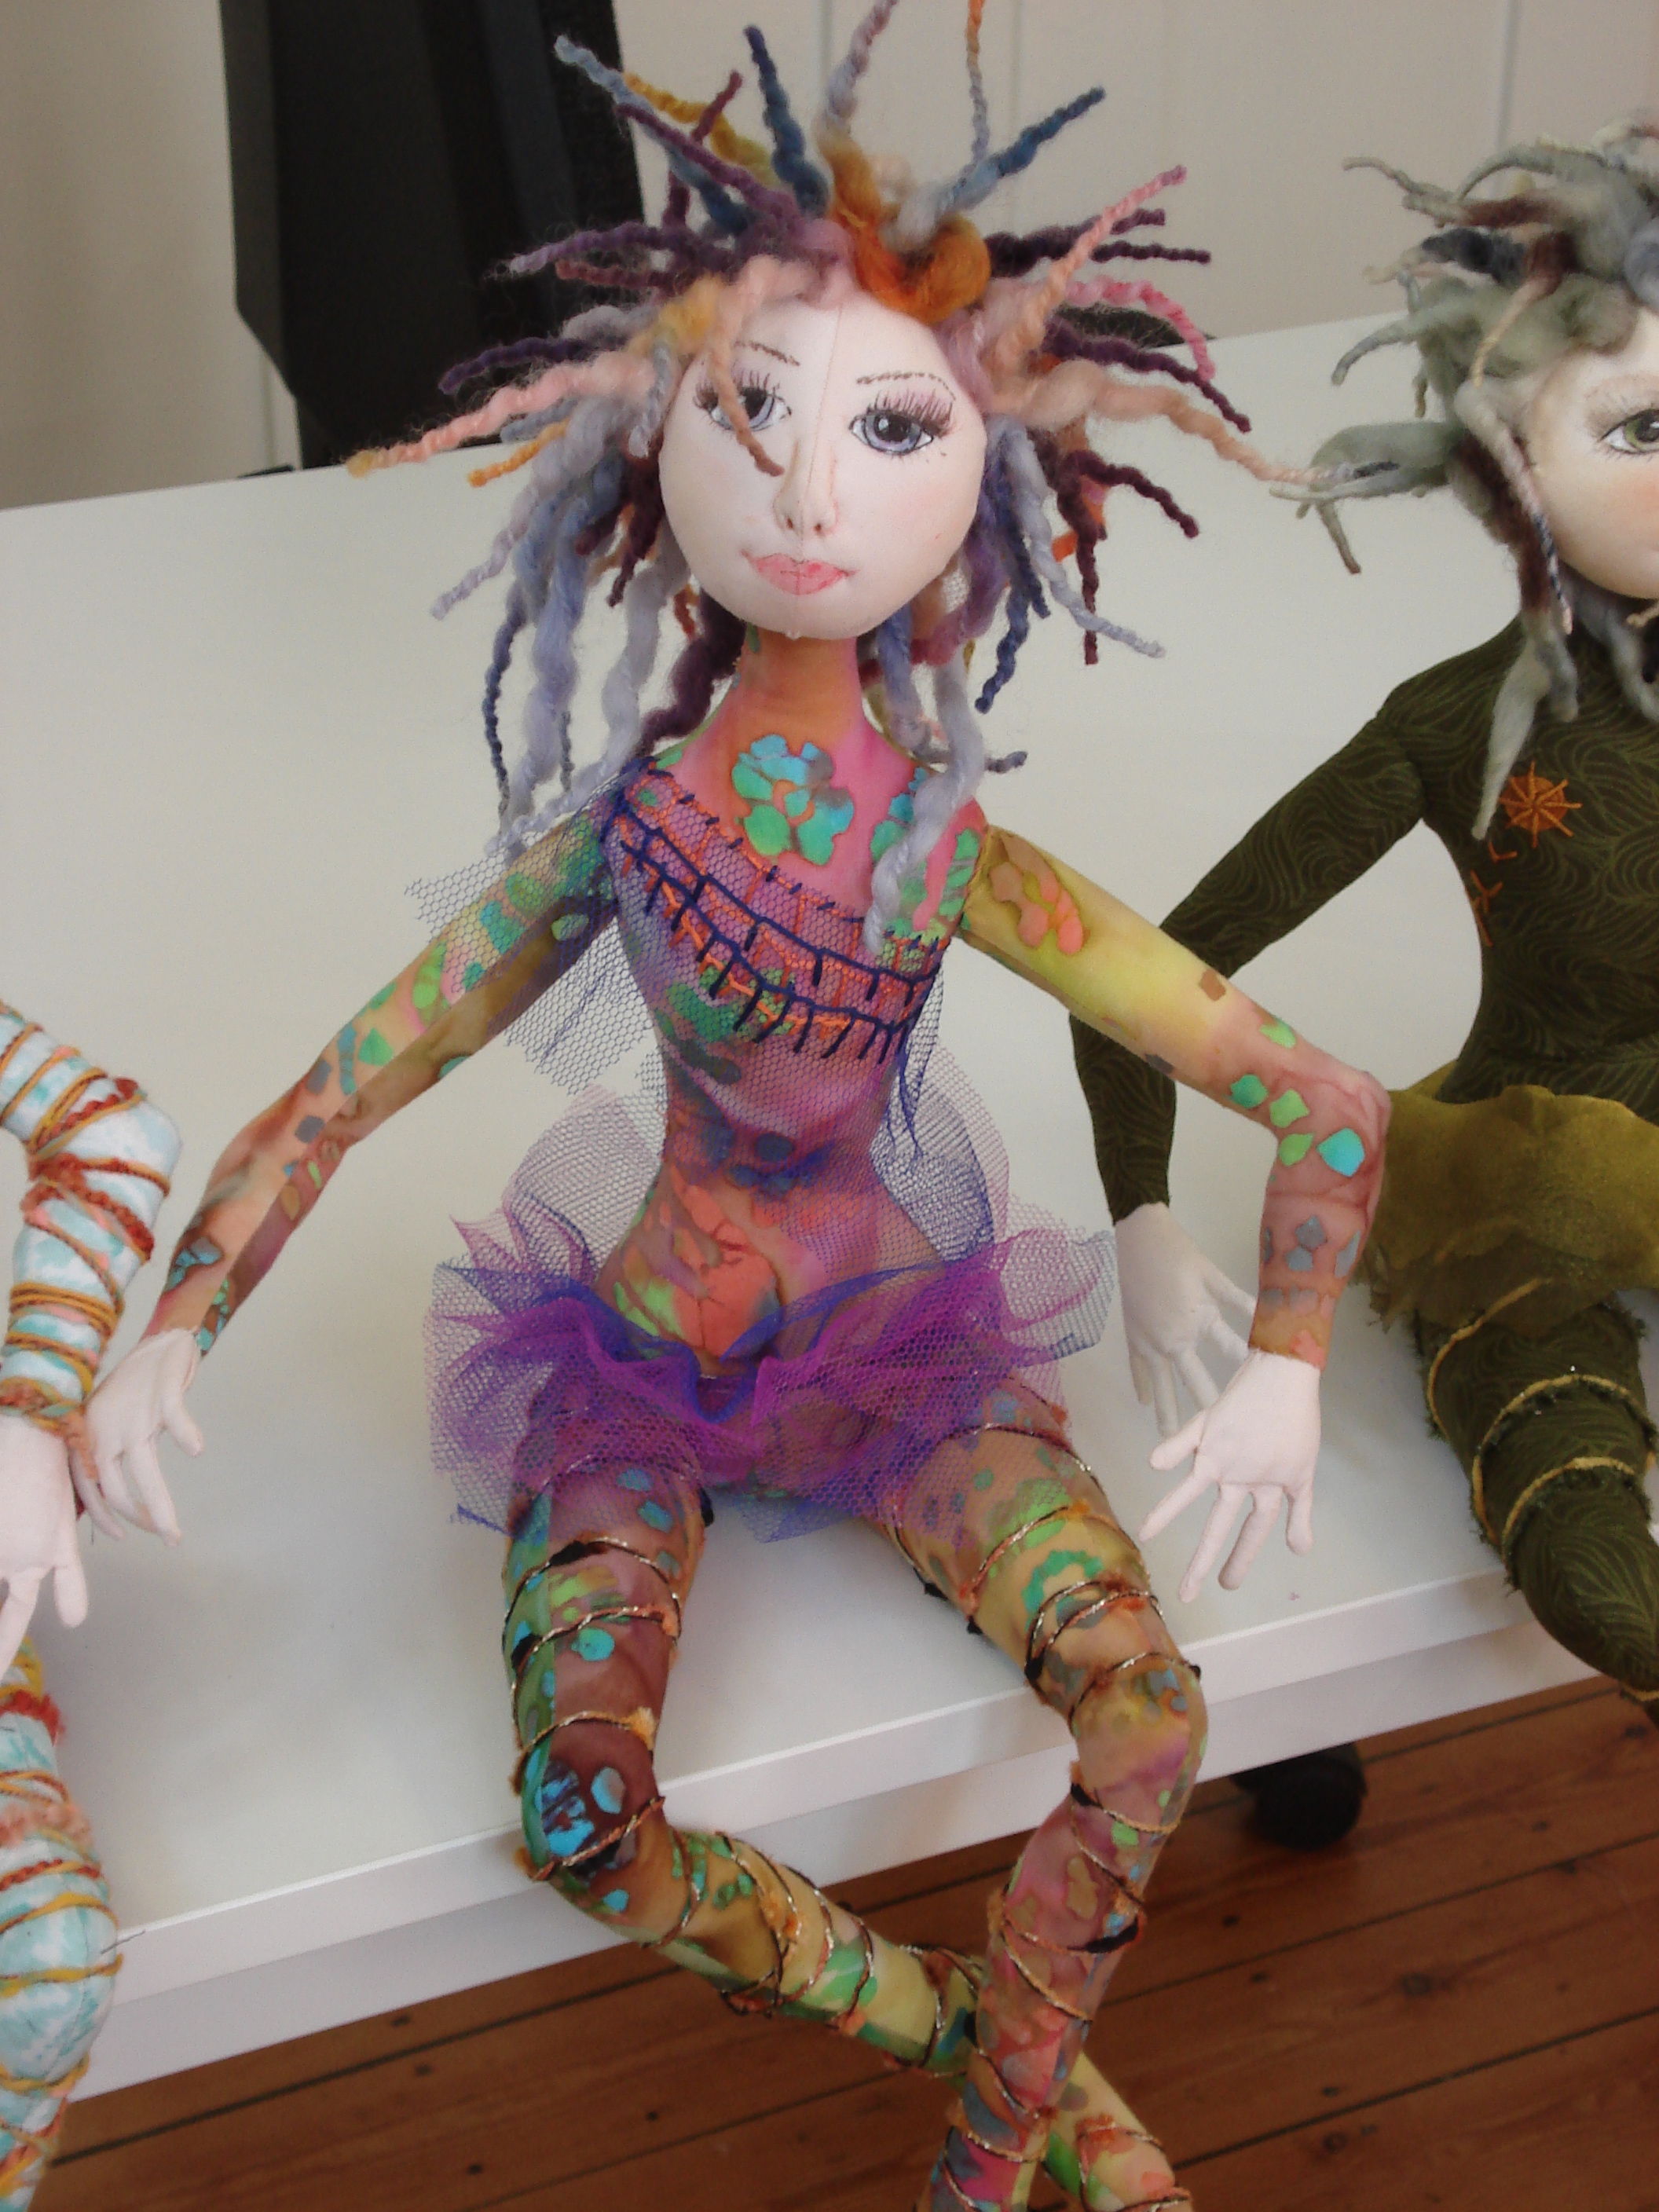
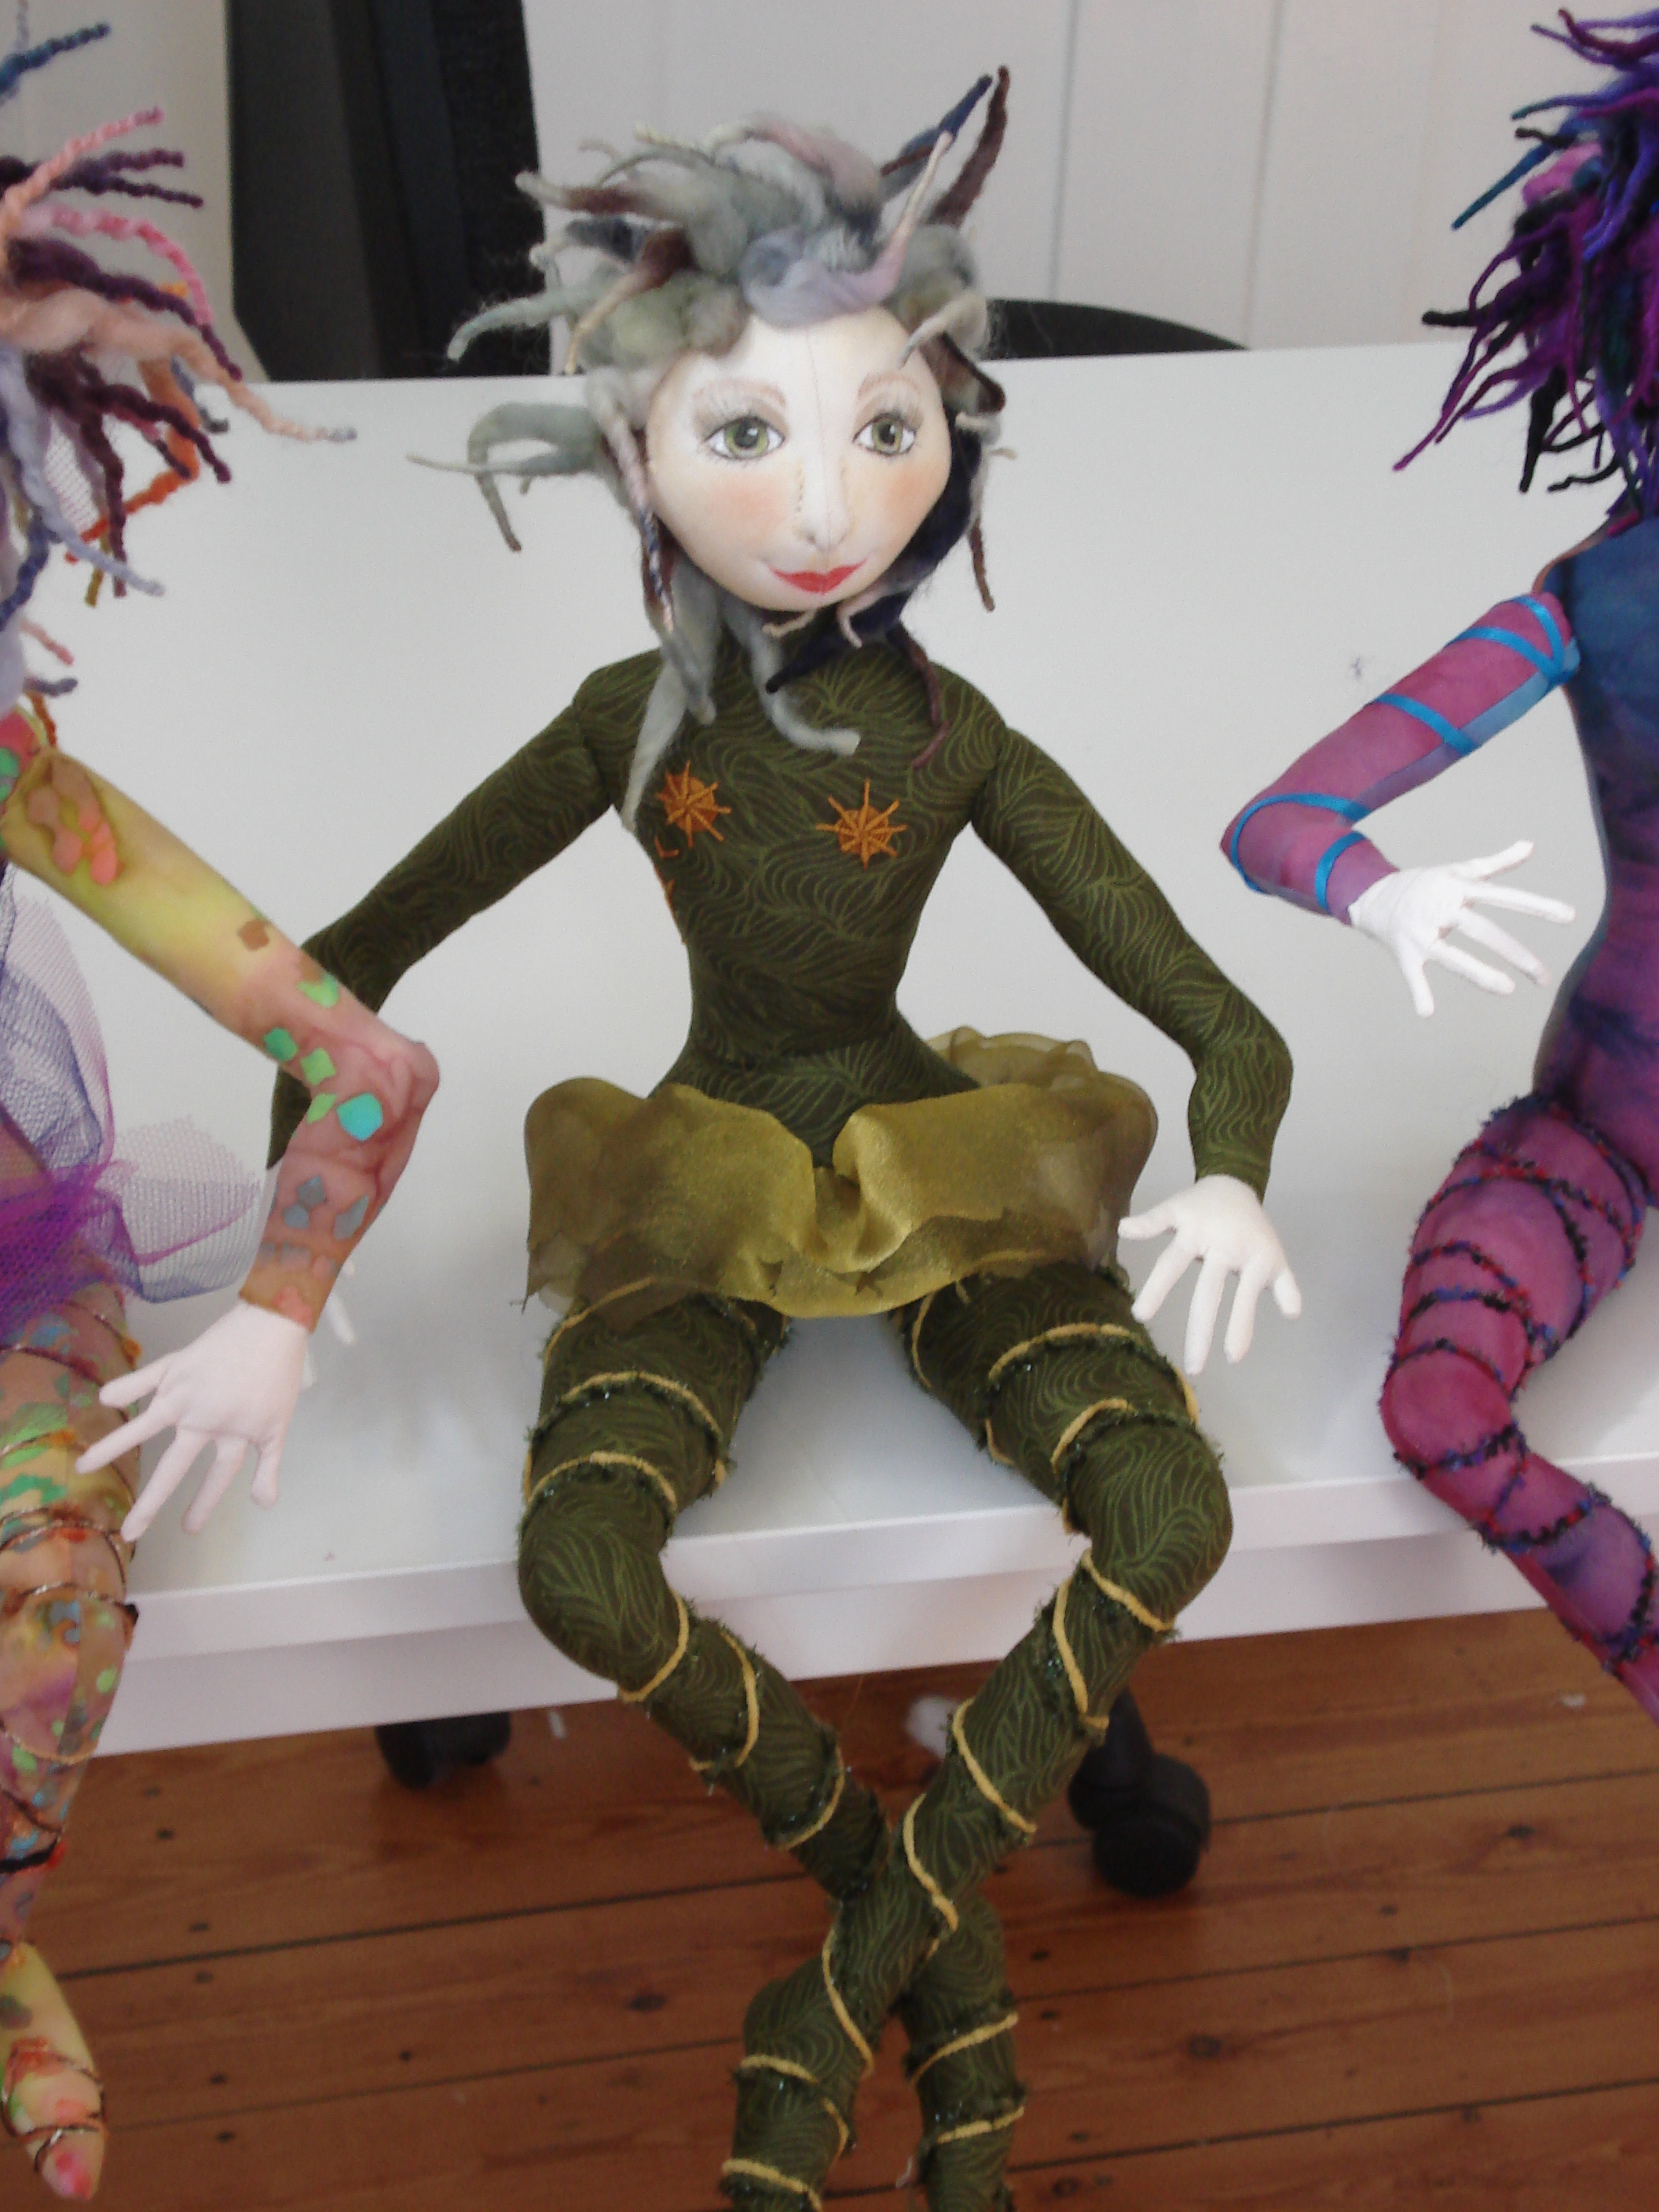
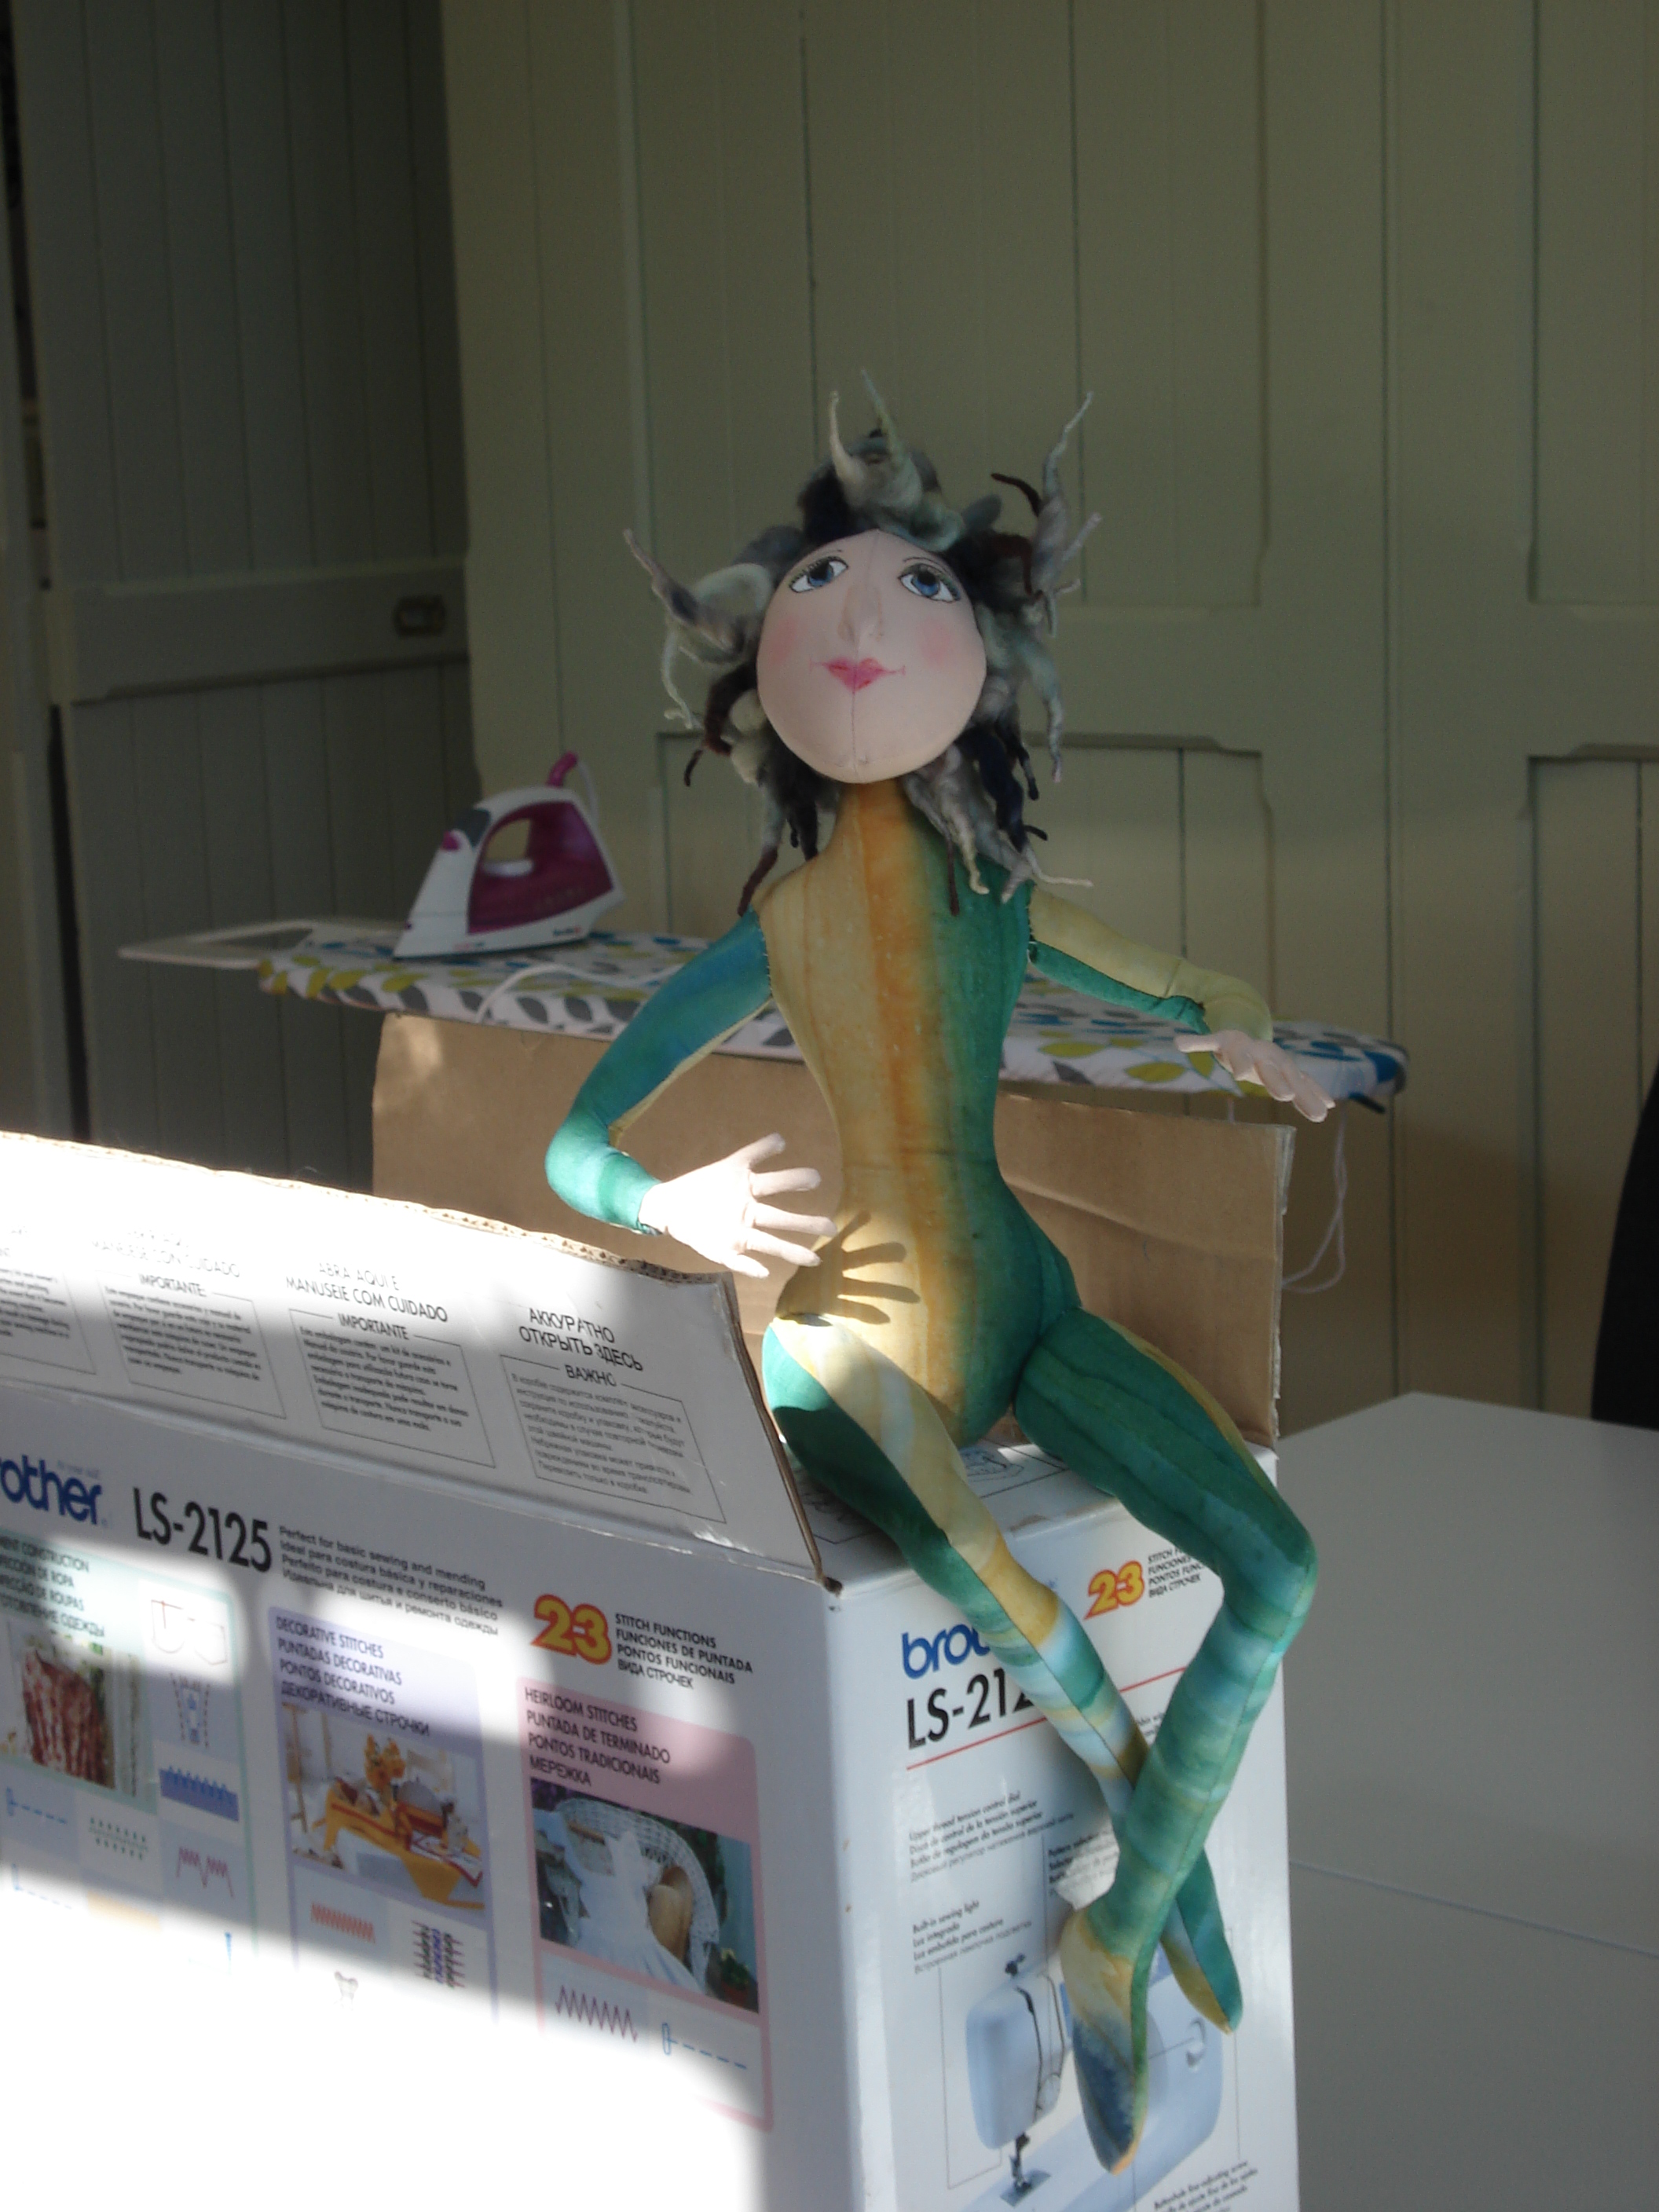 (Well I say finished I’ve still got to add decorative stitching and make her some little skirts, but she was sewn up). There were however many beautiful dolls created by my classmates, here they are:
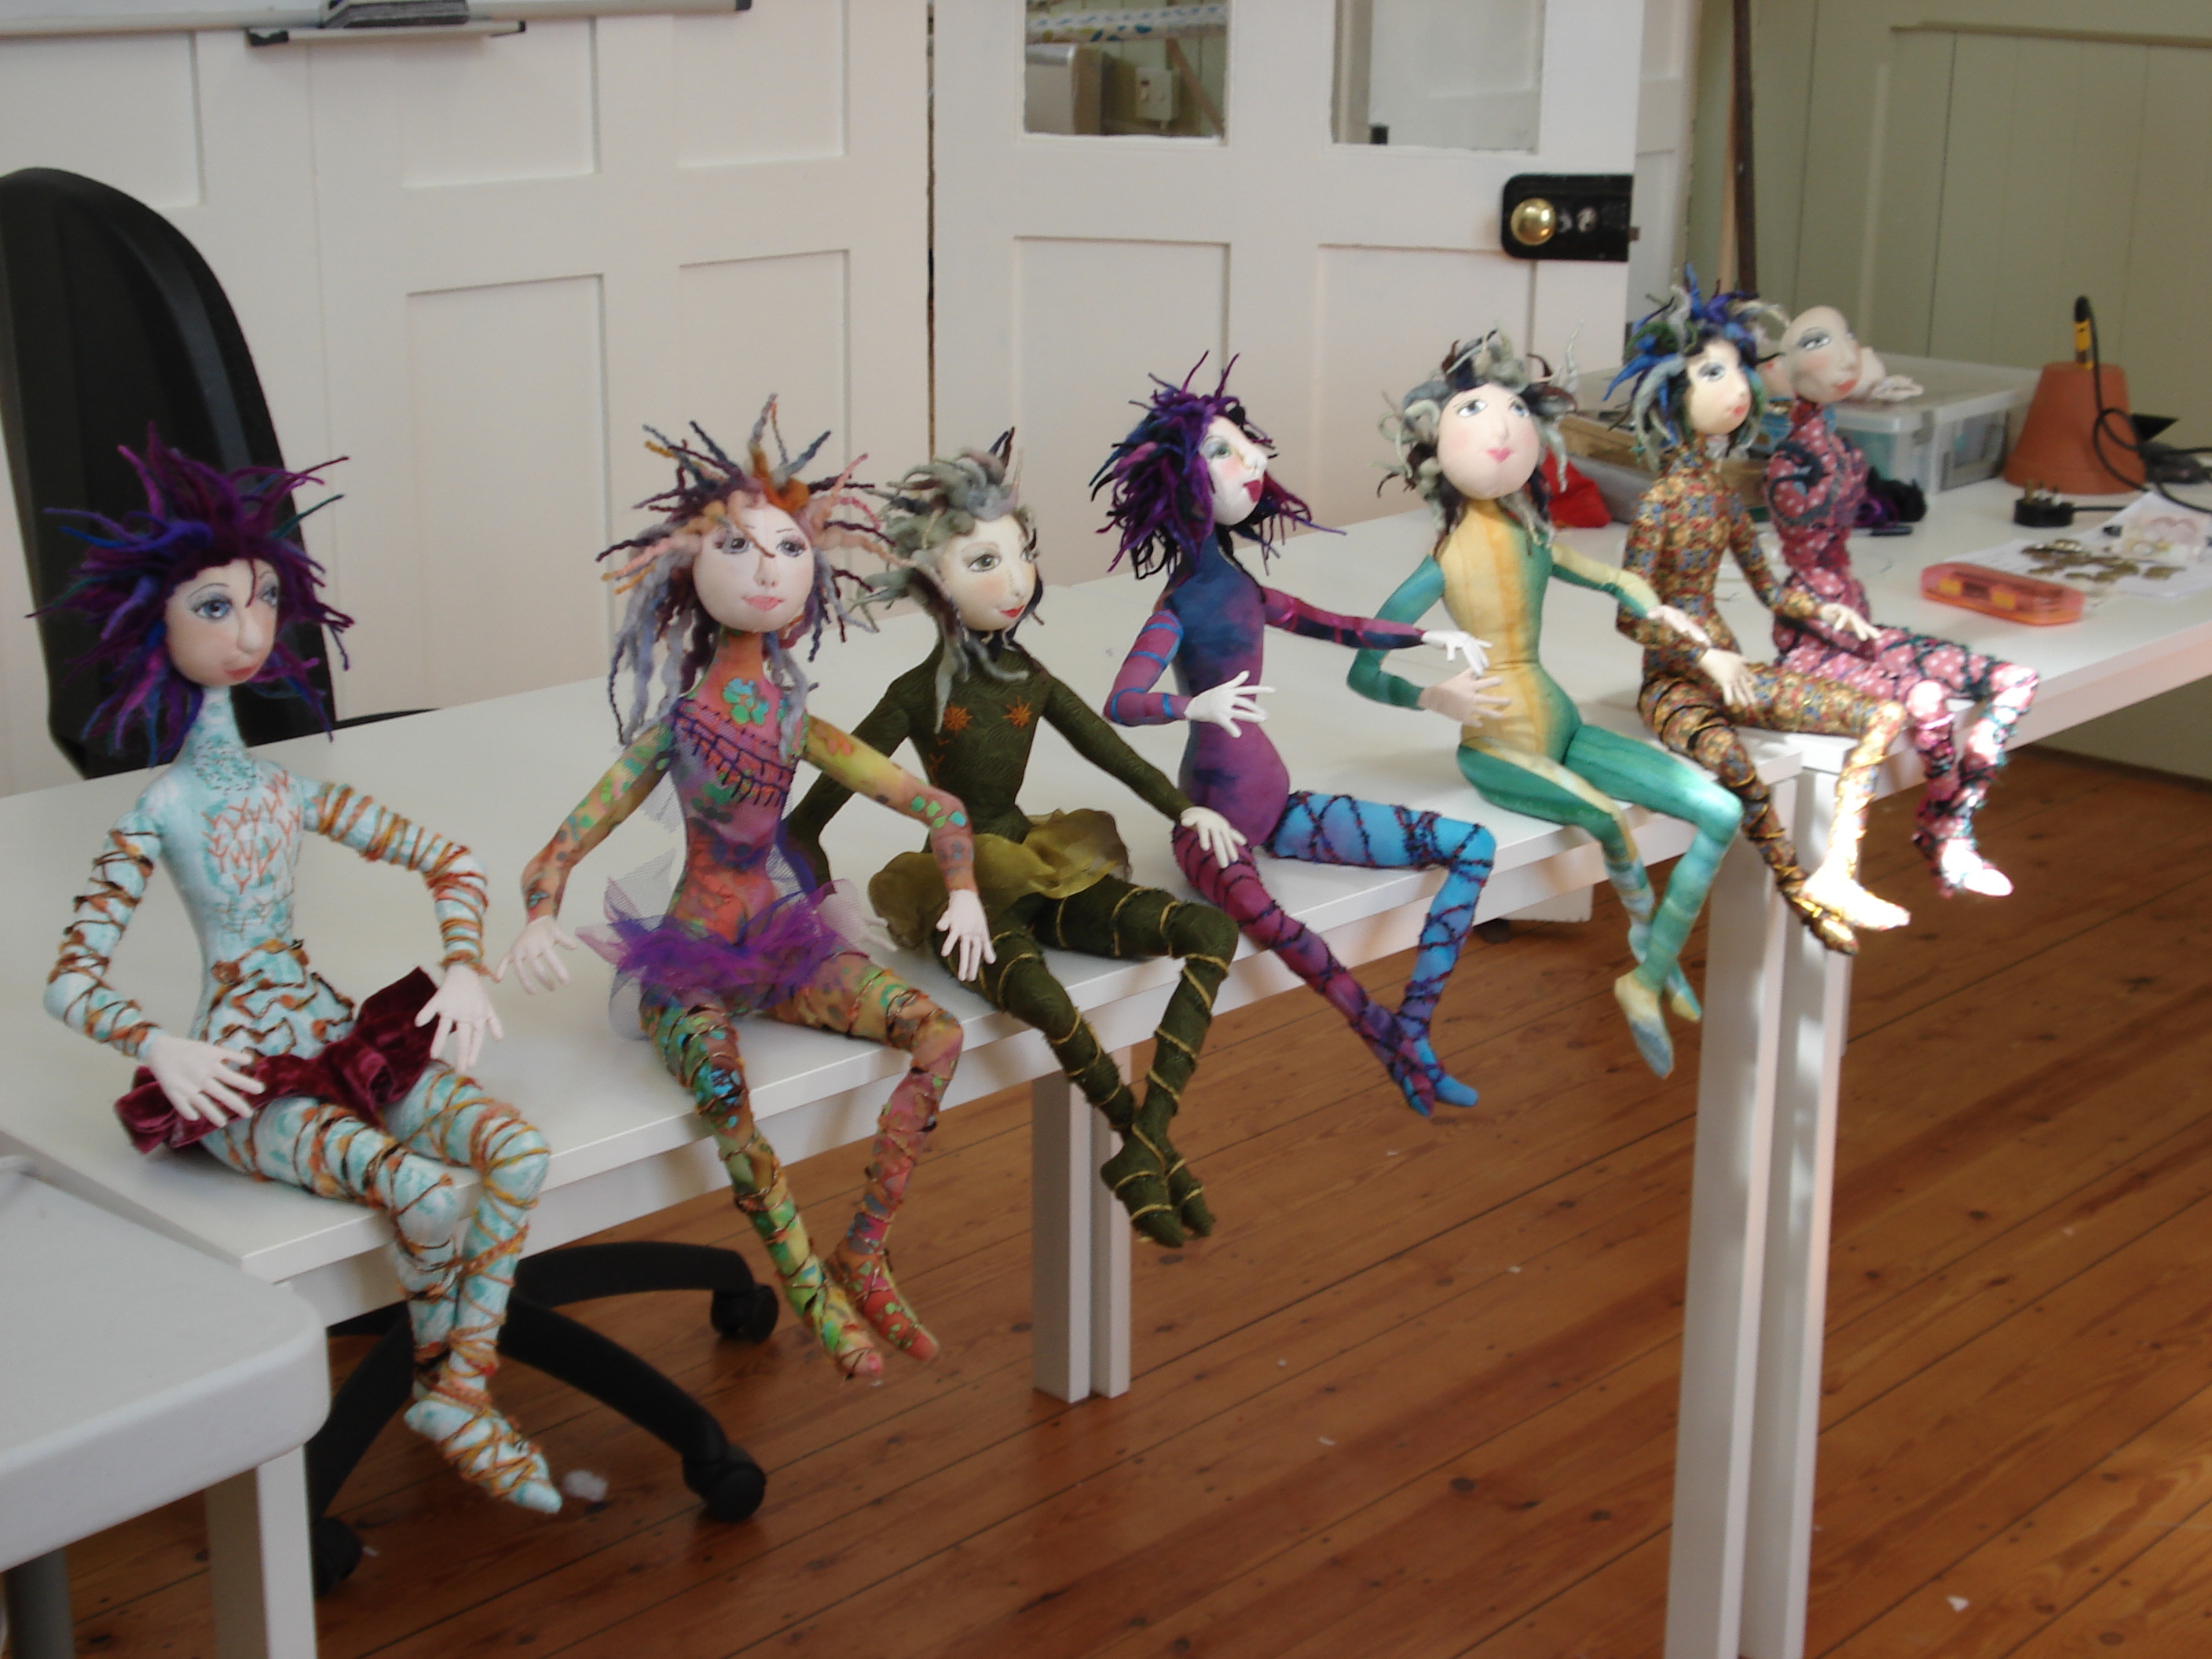

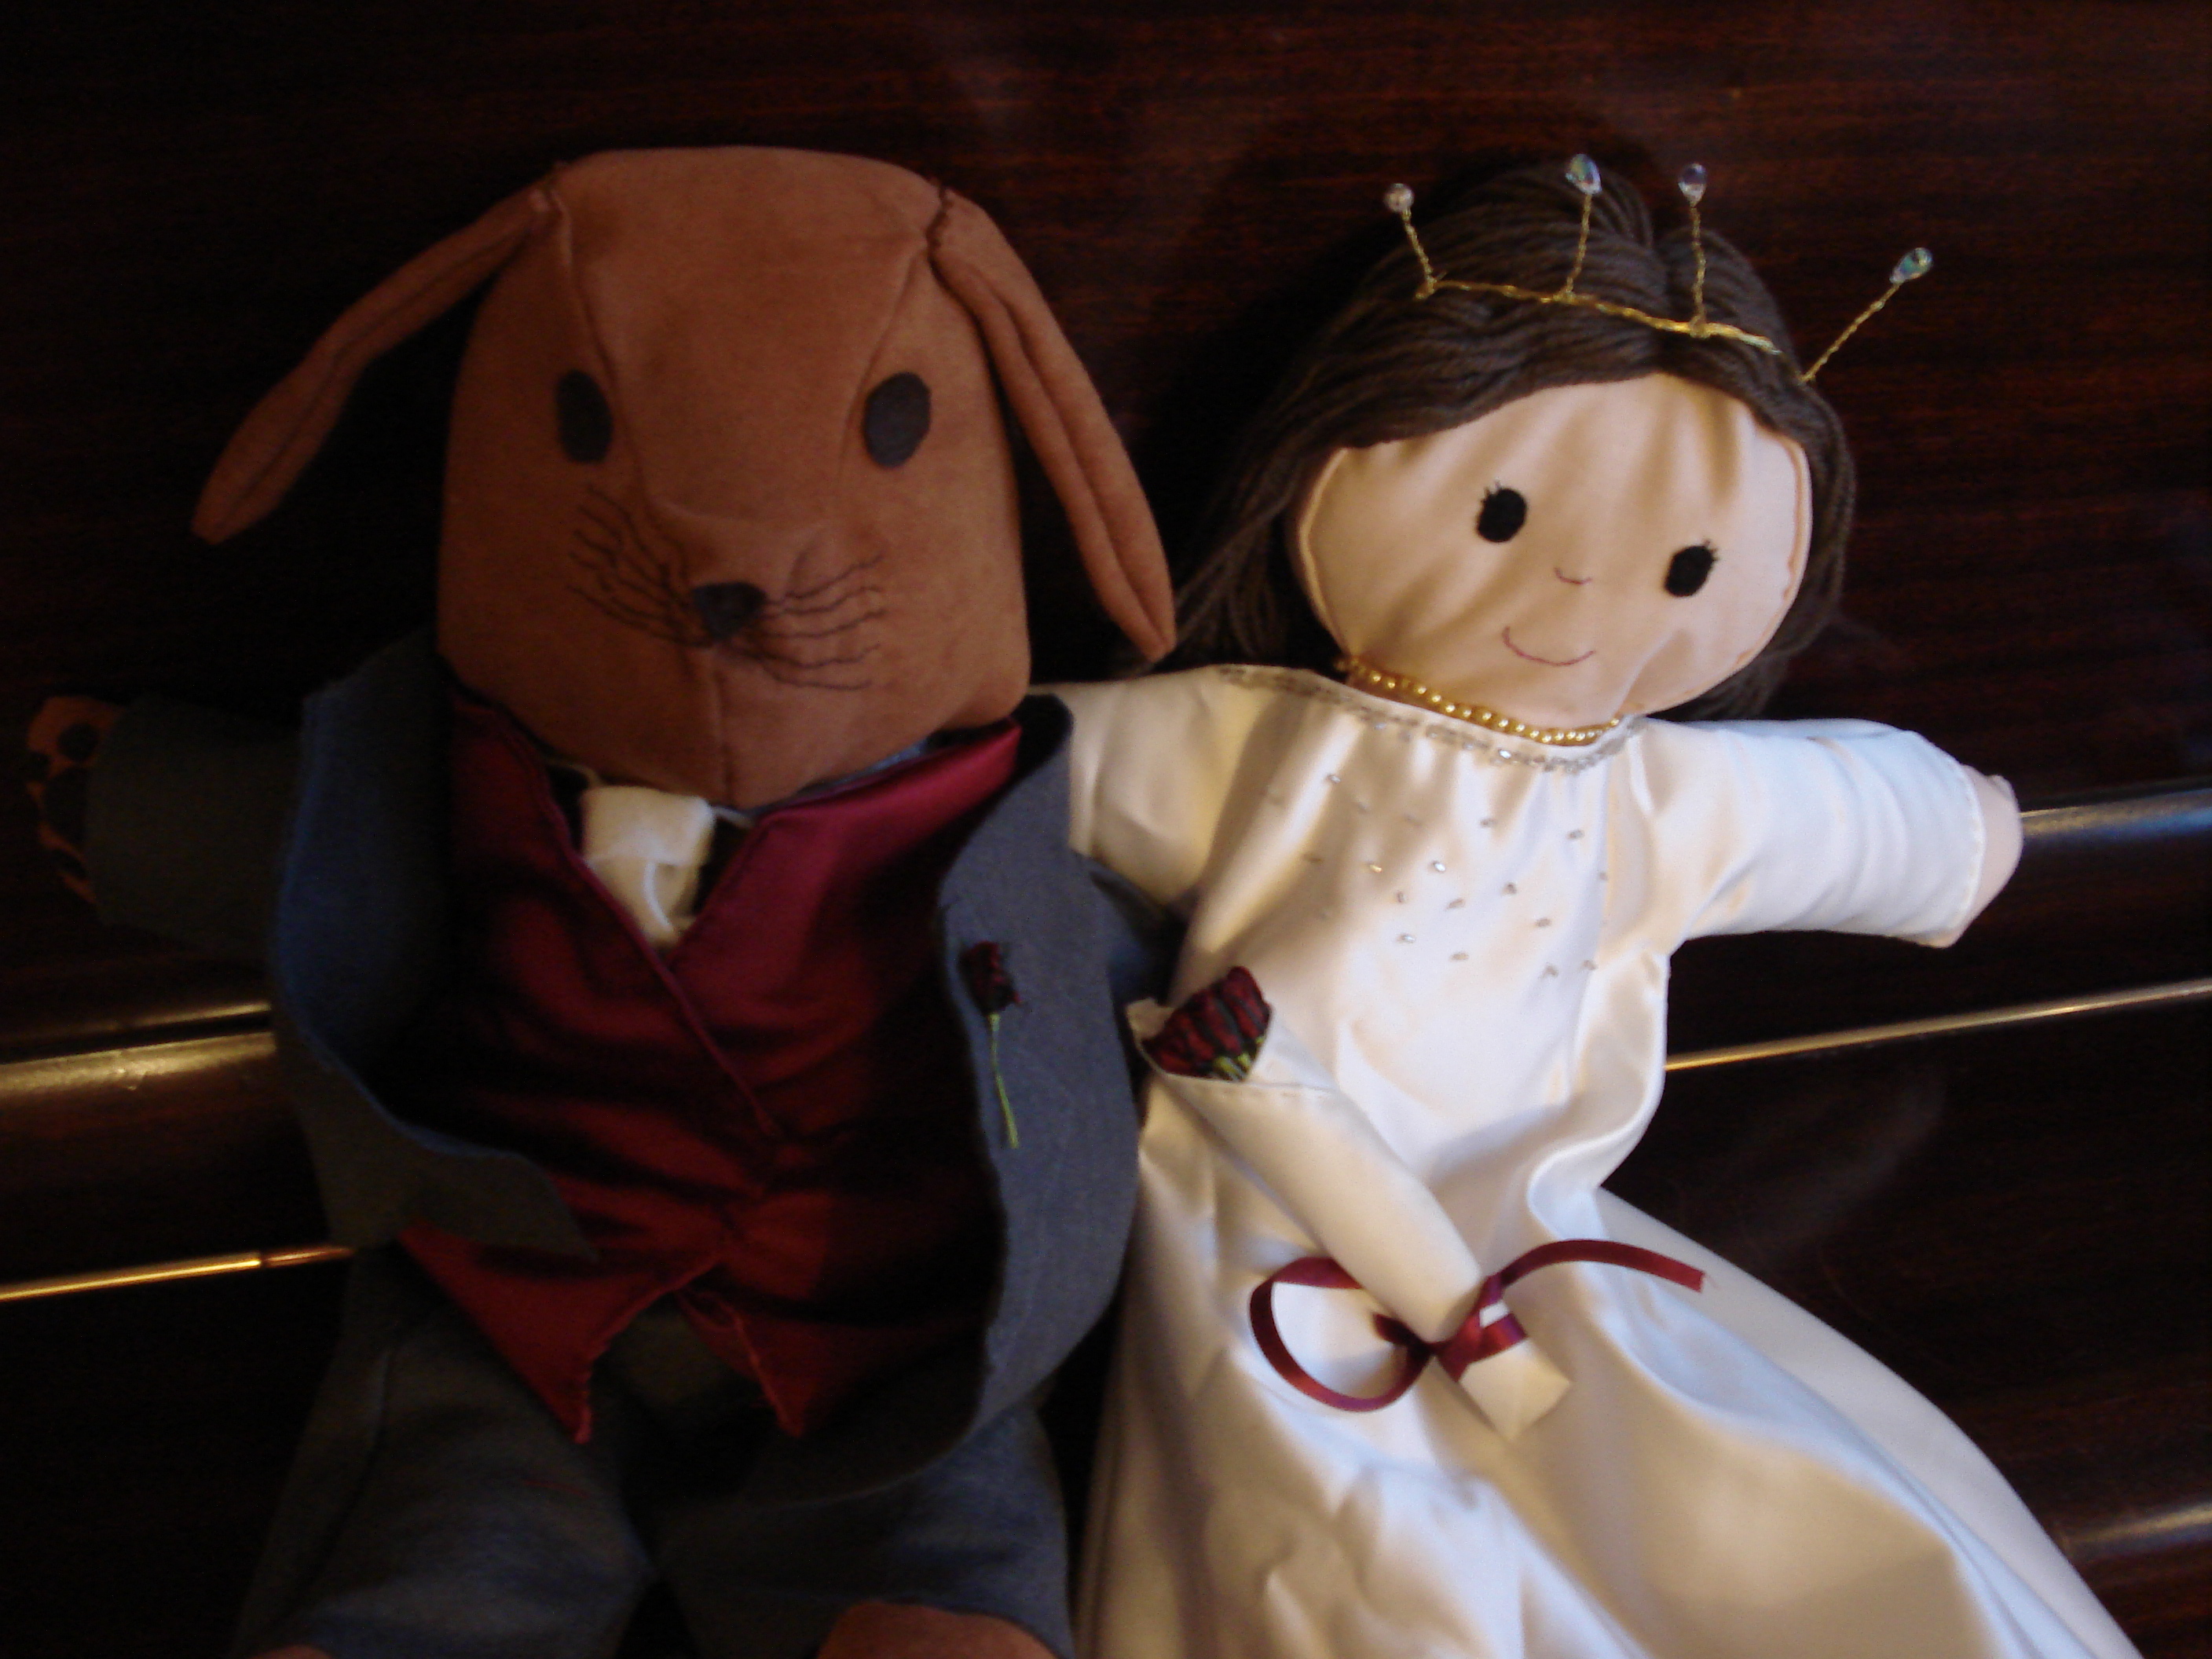
 These two were made by Ray herself.
She will hopefully be teaching a class on how to make the machine embroidery clothes for a doll like Cobweb (below) . Can’t wait!
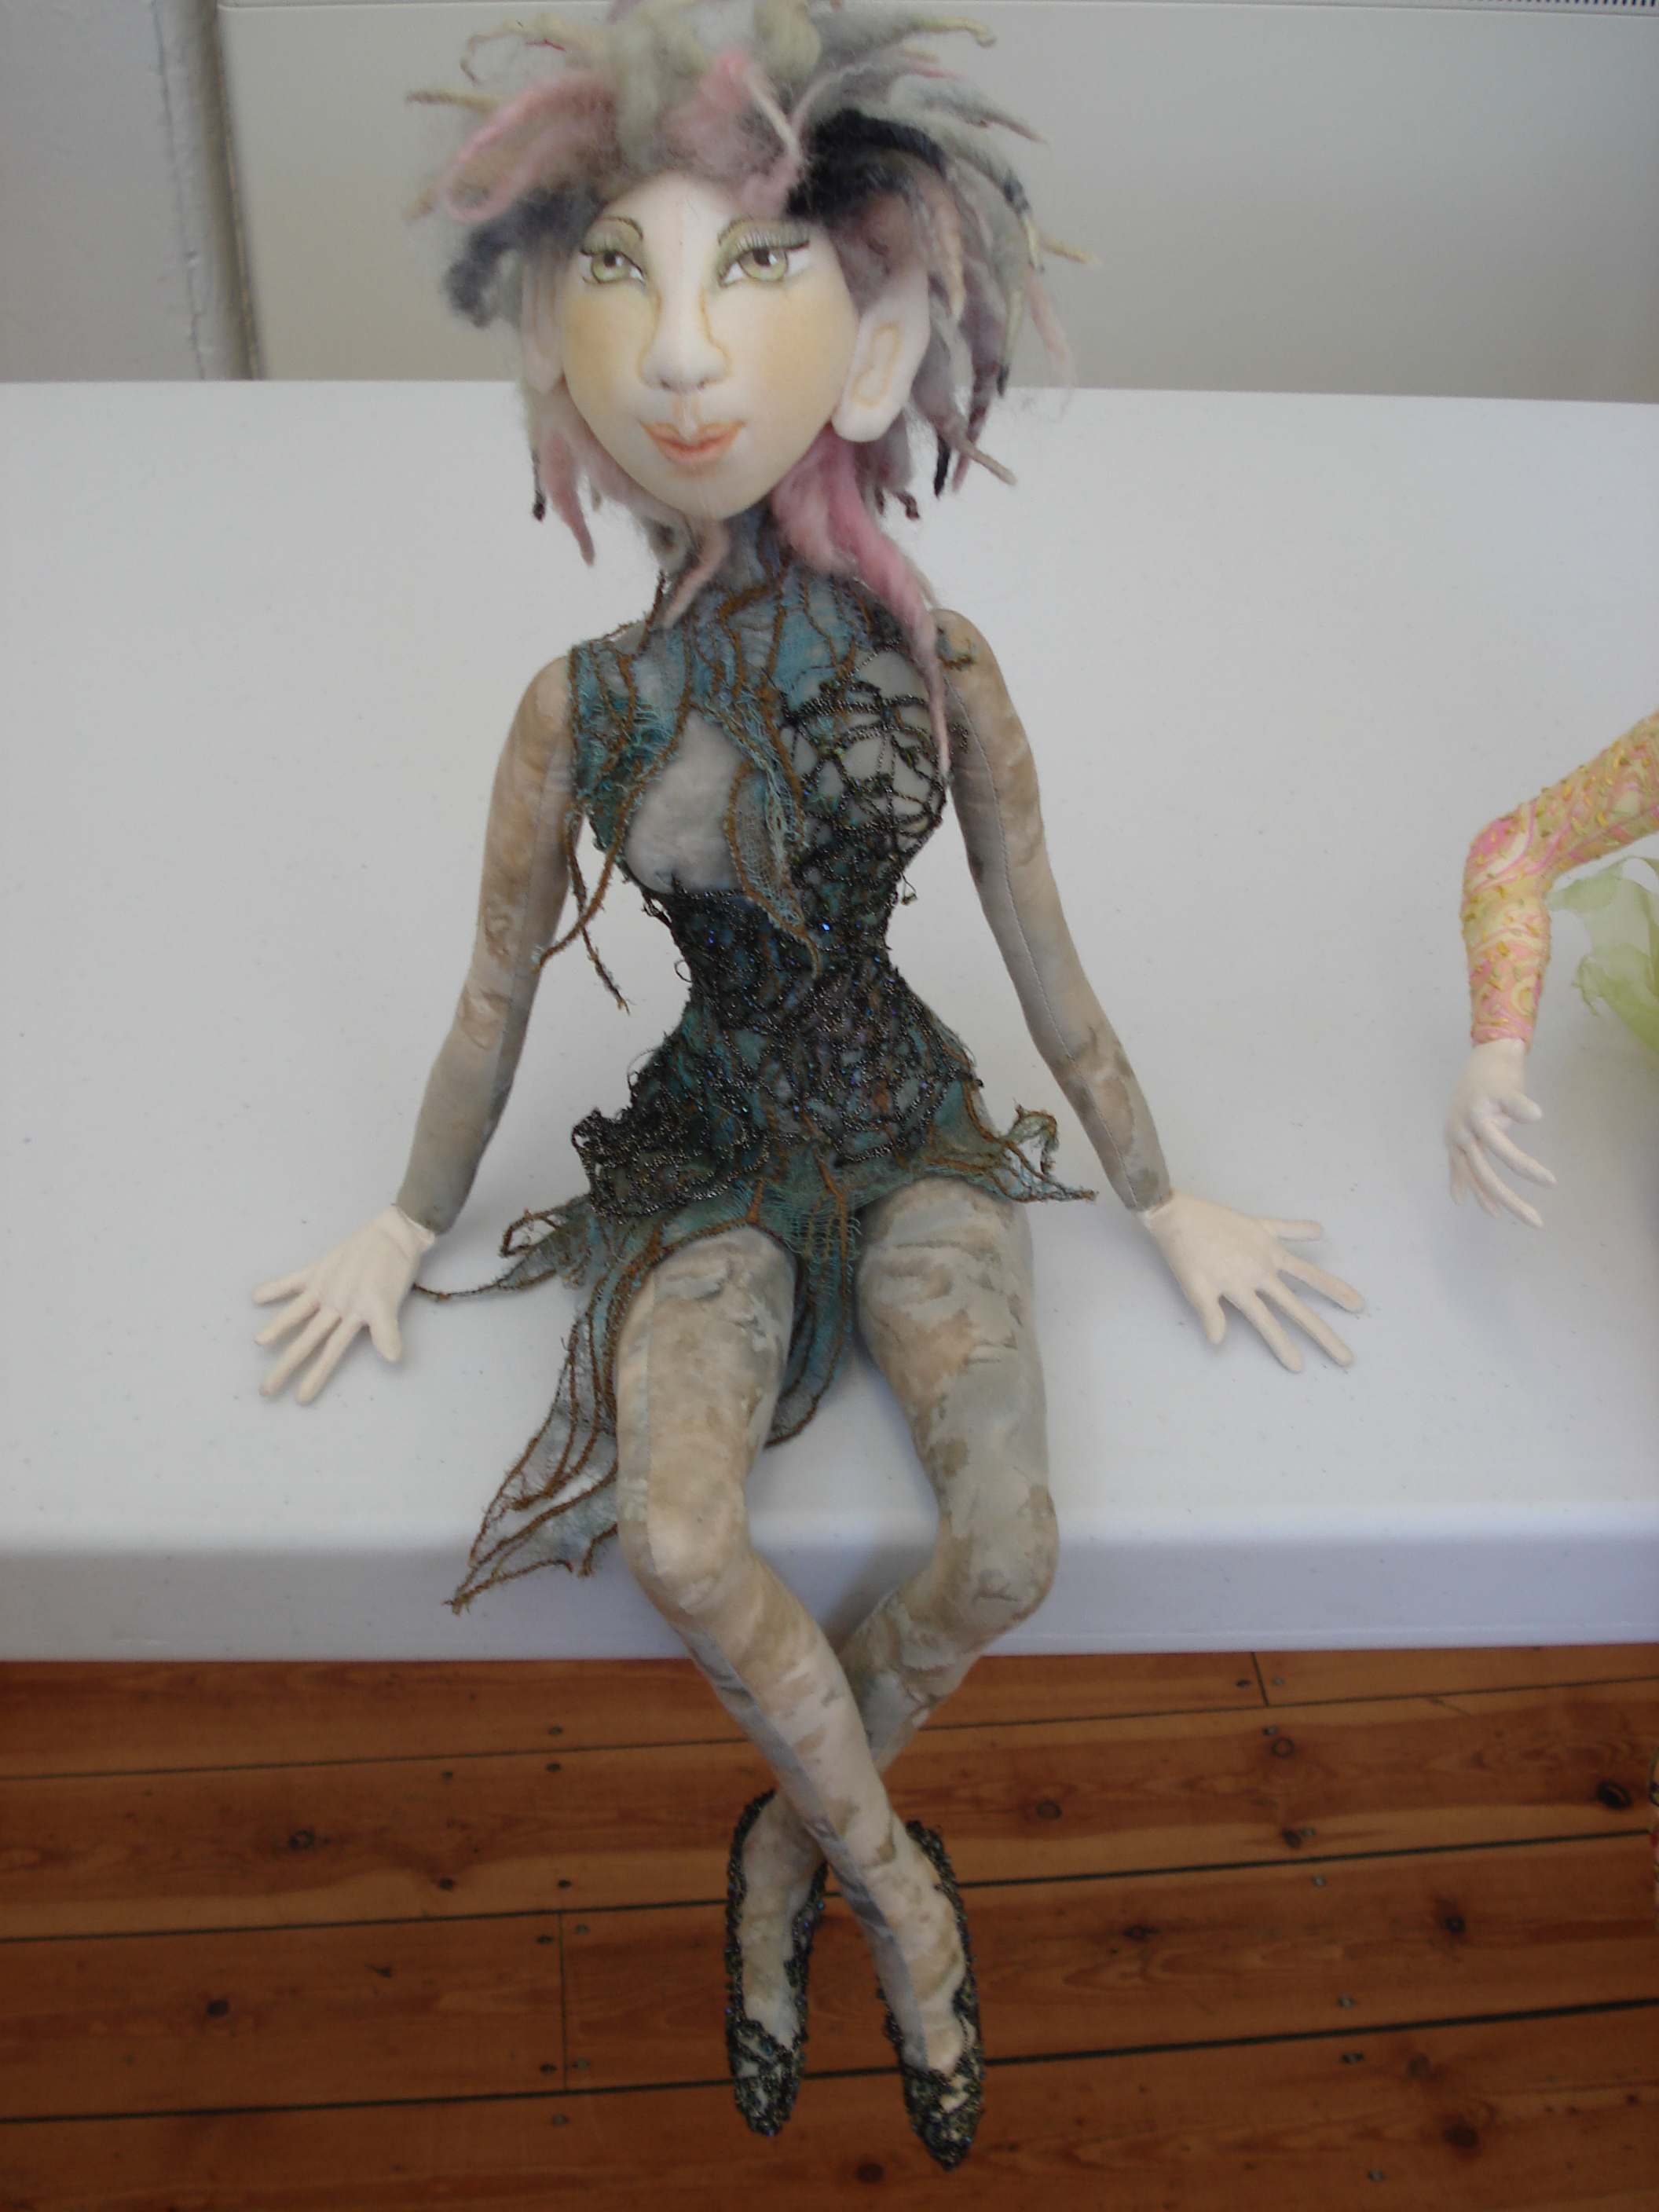 In the meantime I can get some practice in making the body for my spare head Martha, that should keep me busy for a while!