There was no lie in again on Saturday for me as I had to be round at Trish’s at 8am to travel up to Winchester where we were doing a Jewellery course with silver clay and glass with Louise Simmons from The Jewellery Academy. Before the silver clay was handed out we had to work out what we would make and how we would make it with plasticine. Louise the tutor told us that we had about 3 x a 50p piece worth of clay to work with (depending on what thickness we decided to roll it) to give us some idea of how many pieces we would be able to make from one pack. There were lots of metal cutters to give outline shapes:
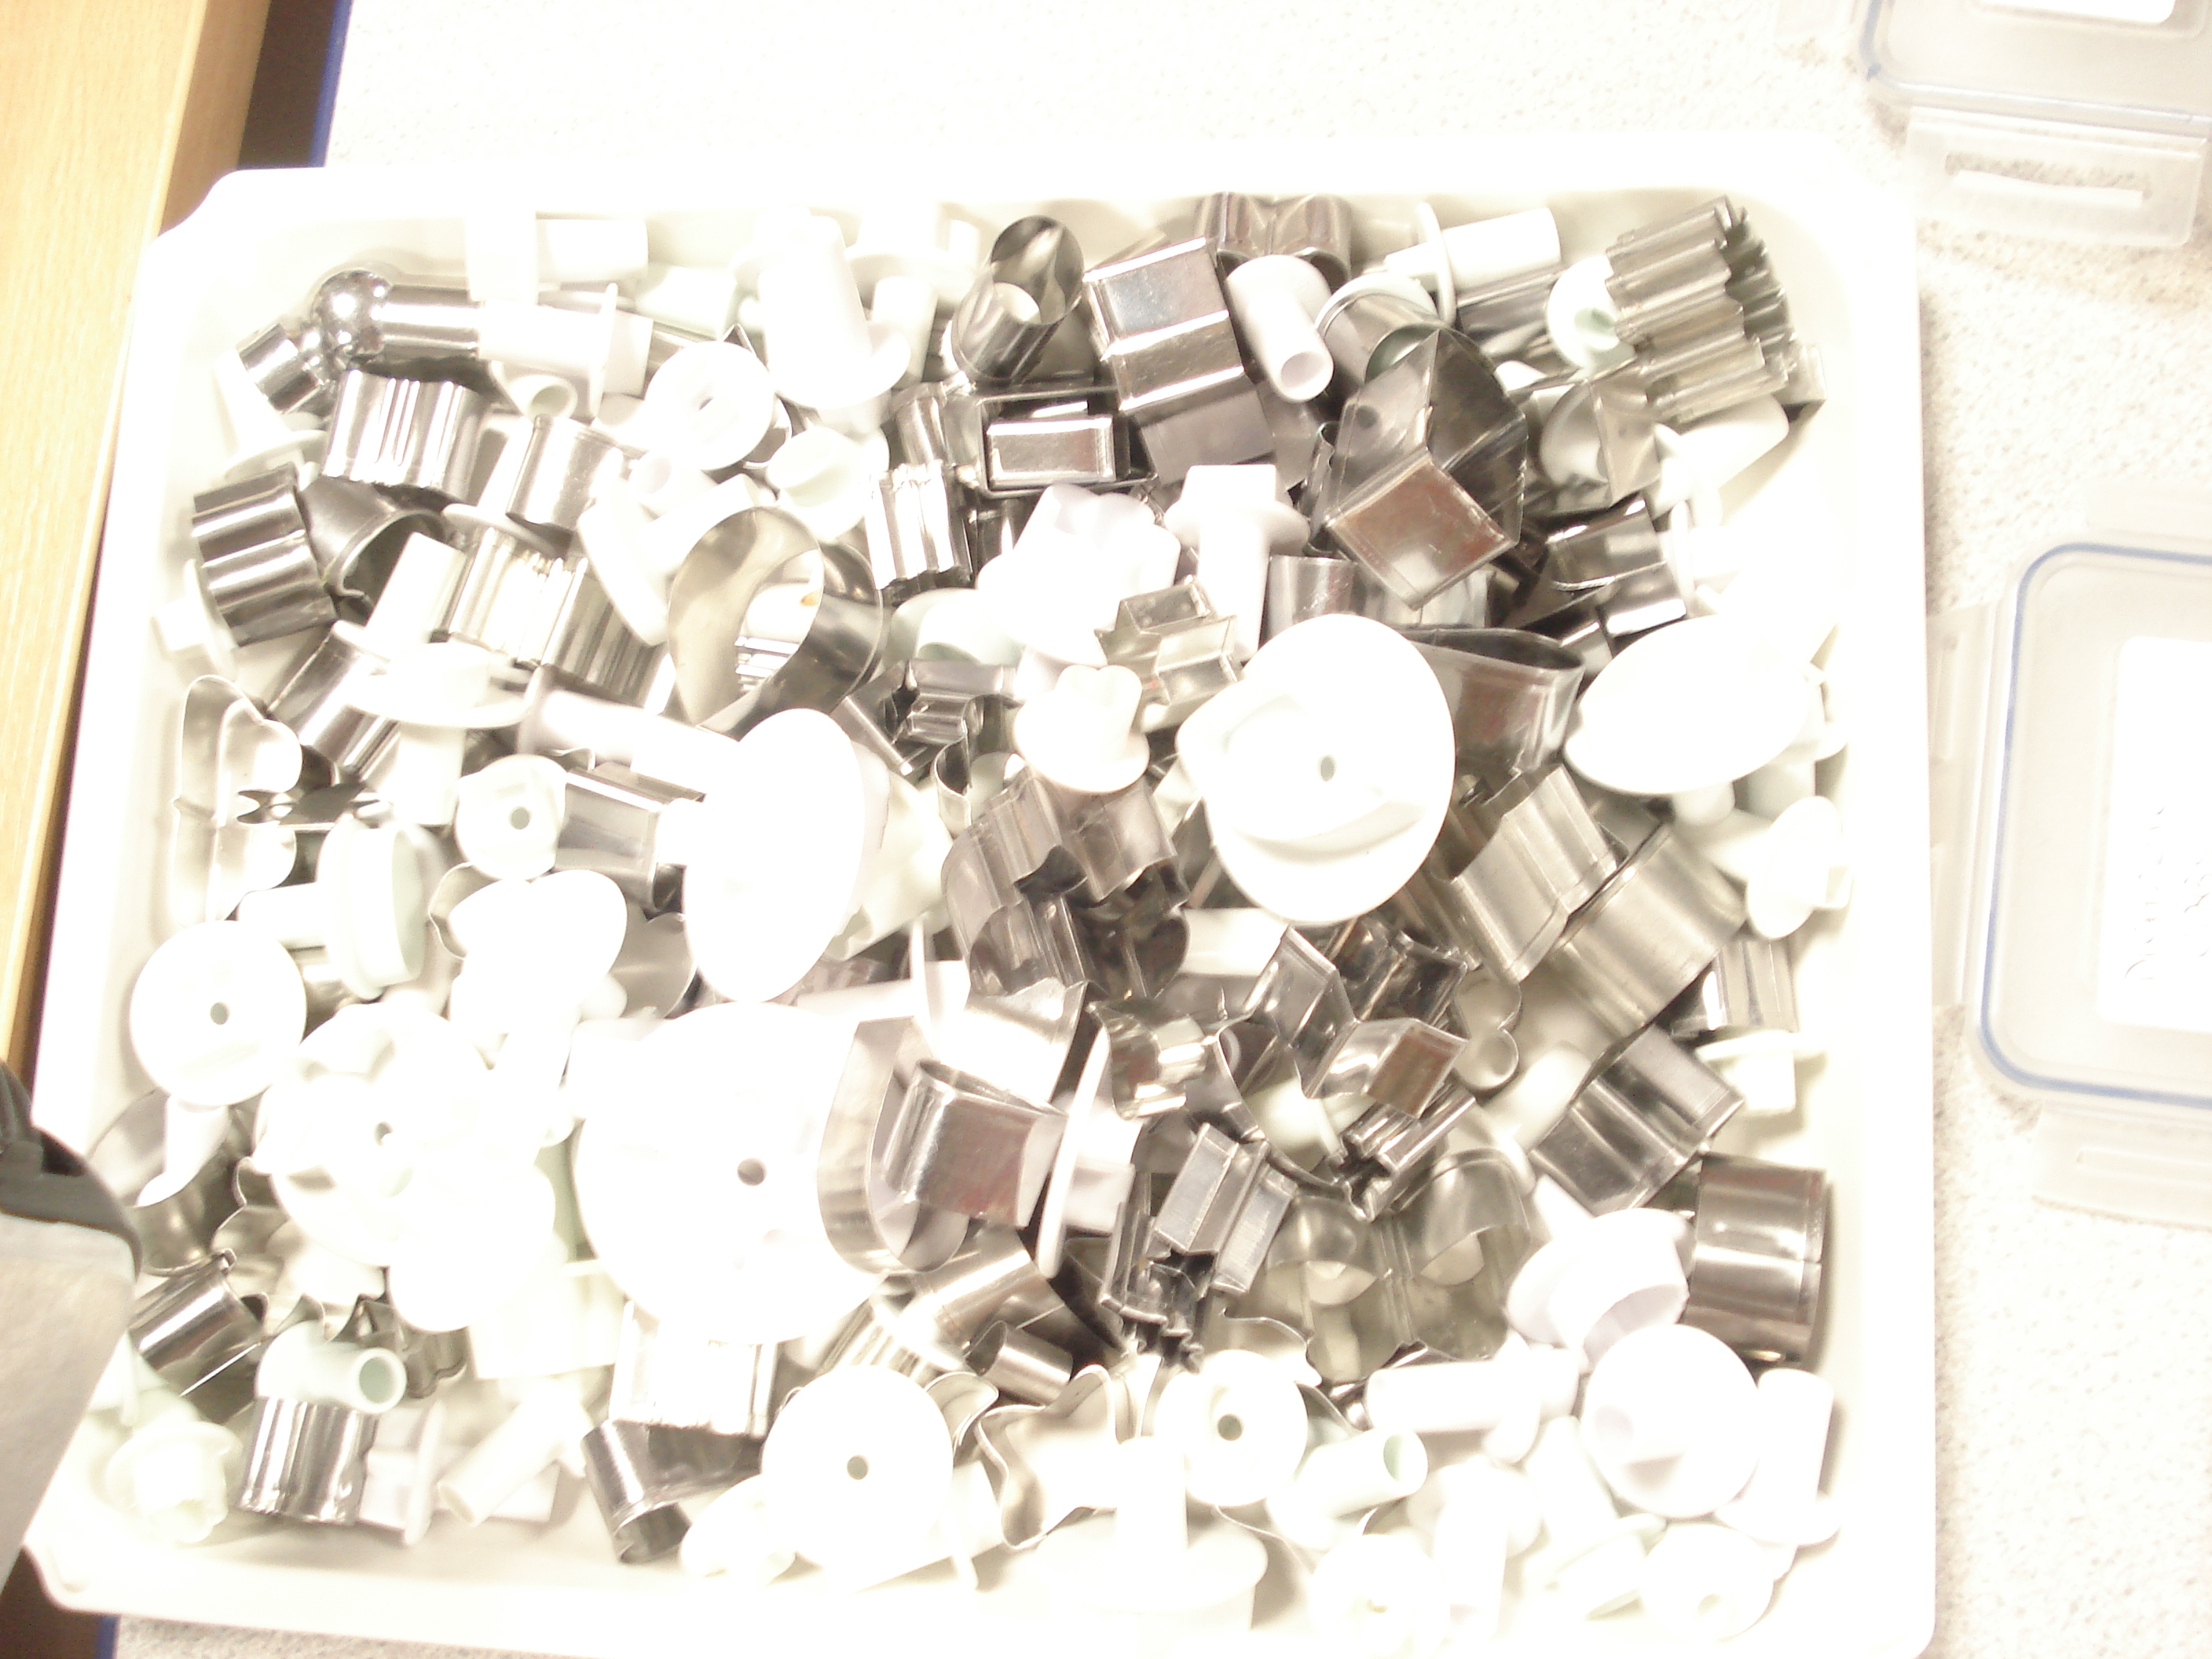
and large plates with different colours and sizes of dichroic glass cabochons – like with stained glass the toughest bit was settling on only a couple of the beautiful colours! Originally I was drawn to the darker blue which was an oval shape but when I started looking through the cutters all the shapes I liked worked better with round cabochons (I got a little panicked at this point as the shapes/colours weren’t working for me for a long time which was frustrating). So reluctantly I put the dark blue back and settled on a pair of matching turquoise and a second pair of orange yellow colour instead. The final choice was whether we wanted to add texture to the clay, I tried to add a lace texture from two bits of floral lace. After all the decisions had been made we wiped everything we had been using ready to start working on the clay. It was a really good idea to have the design worked out beforehand as the clay only stays damp/workable for 30mins. I opened the packet and rolled out and cut out my shapes & added the texture. I had quite a bit of clay left over so had also picked up a star and shell mould to press the remaining clay into.

Once everything was prepped it was onto the drying heater. The shapes stayed on there on there for half an hour after which we removed them to smooth off any rough edges with emery boards and attach the cabochons with some silver paste. It was then back on the drier for the moisture from the paste to dry out.
 At this point the silver looked white as the clay was still mixed up with the silver.
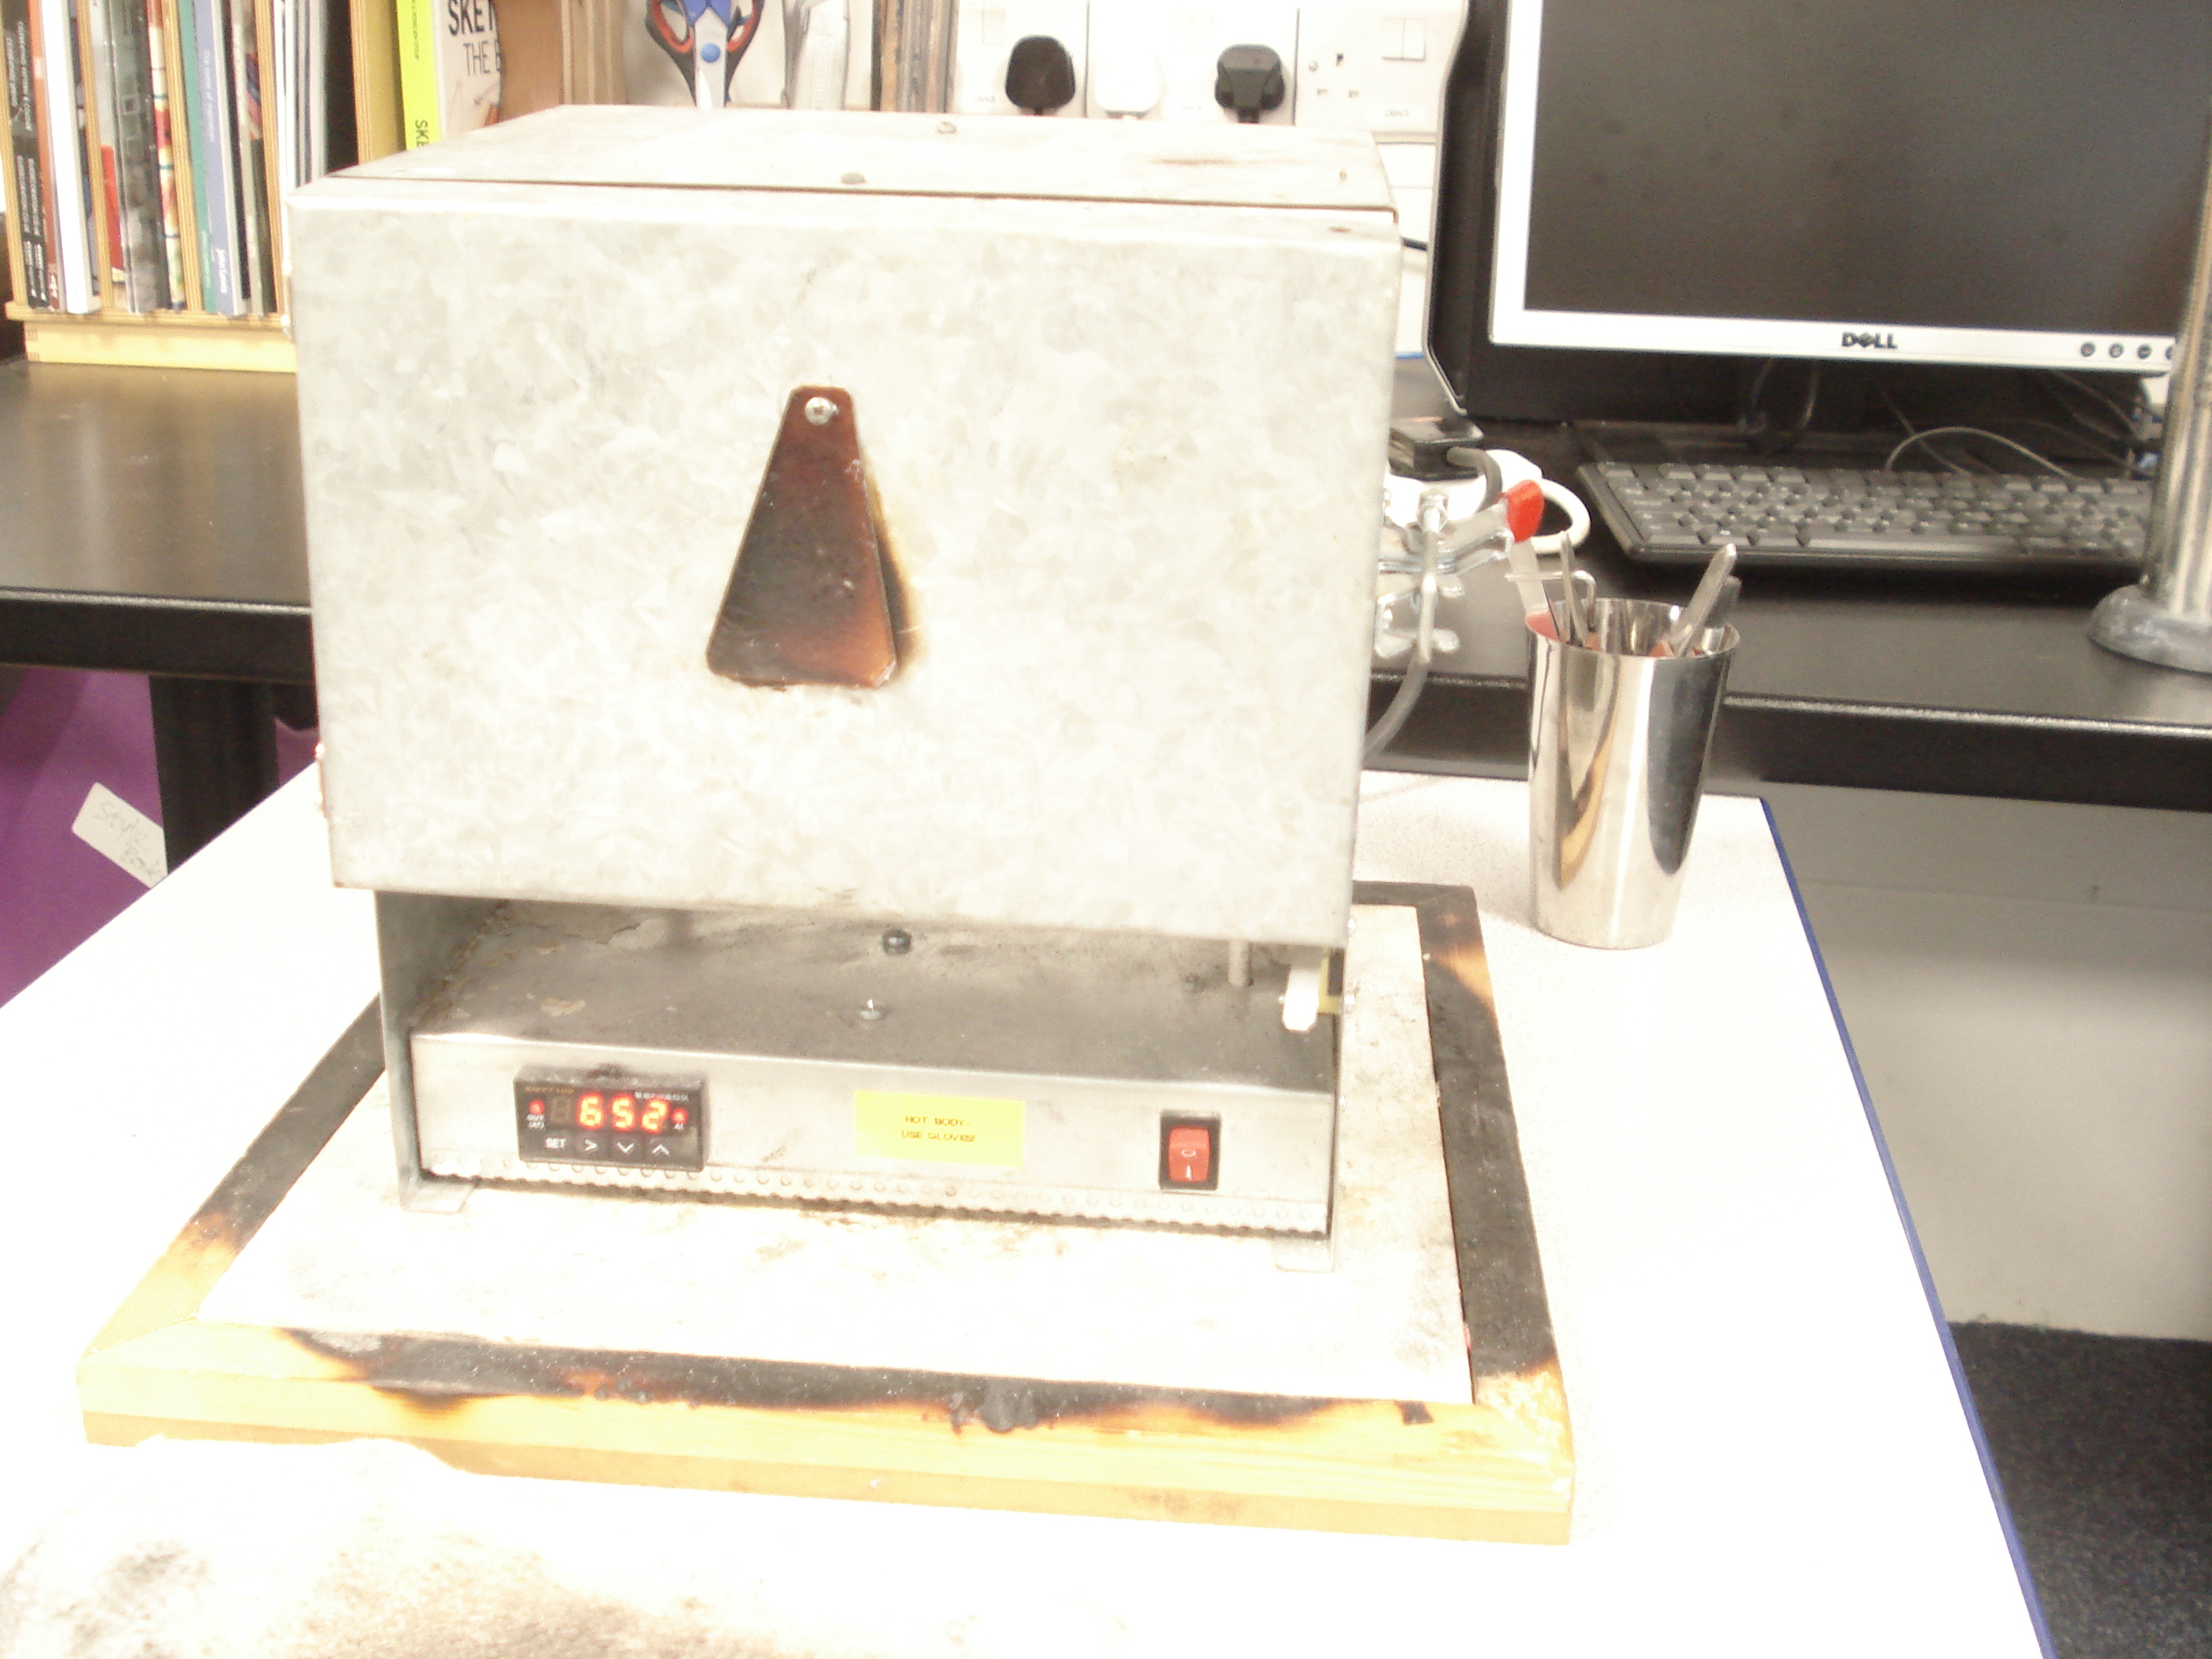
 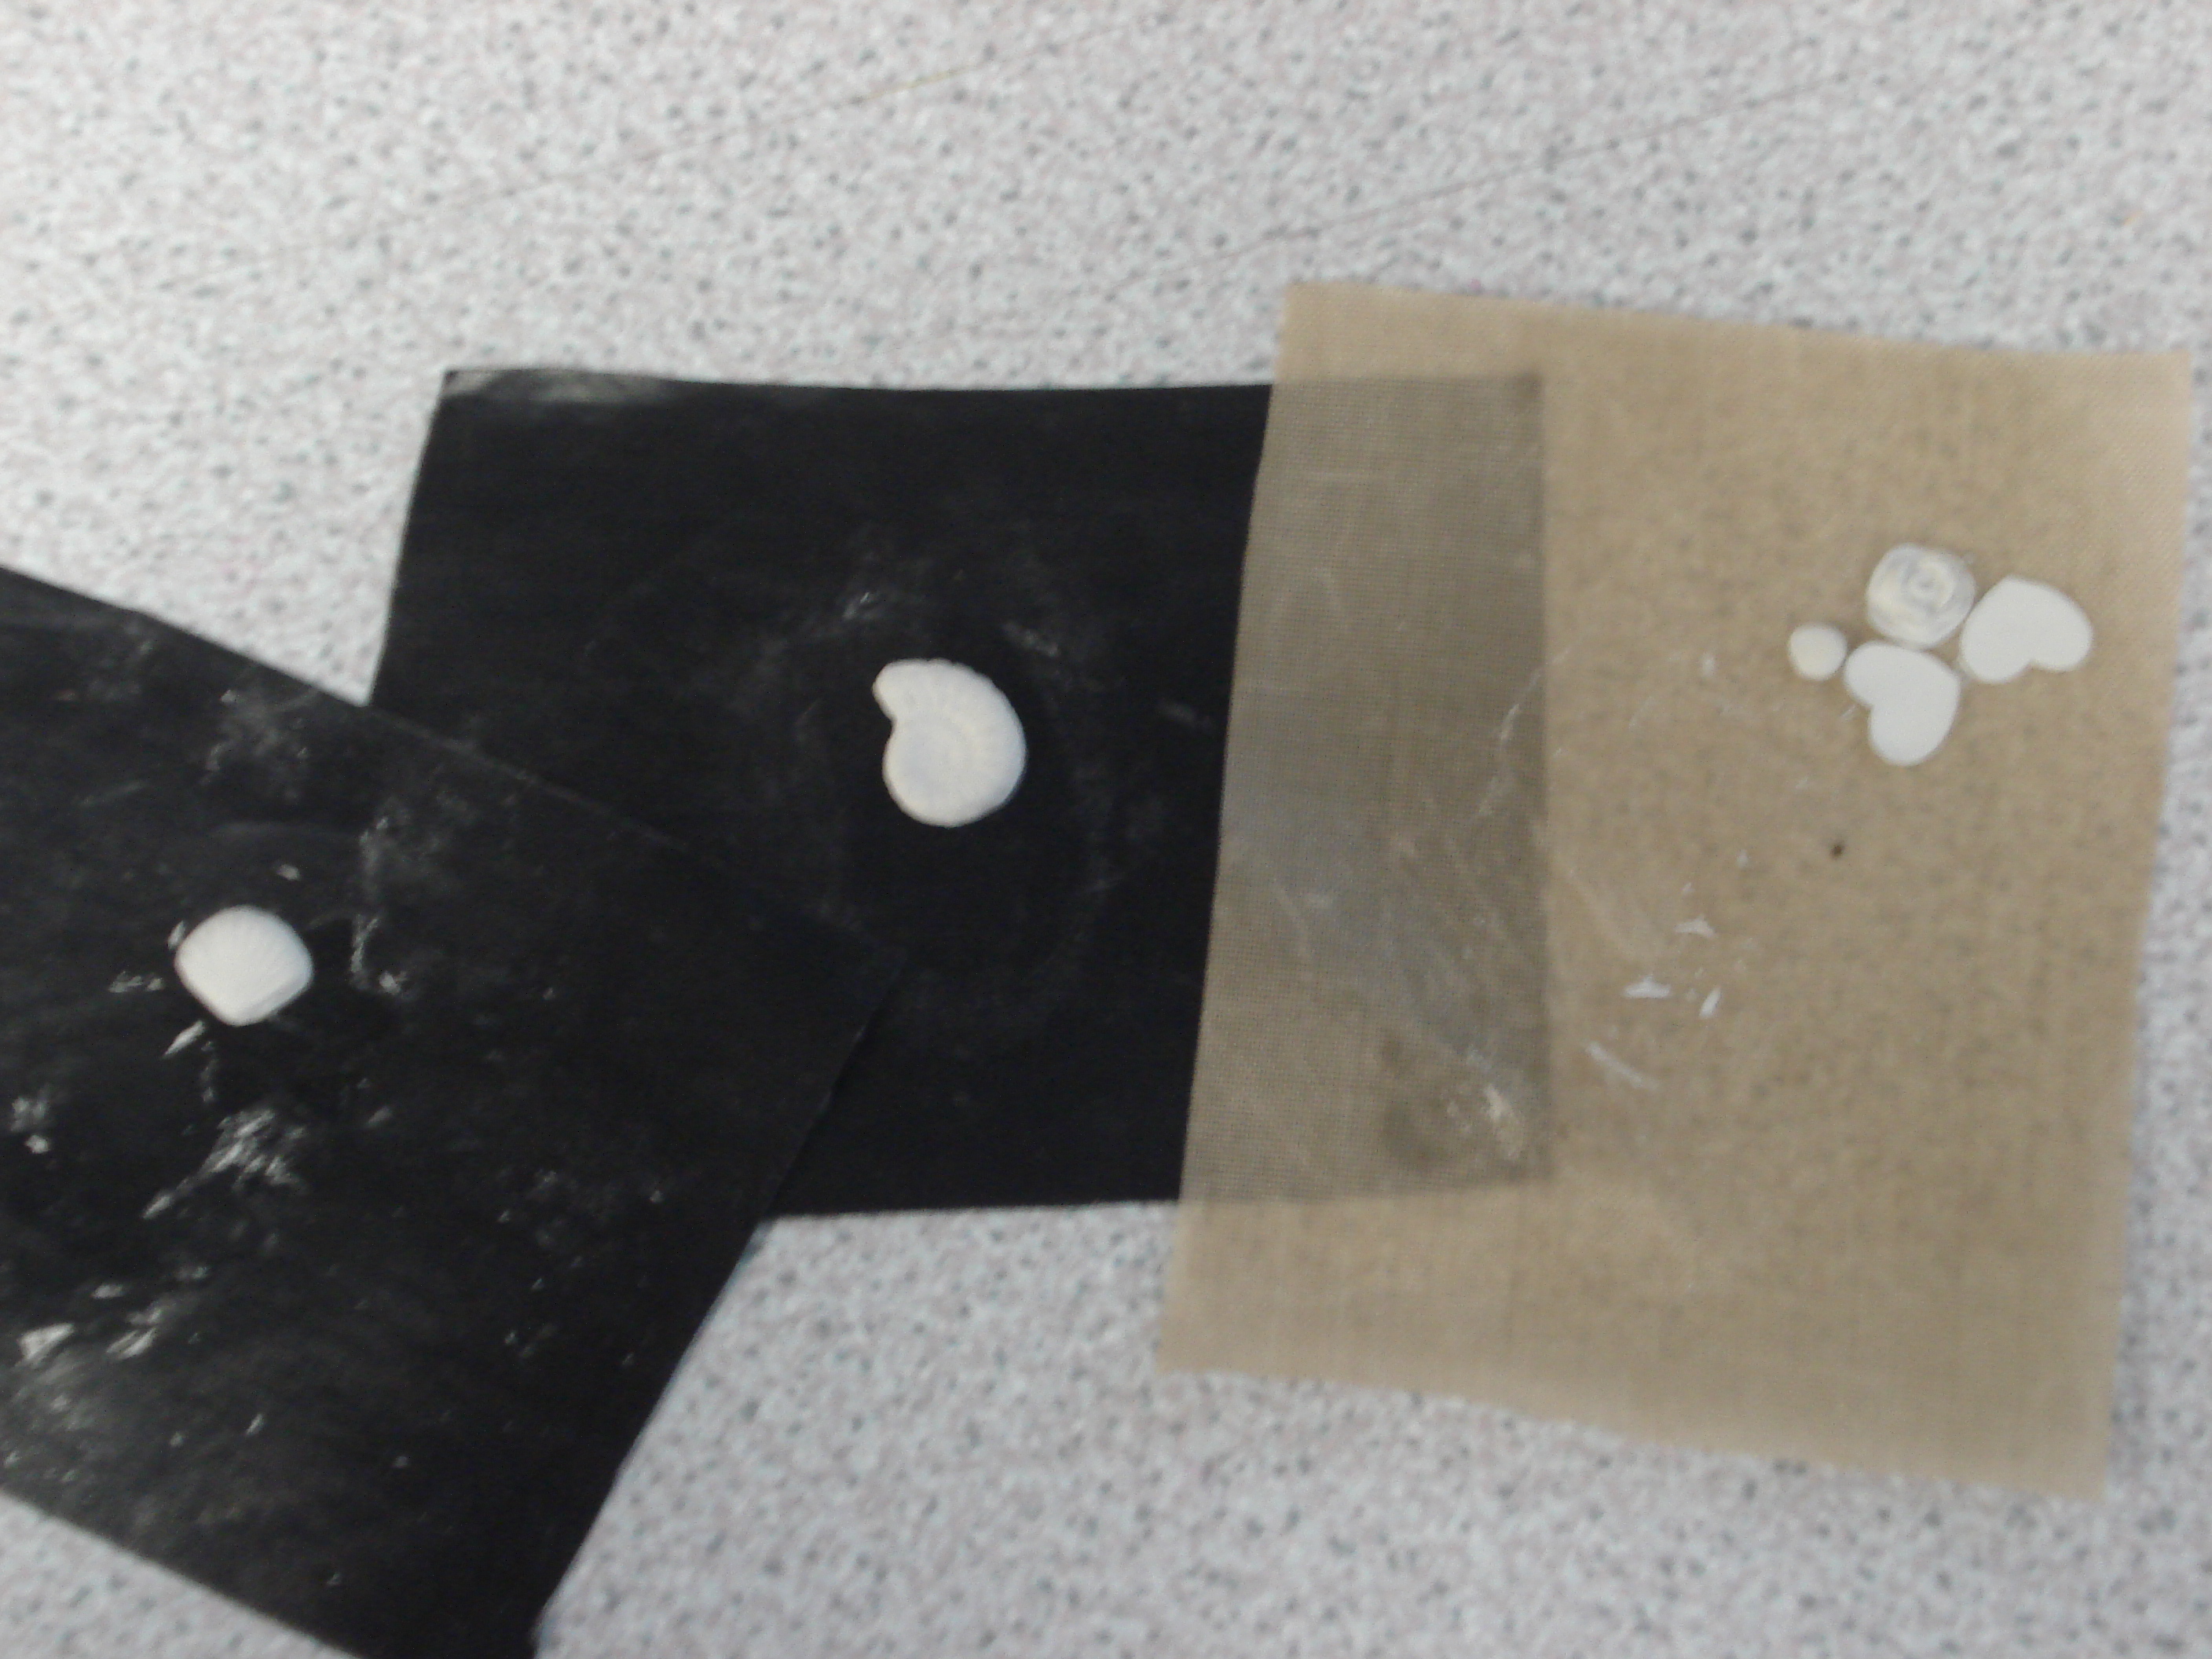 The pieces had to be put into the kiln for the clay to burn off leaving just the silver.
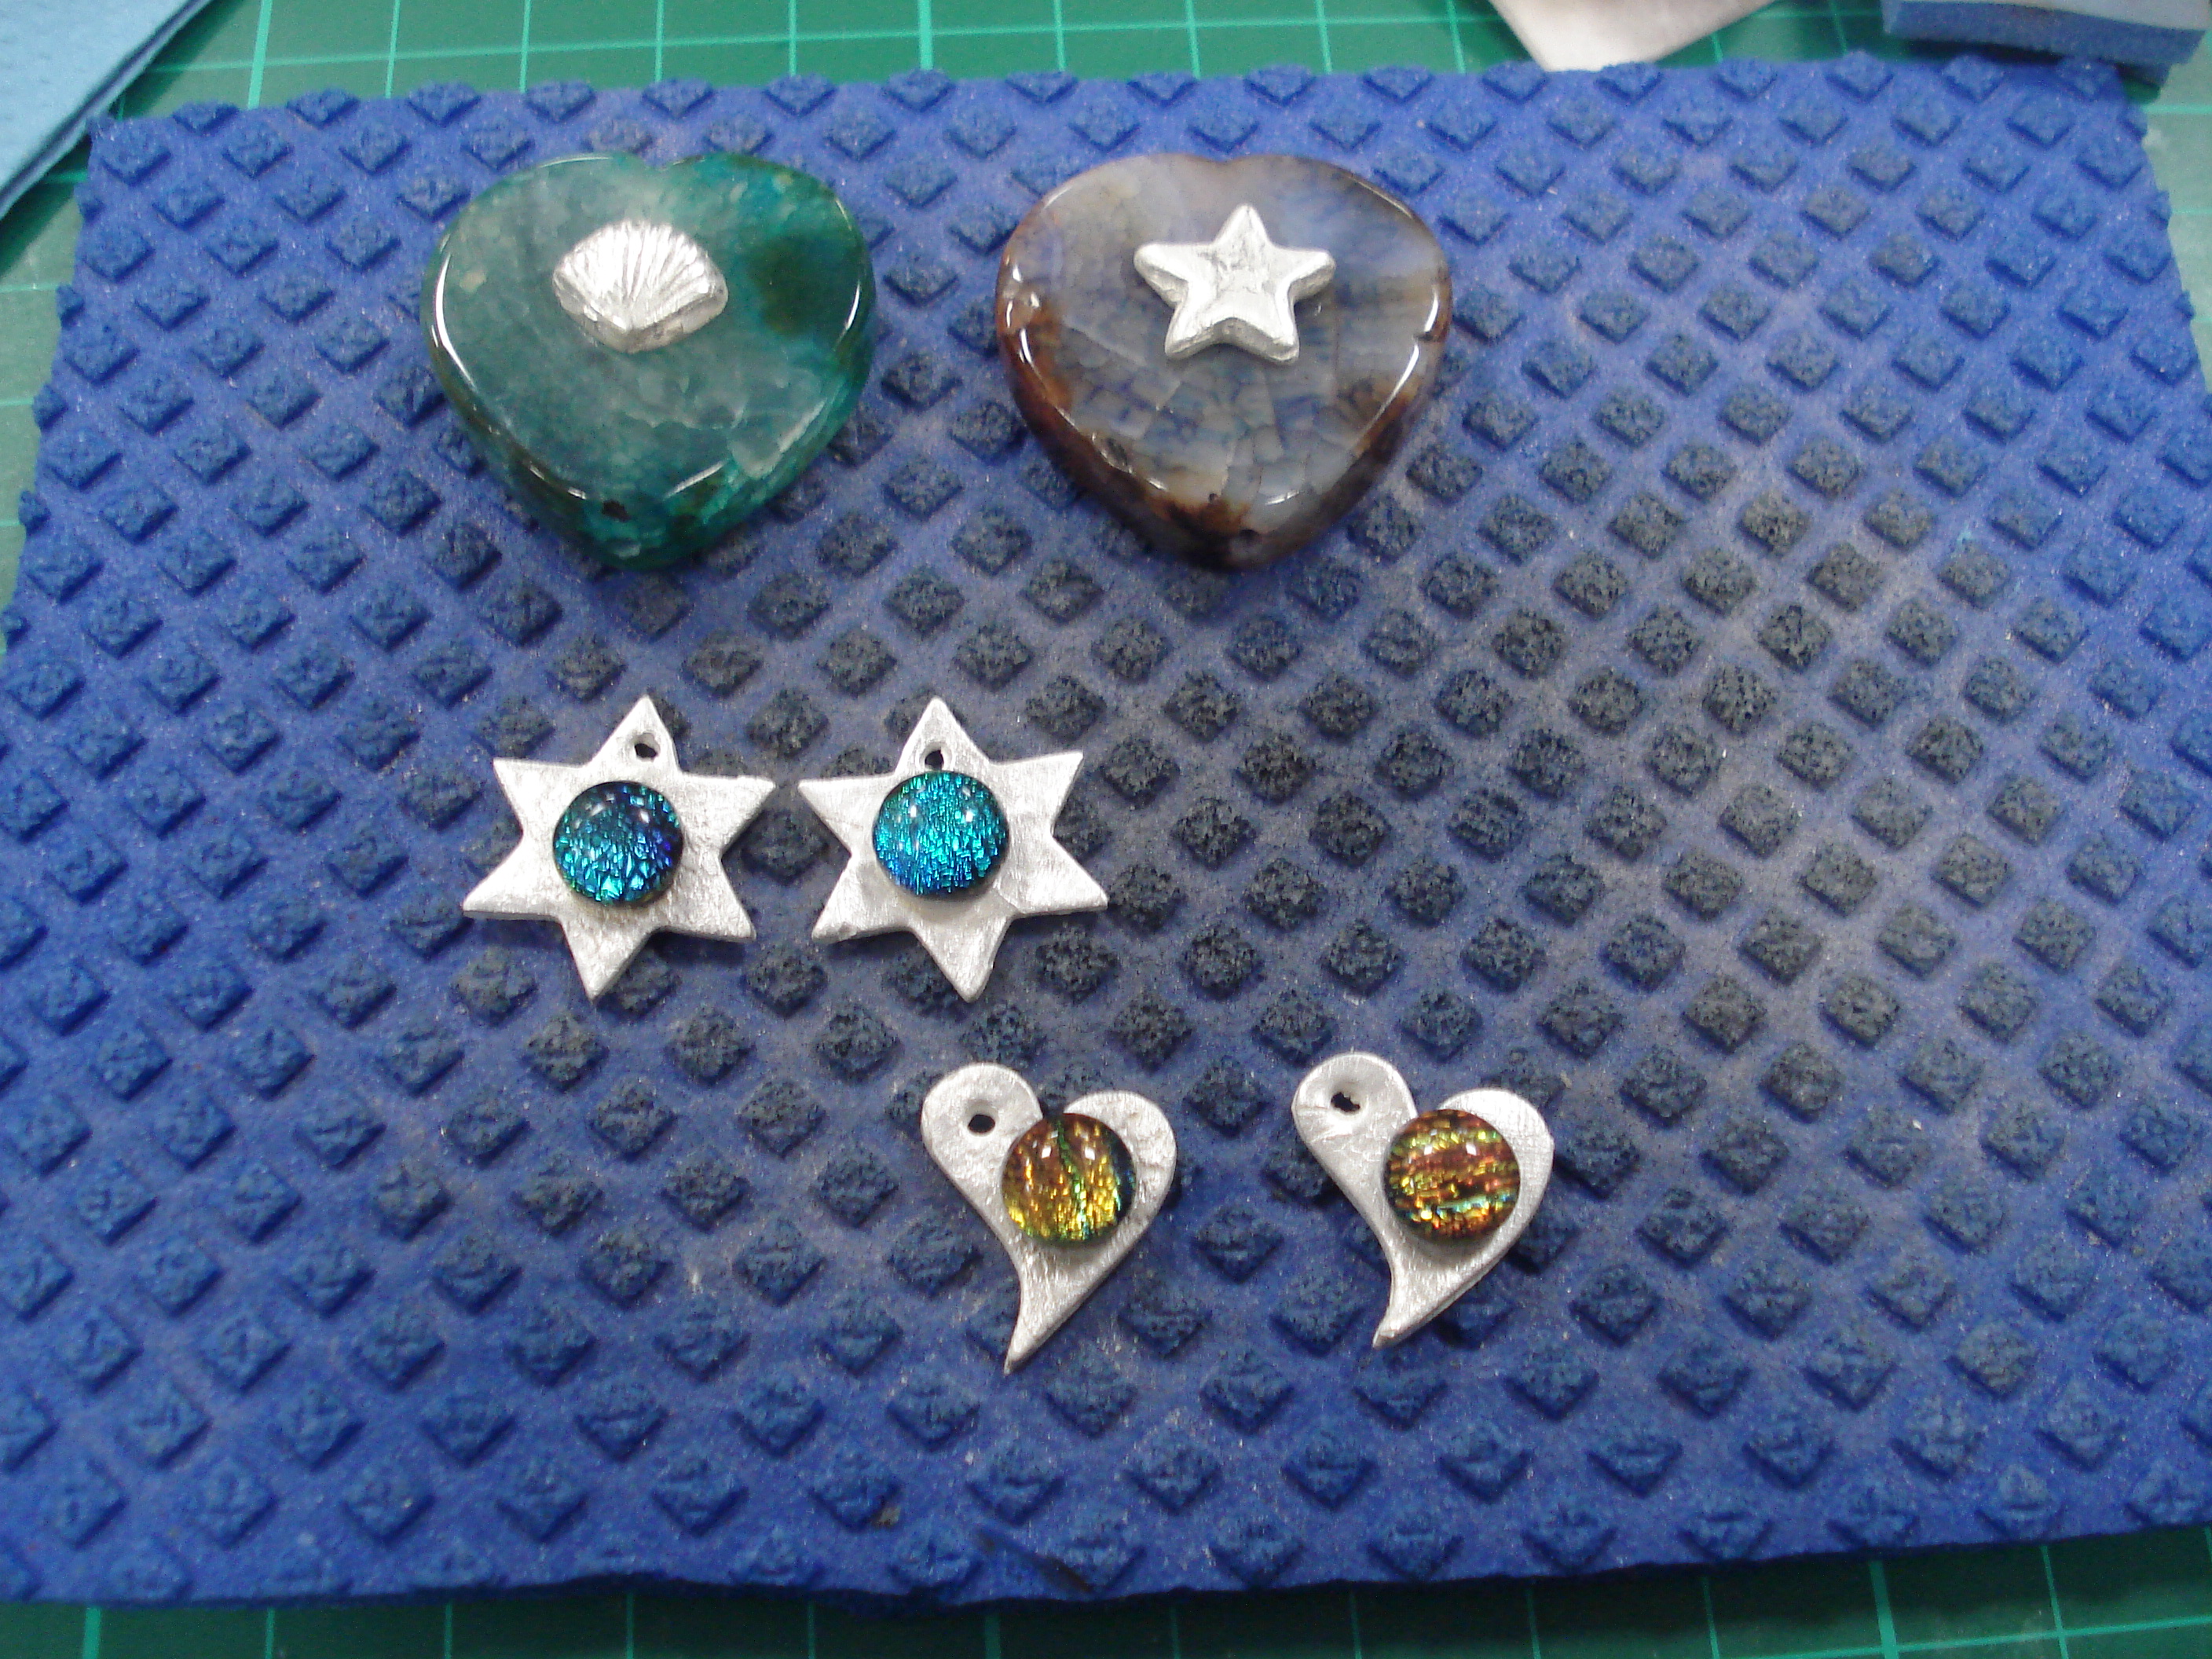
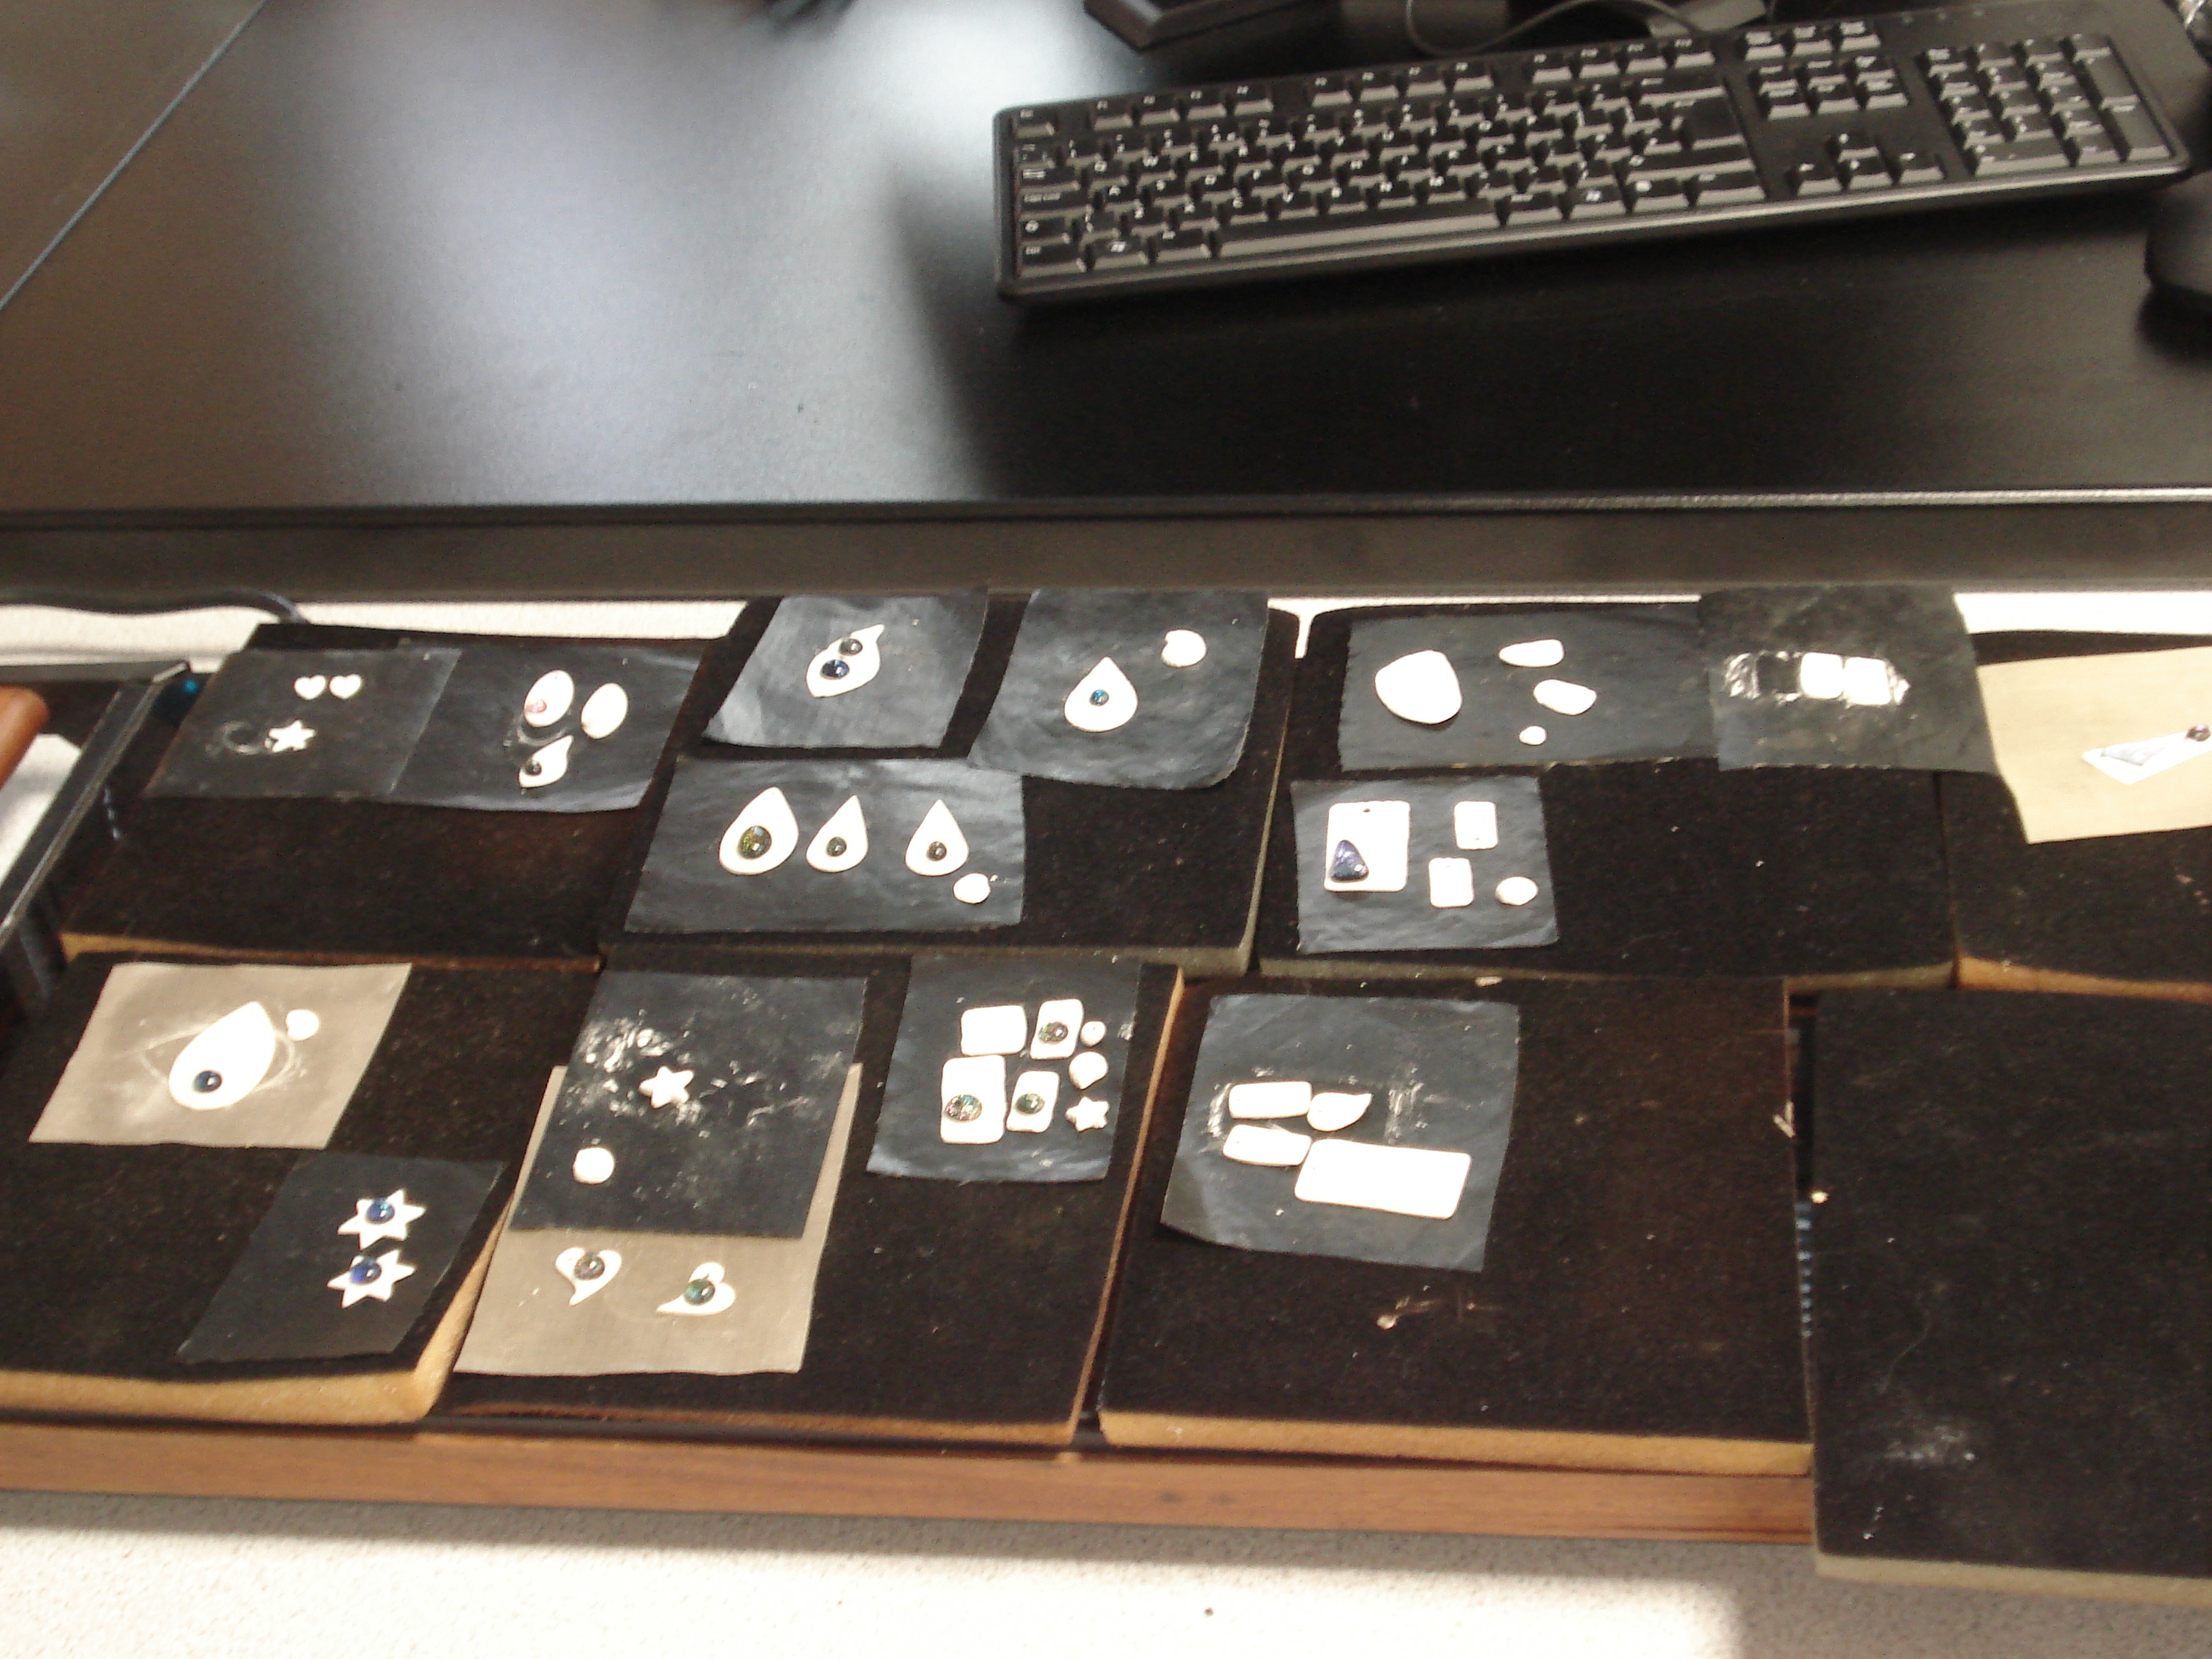
While the clay was burning off those of us who had cast charms using the moulds had a look through a beautiful box of semi precious stones to see if there was anything we would like to stick our silver shapes onto.
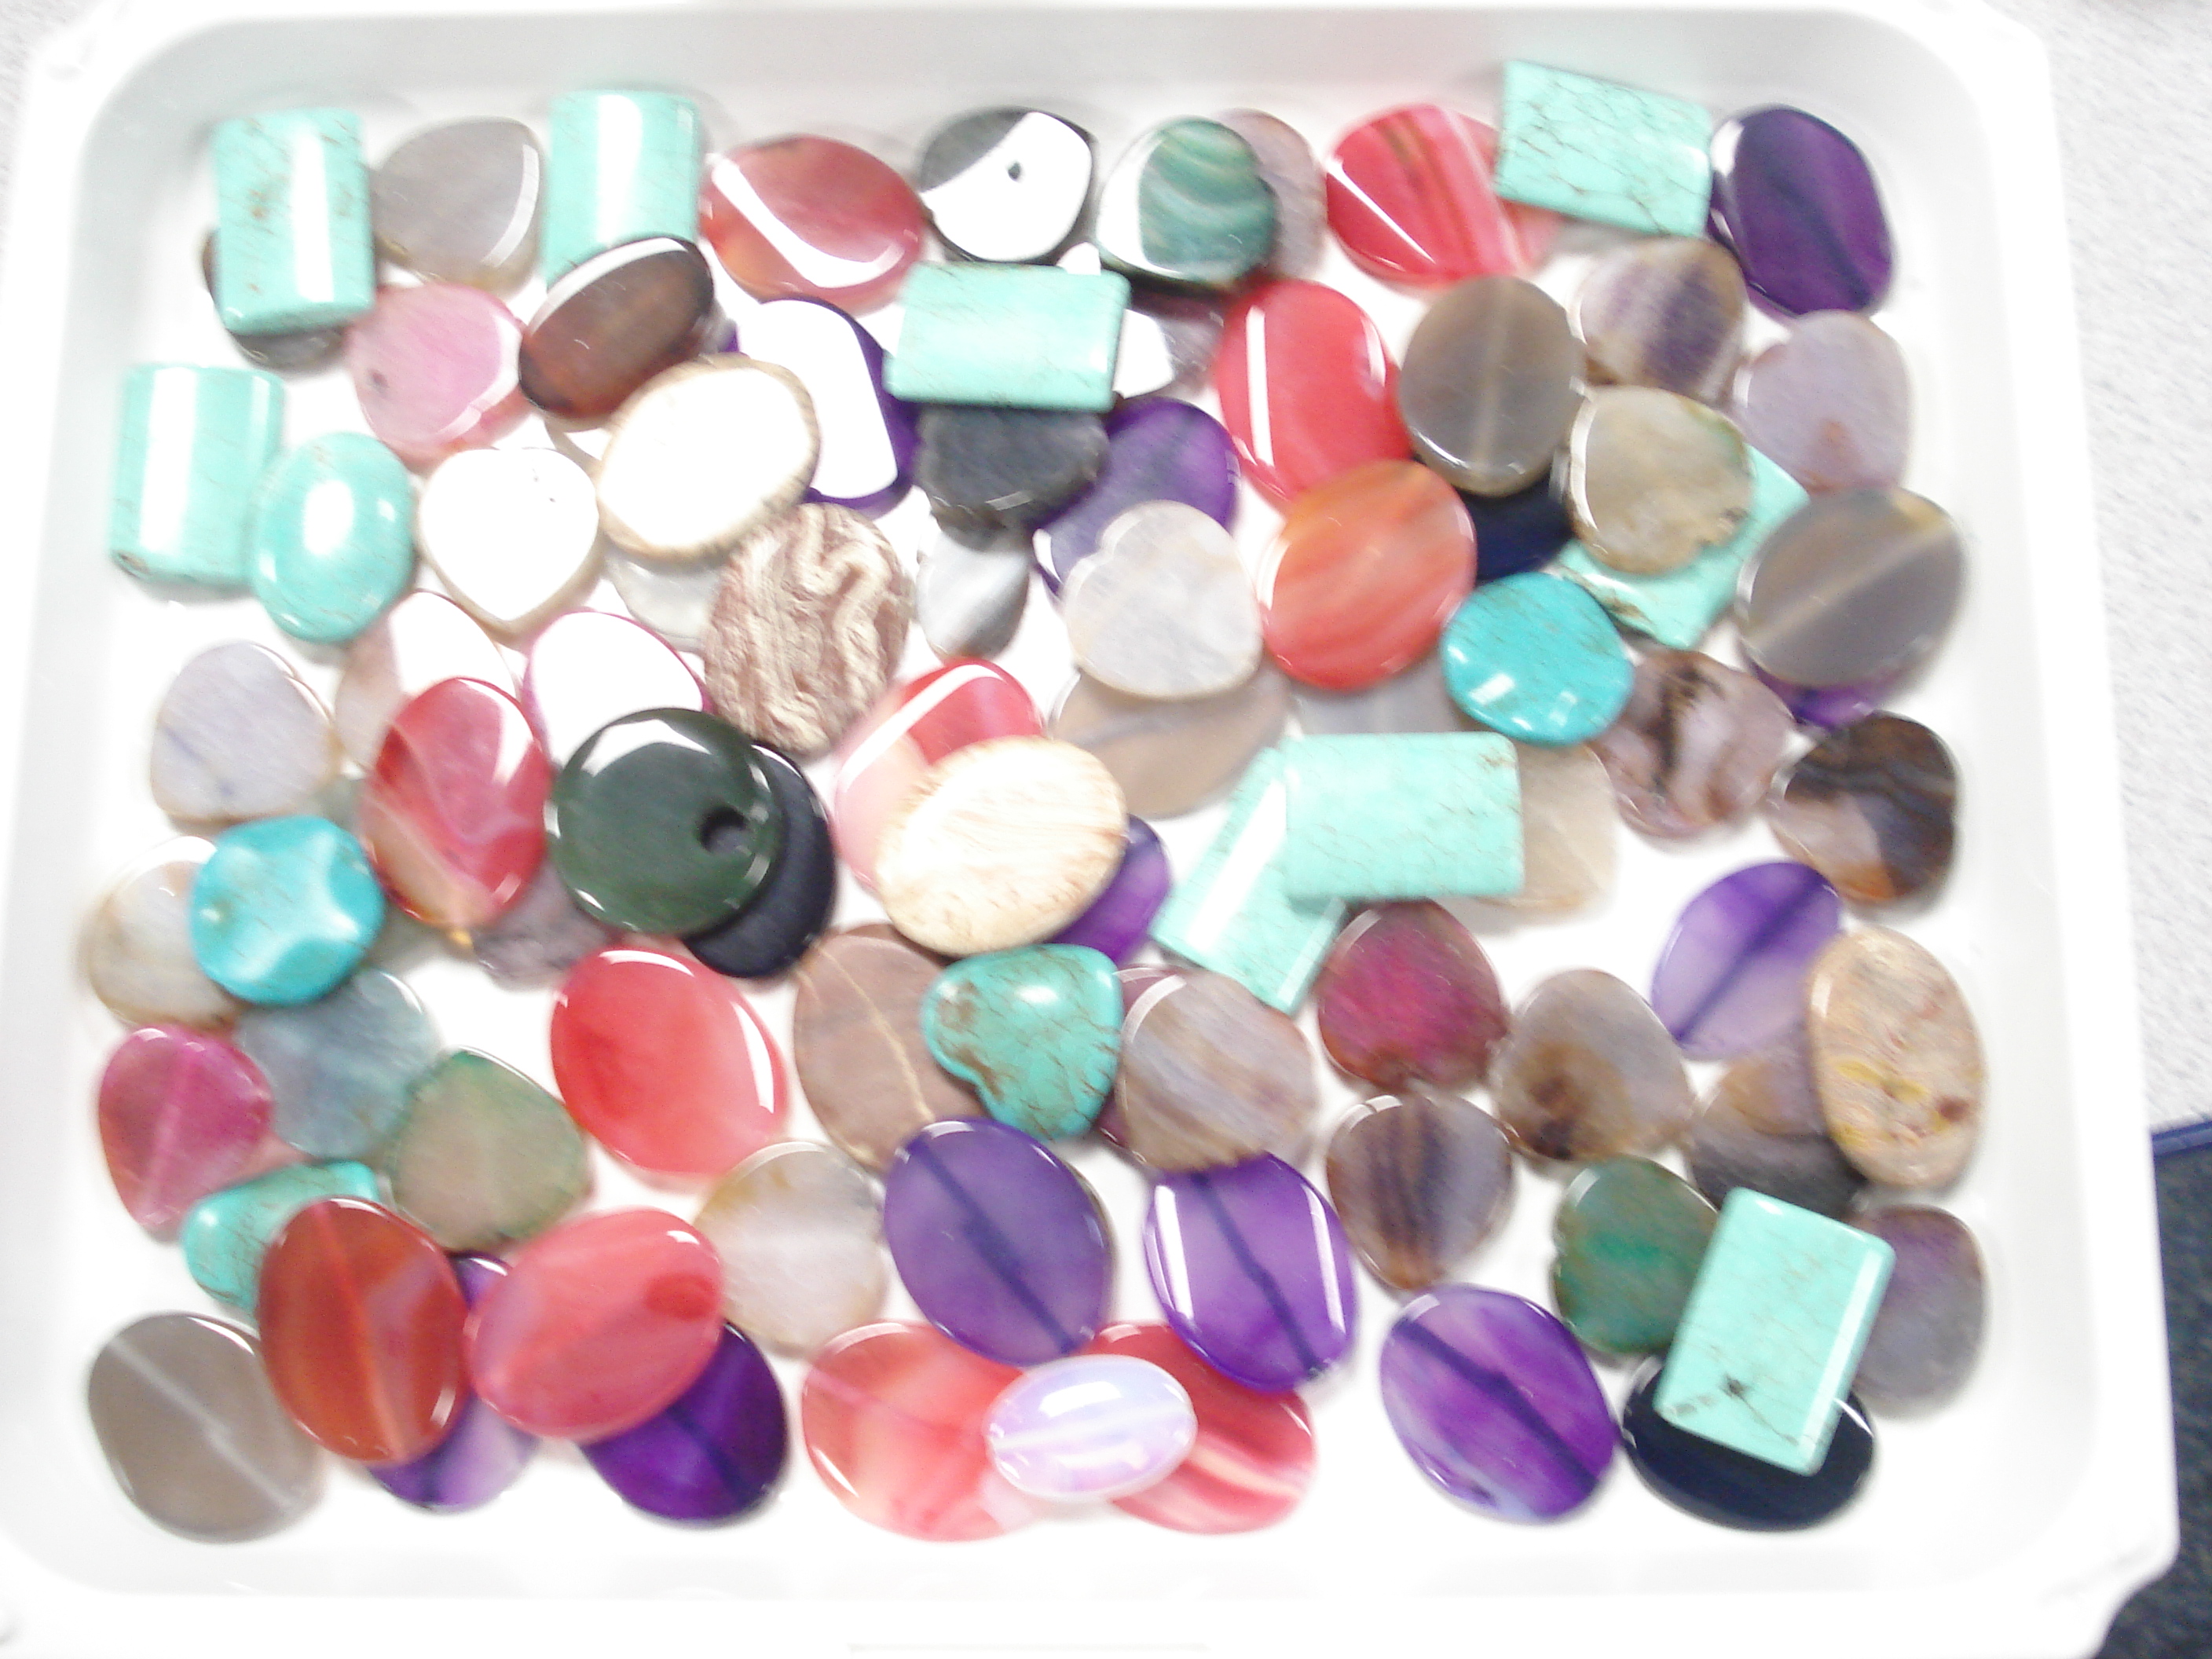
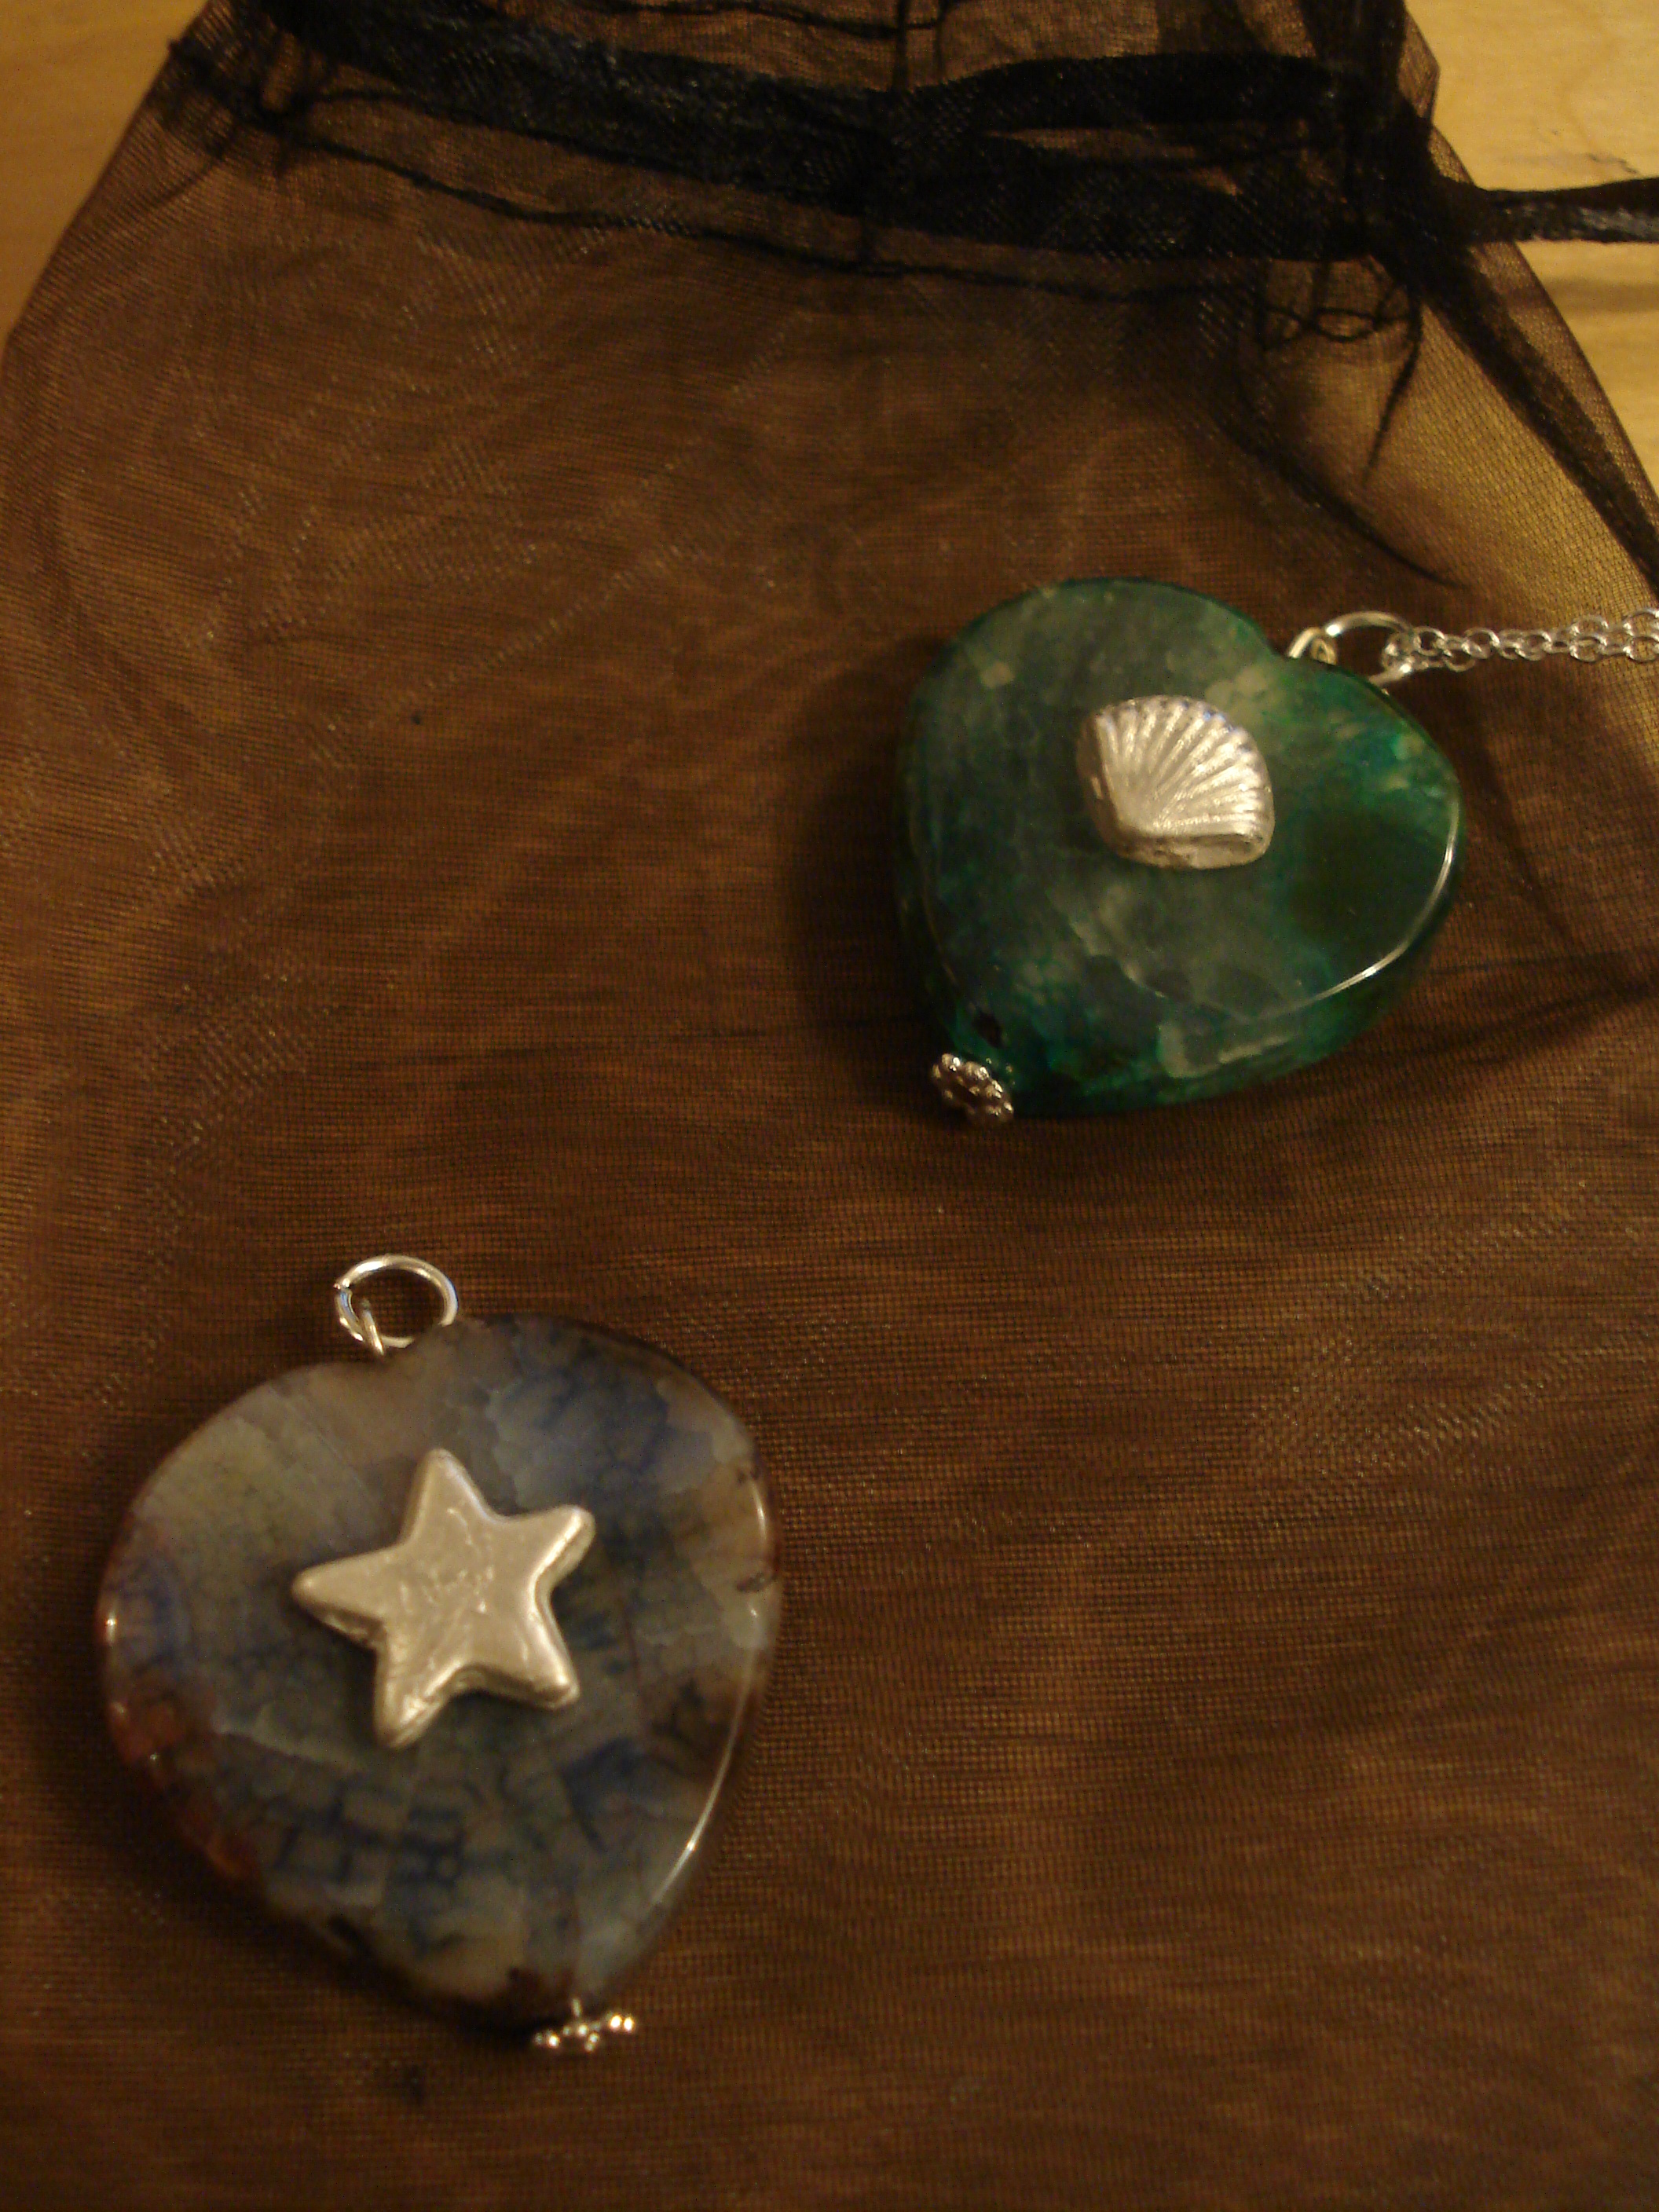
There were lots of beautiful stones but I settled on two heart shaped ones as they were the colours I wanted. We were then shown how to burn off the clay using a blow torch on the purely silver pieces and by that time the kiln with the silver and glass pieces in had done its work. All the pieces were quenched in water and then it was up to us to polish them until they were shiny. I started with my two silver charms and they were soon ready to be attached onto their stones:

The process was repeated with my earrings until I had a small pile of shiny things

Then it was time to add the findings for the finishing touch
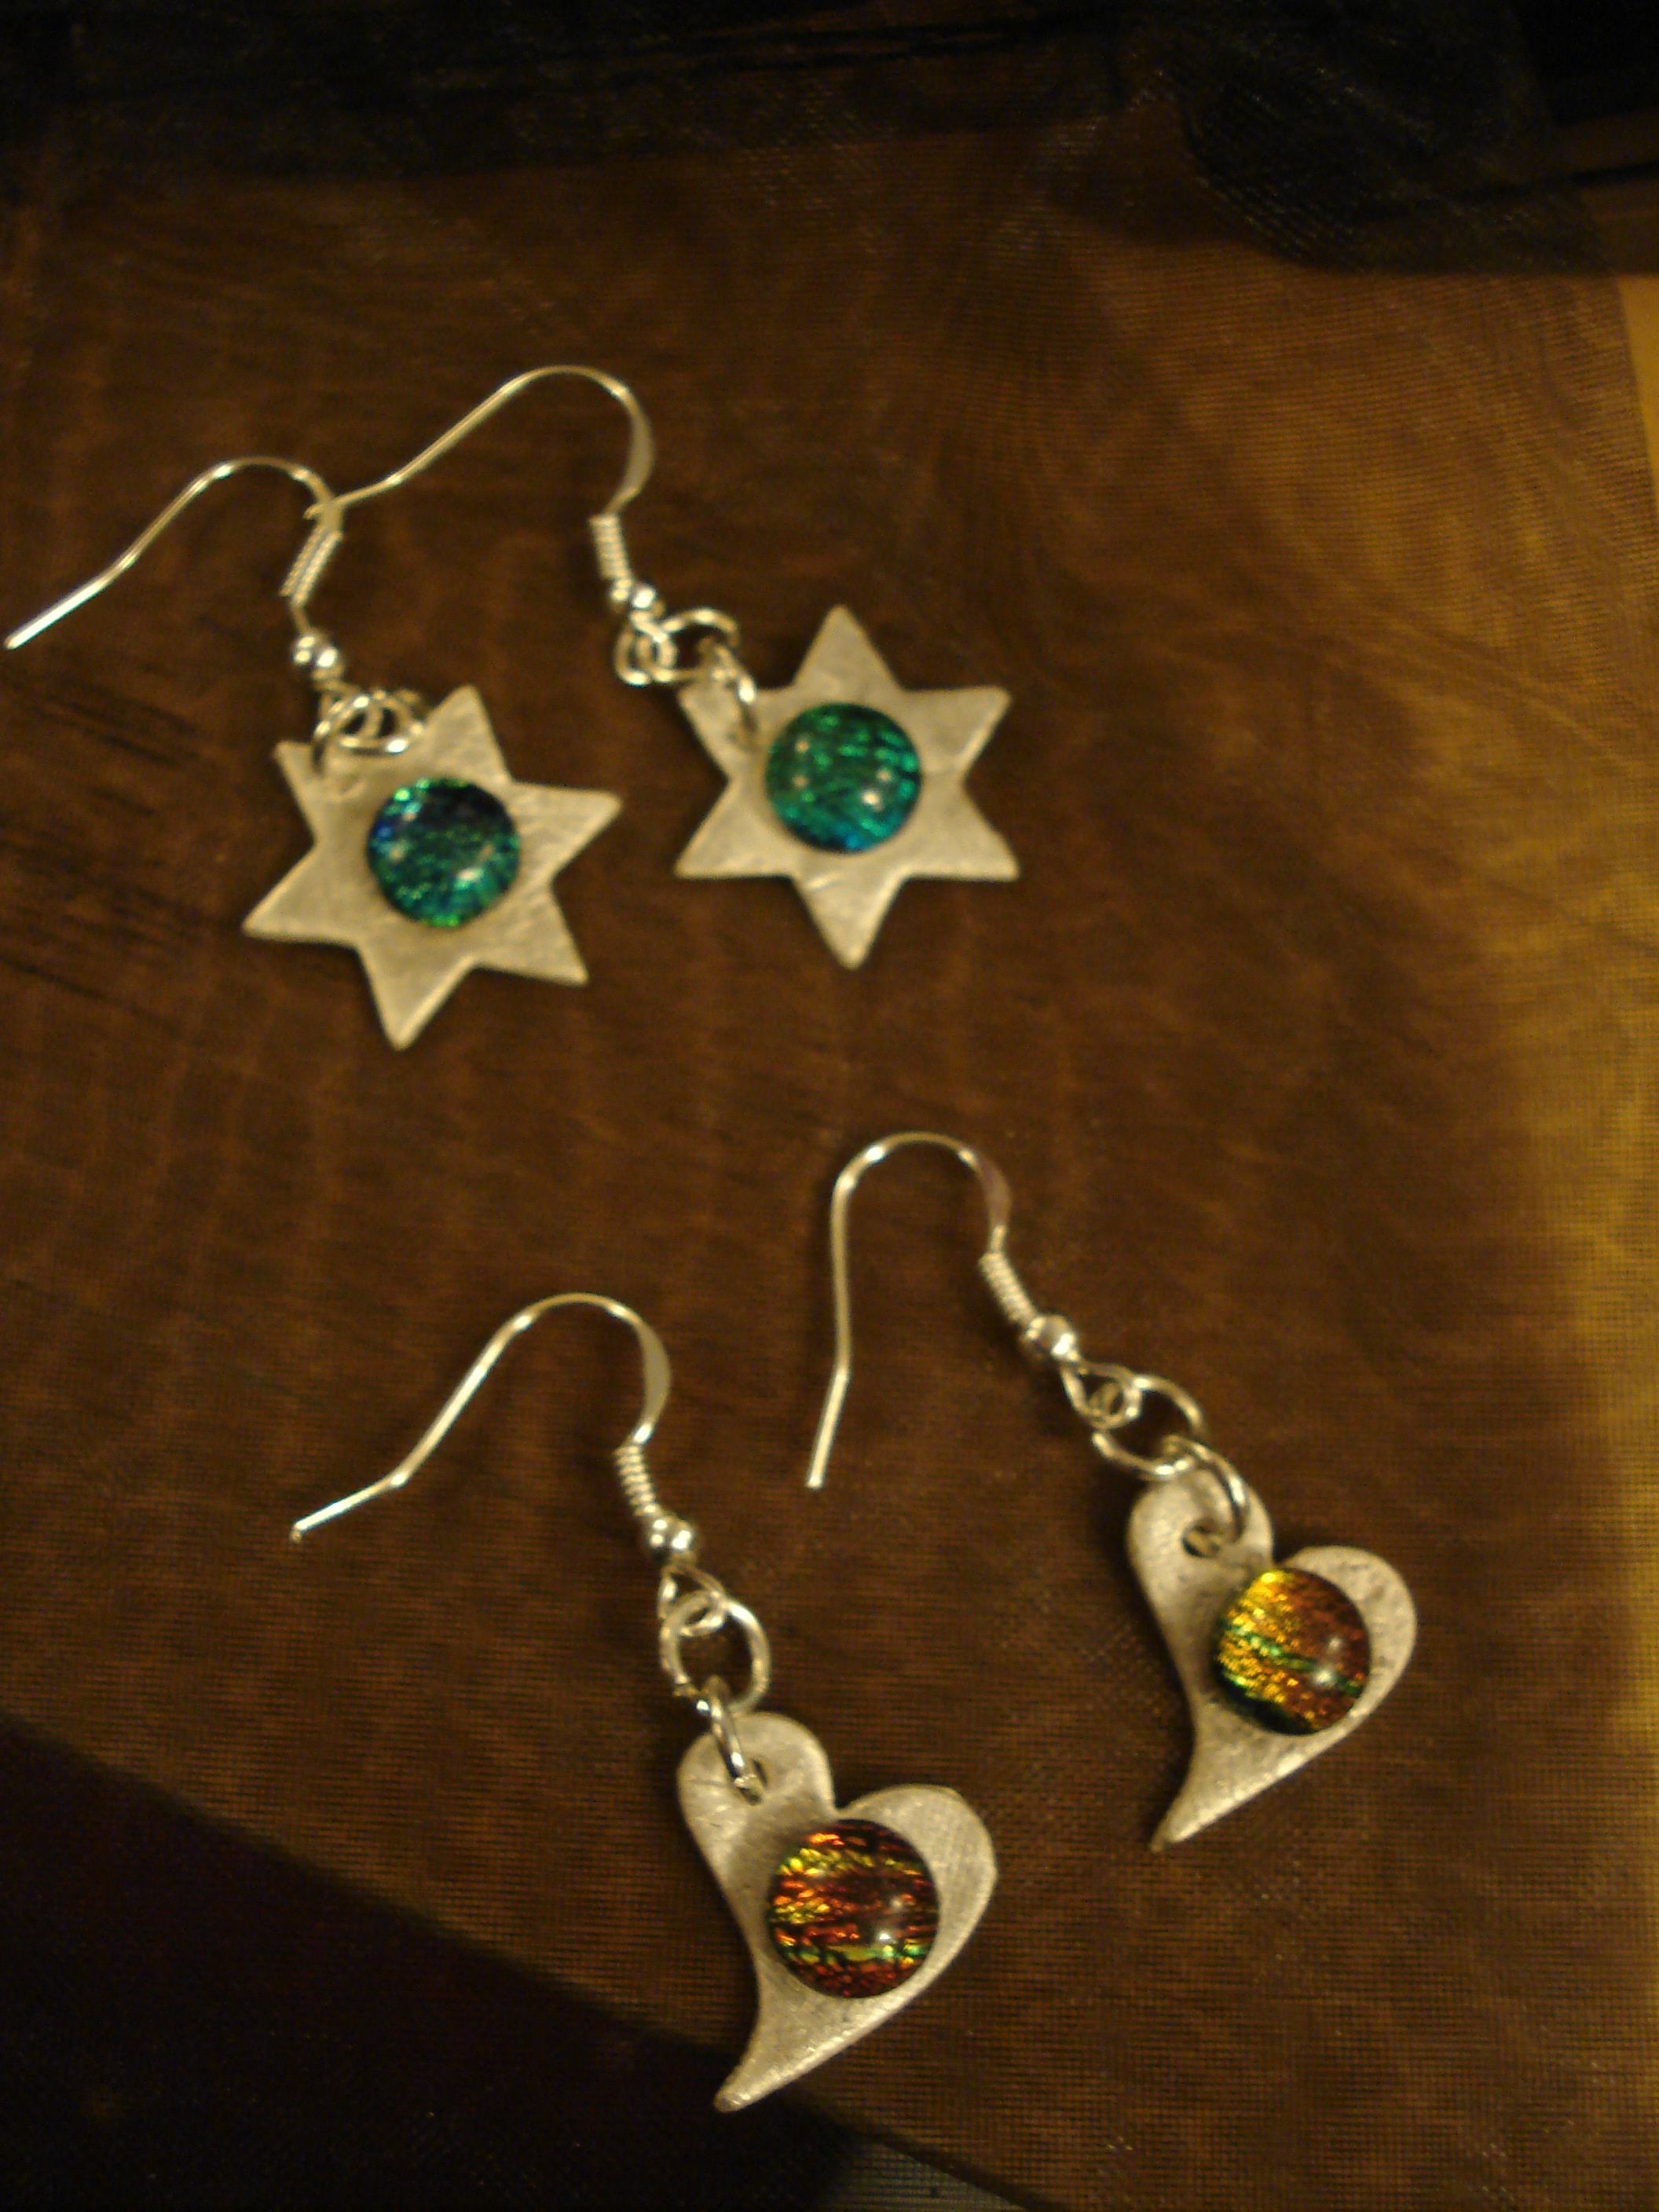
Now the tough decision which to keep and which to give as presents!