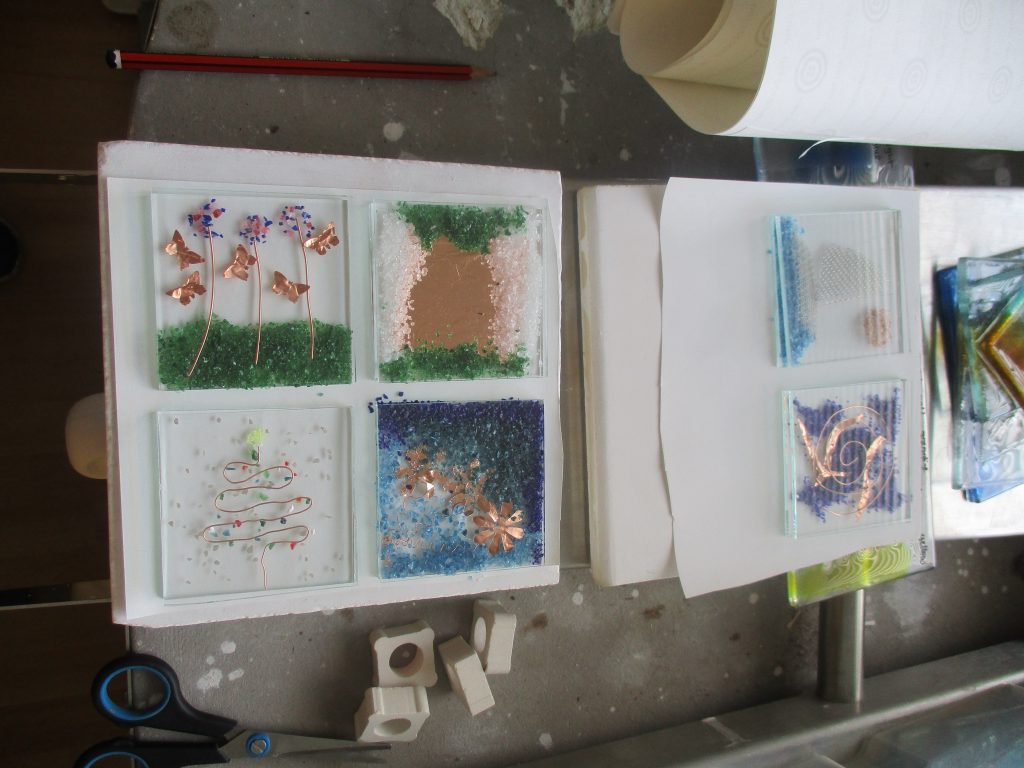
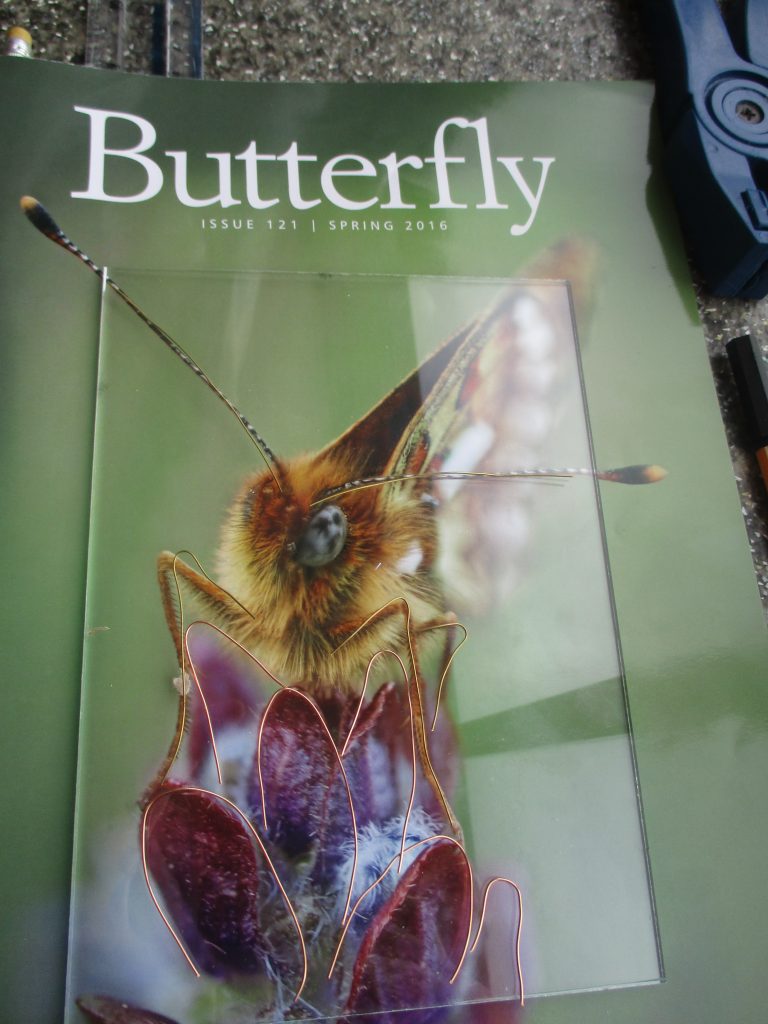
This weekend I headed off to see Vince and Sue at Glass Jewels to do some more fusing. For this course we got to play with powders, metals, frits and lots of layers! Usually when fusing you lay the frit (ground coloured glass) and any other decorations onto the bottom sheet of glass & when happy with the design clean and place on another sheet of clear glass of the same size on top to form a kind of glass sandwich. When the two sheets are heated they combine trapping the design inside, et voila fused. Like the other courses I’d done at Glass Jewels we got 20 mins in the morning to put together a quick test panel to try out some design ideas. This panel would be fused at a very high temperature and cooled very quickly. My panel was the top right (the glass is green glass frit and the flowers are made from more frit with metal wire for the stems). The butterflies are cut from copper foil and were the last thing to be added. After the test piece was in the kiln it was time to move onto a main design. At the last class I’d tried a butterfly design & this time had sought for similar inspiration (as it was complex I was aiming to have just one final piece but everyone else did at least 2 and sometimes 3 other pieces). The design I settled on came from the front cover of a Butterfly Conservation magazine:
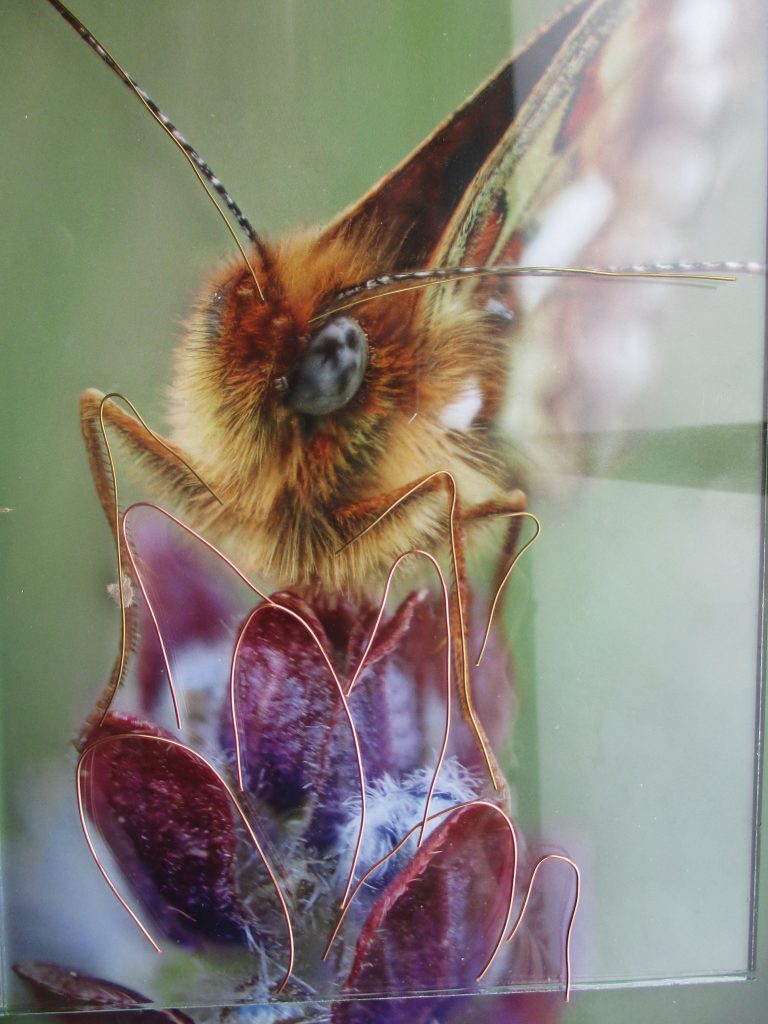
I decided to pick out the details in a mixture of wire, metals and frit. The first stage was to cut the wire to outline the petals and then legs and antenna of the butterfly:
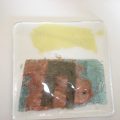
I put the wire flower petal outlines on the bottom layer along with copper leaf for the eyes (it should react to go blue like the eyes) and a large chunk of copper as a basis for the wings. Once those elements were down I added a sheet of glass on top and then added the powders. This ensured they were separated from the metals by a sheet of glass and neither should adversely affect the colour or fuse of the other. This was what my piece looked like when I left it, now its in for the fuse so I have to cross my fingers & hope it turn out looking like I hope, eeeeekkkk.